
Tromsø Northern Lights Guide: When to Go,What to Wear, Tours + Photography Tips
Introduction:
If your goal is to finally see the Northern Lights, you’re in the right place. Tromsø is, without a doubt, one of the best spots on Earth to make it happen.
To set the scene: we flew into Tromsø with one mission in mind: Aurora or bust. It would’ve been my first time seeing the Northern Lights, an actual bucket-list moment, so the pressure was on. But based on the forecast (and what the Aurora app was telling me), my confidence was… low. Like “don’t-get-your-hopes-up” low.
Still, we booked a tour, crossed our fingers, and gave ourselves exactly one night to make it happen. And with all the wild solar activity happening around the world lately (even showing up in random parts of the United States, including my hometown) I kept thinking how hilarious (and cruel) it would be to travel above the Arctic Circle and not see a single glow. Thankfully, that didn’t happen. Read on for a full guide to Tromsø’s Northern Lights: when to go, what tour I recommend, what to wear, tips for capturing them on camera, and a few other winter adventures that make the trip unforgettable.
Why Tromsø Is the Best base for seeing the Northern Lights
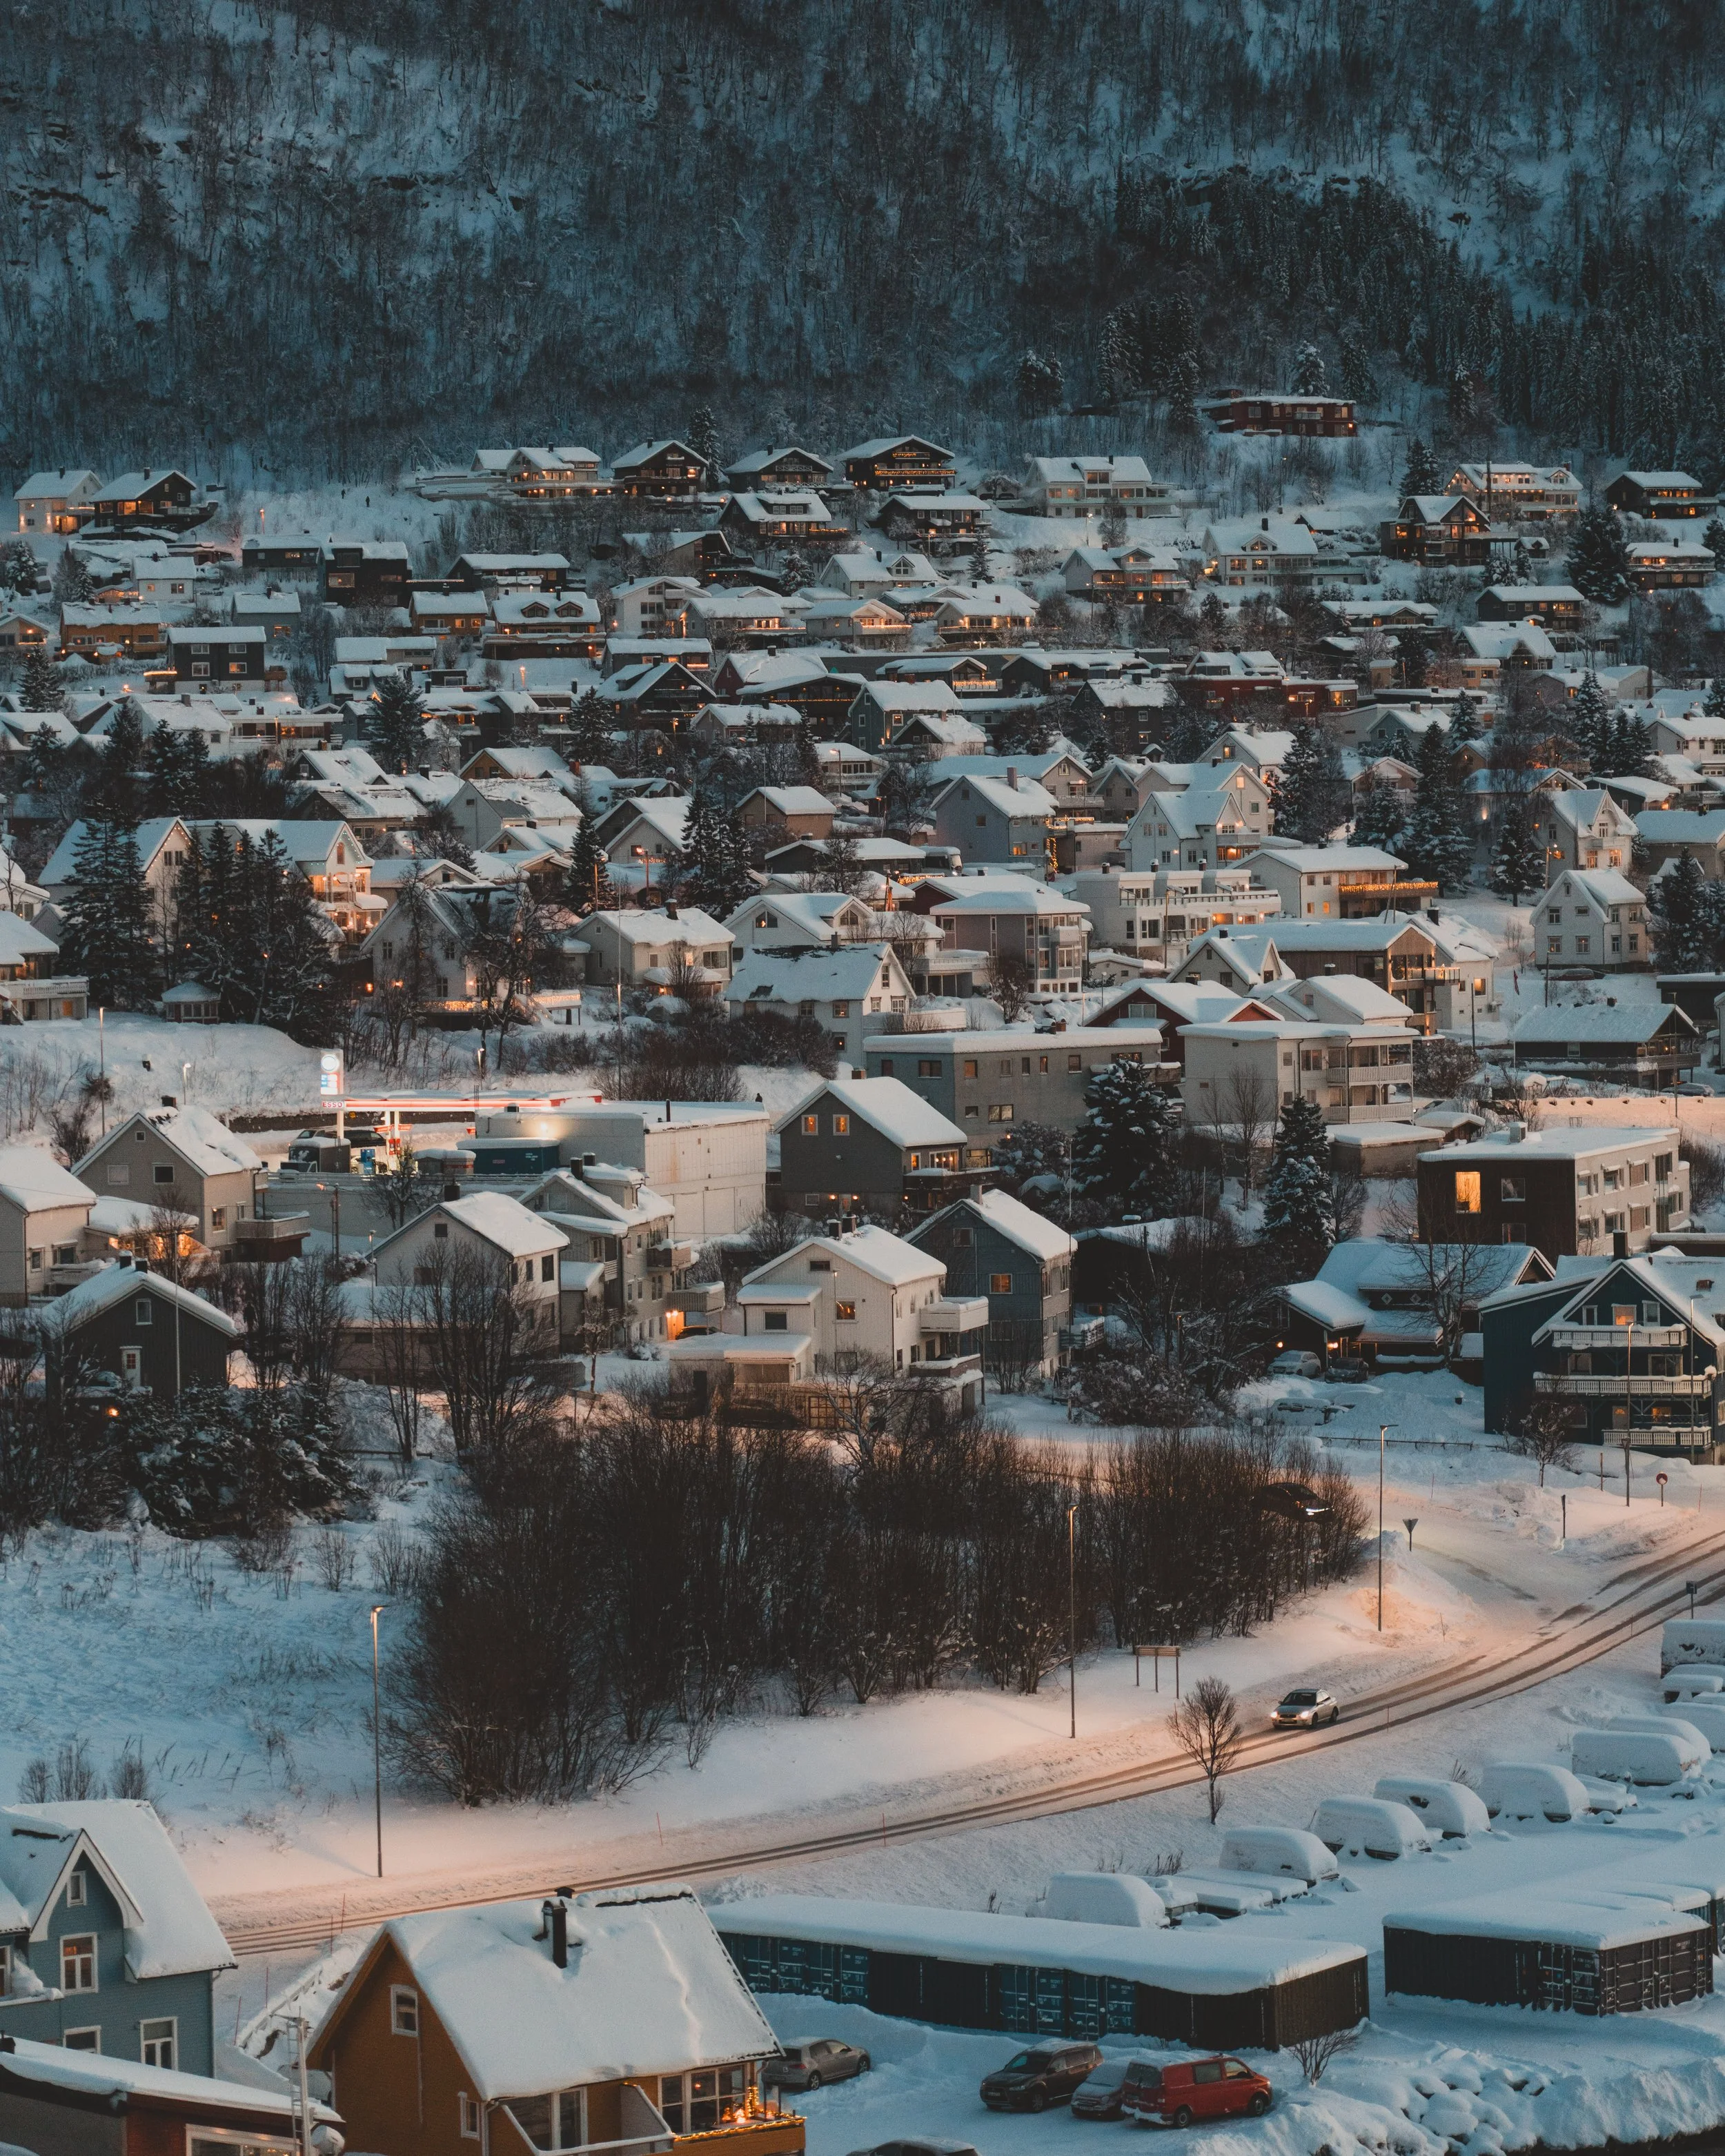
If you’ve ever seen a list of the best places to see the Northern Lights, you already know Tromsø is always near the top. First things first: Tromsø sits above the Arctic Circle, which means it experiences polar night, a period when the sun doesn’t rise above the horizon at all. Polar night typically lasts from late November to mid-January.
When we visited at the end of November, the sun rose around 12 PM and dipped back down by 2 PM. Just a few days later, even that tiny two-hour sliver of daylight disappeared completely and the true polar nights began. It’s wild… but also incredibly magical.
Not only is Tromsø in the perfect geographic position for high aurora probability, it’s also super accessible. The airport is only 25–30 minutes from the city center, and the city itself is so charming that it’s a destination in its own right. More on that soon, plus where I recommend staying.
Best Time to See the Northern Lights in Tromsø
The best time to see the Northern Lights in Tromsø (and honestly anywhere right now) is this winter. Solar activity is insanely high, which is why people have been spotting aurora in places that never see them. In general, your best chances are October through March, with peak viewing during the darkest months: December, January, and February.
A little stat to fuel your optimism: according to our tour provider, they were 29 for 31 in October. Meaning, there were only two nights they didn’t see the Northern Lights. They said November was shaping up to be just as good.
That said, even though Tromsø is one of the best places on Earth to base yourself, you’re probably not going to look out your hotel window and catch a full-blown sky show. You need someone who knows where to go, how to avoid light pollution, and how to read the ever-changing forecasts.
Which brings me to my next point…
How to See the Northern Lights in Tromsø
For your highest chance of seeing the Northern Lights, you’ll want to get out of the city and somewhere with very little light pollution. The best ways to do that? Book a tour, or rent a car. I cannot speak to the latter - nor did I have any desire to go driving around in snow and ice in a foreign land. If you do, power to you. This is when a tour comes in handy.
If you browse Get Your Guide, Viator, or similar sites, you’ll see an overwhelming number of Northern Lights tours. It can be hard to figure out which ones are actually worth the time (and money). After a decent amount of research, I landed on a tour with Spirit in the Sky (booked through Get Your Guide.)
As I mentioned, they had an impressively high success rate for finding the Northern Lights: 29 out of 31 days in October, with November looking just as good. So why did I book this tour?
Let’s start with price. It’s no secret that Norway is NOT cheap, but for roughly 139–169 EUR per person (prices fluctuate), this 8-hour tour was worth every penny. You get picked up in central Tromsø, but where you actually go depends entirely on the guides. They know exactly where to chase the lights, sometimes even crossing into Finland (so yeah, don’t forget your passport!).
The minibus is warm and comfy, and the group tops out at 15 people, which makes it feel personal. You’re also provided with a winter suit if needed. My adrenaline kept me warm, but it can get seriously cold, so this was a huge bonus.
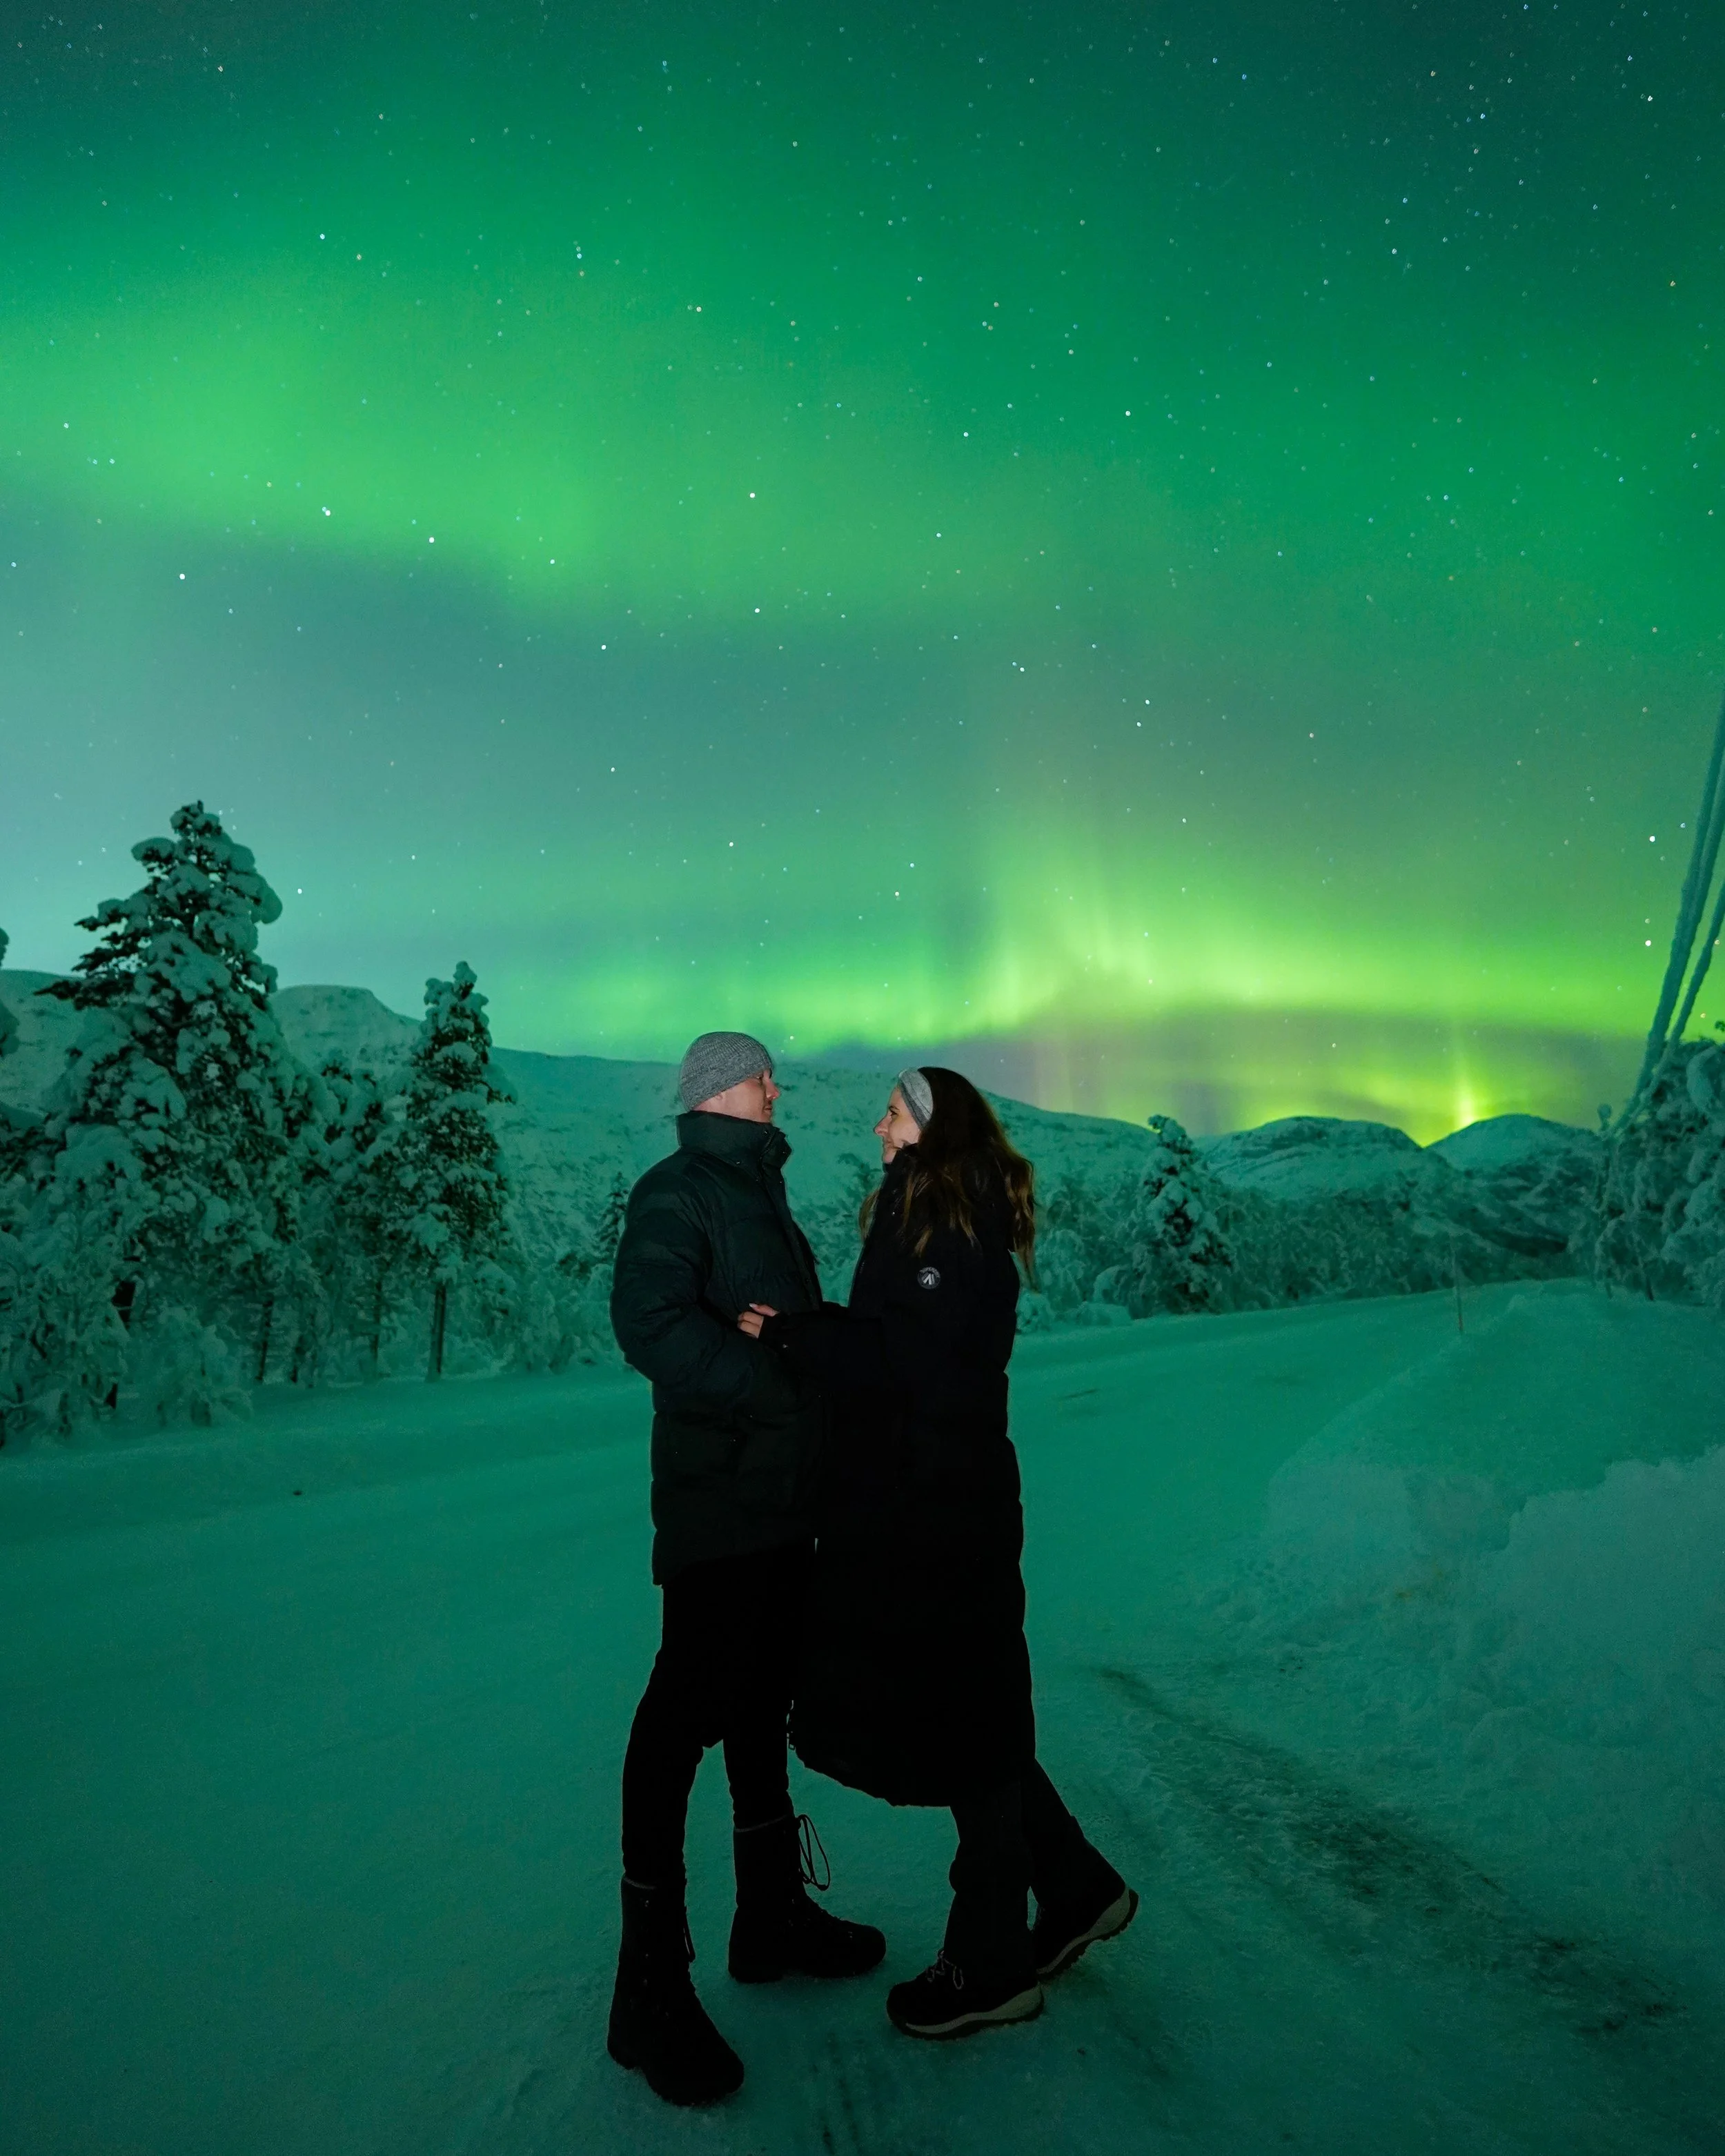
The best part? They take photos for you. While you’re out there trying to recreate that Instagram post you’ve been saving, you can relax knowing someone who knows what they’re doing is capturing it all. They get incredible photos of both you and the aurora—and I was genuinely shocked to have all of this content in less than 24 hours. The added value is massive, in my opinion.
No two tours are ever exactly the same (which is part of the fun), but here’s a timeline and description of how ours went:
5:45 PM: Pick-up in Tromsø
The pick-up point was in a parking lot between Kystens mat hus and Full Steam restaurant - there’s a sign).
6:40 PM: First Stop
Less than an hour into our drive, we were already making out first stop due to high activity. At this point, I was already impressed. I could see the lights with my naked eye, the guides were getting amazing photos of everyone, and the scenery was snow-covered and idyllic.
8:00 PM: Bathroom Break
After another hour of driving, we stopped for a quick bathroom break just before the final destination. The whole ‘bathroom situation’ was something I wondered about but couldn’t find any information online about. I was imagining myself in a full arctic suit in the middle of nowhere bursting with hot chocolate - but the stop on the way and the stop after was perfectly timed for me. That said, if you do need to go between the scheduled breaks - take comfort in the darkness and pack some toilet paper just in case.
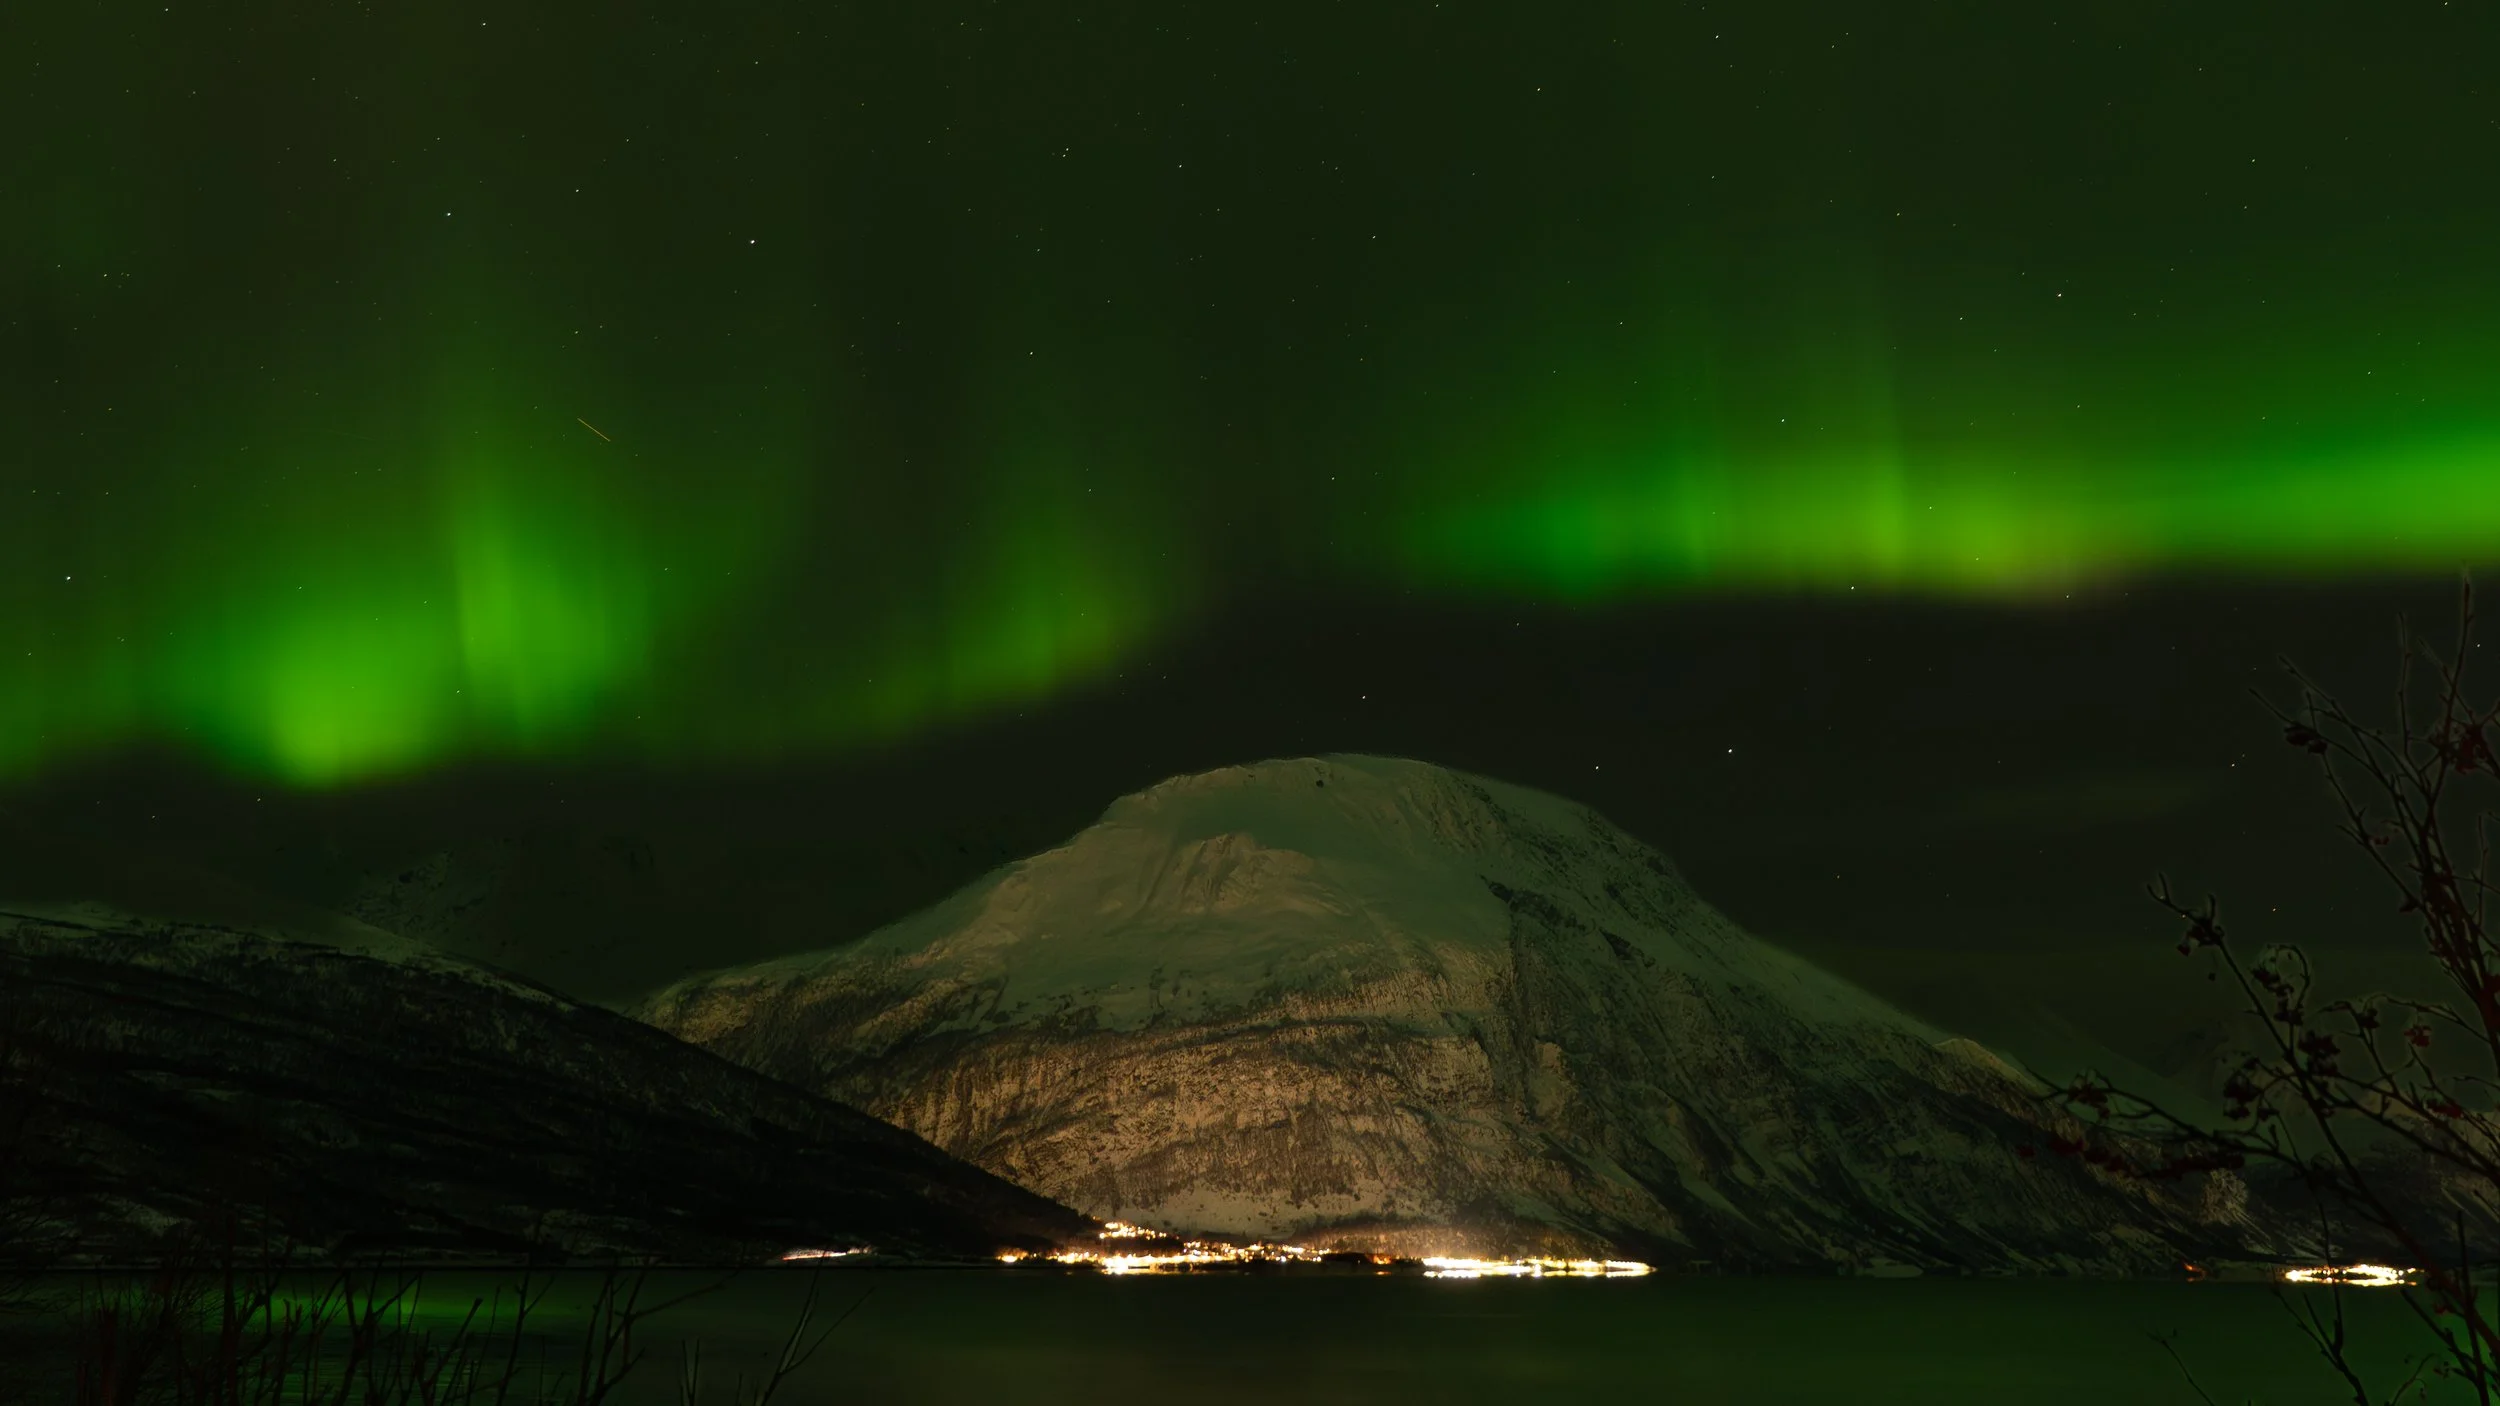
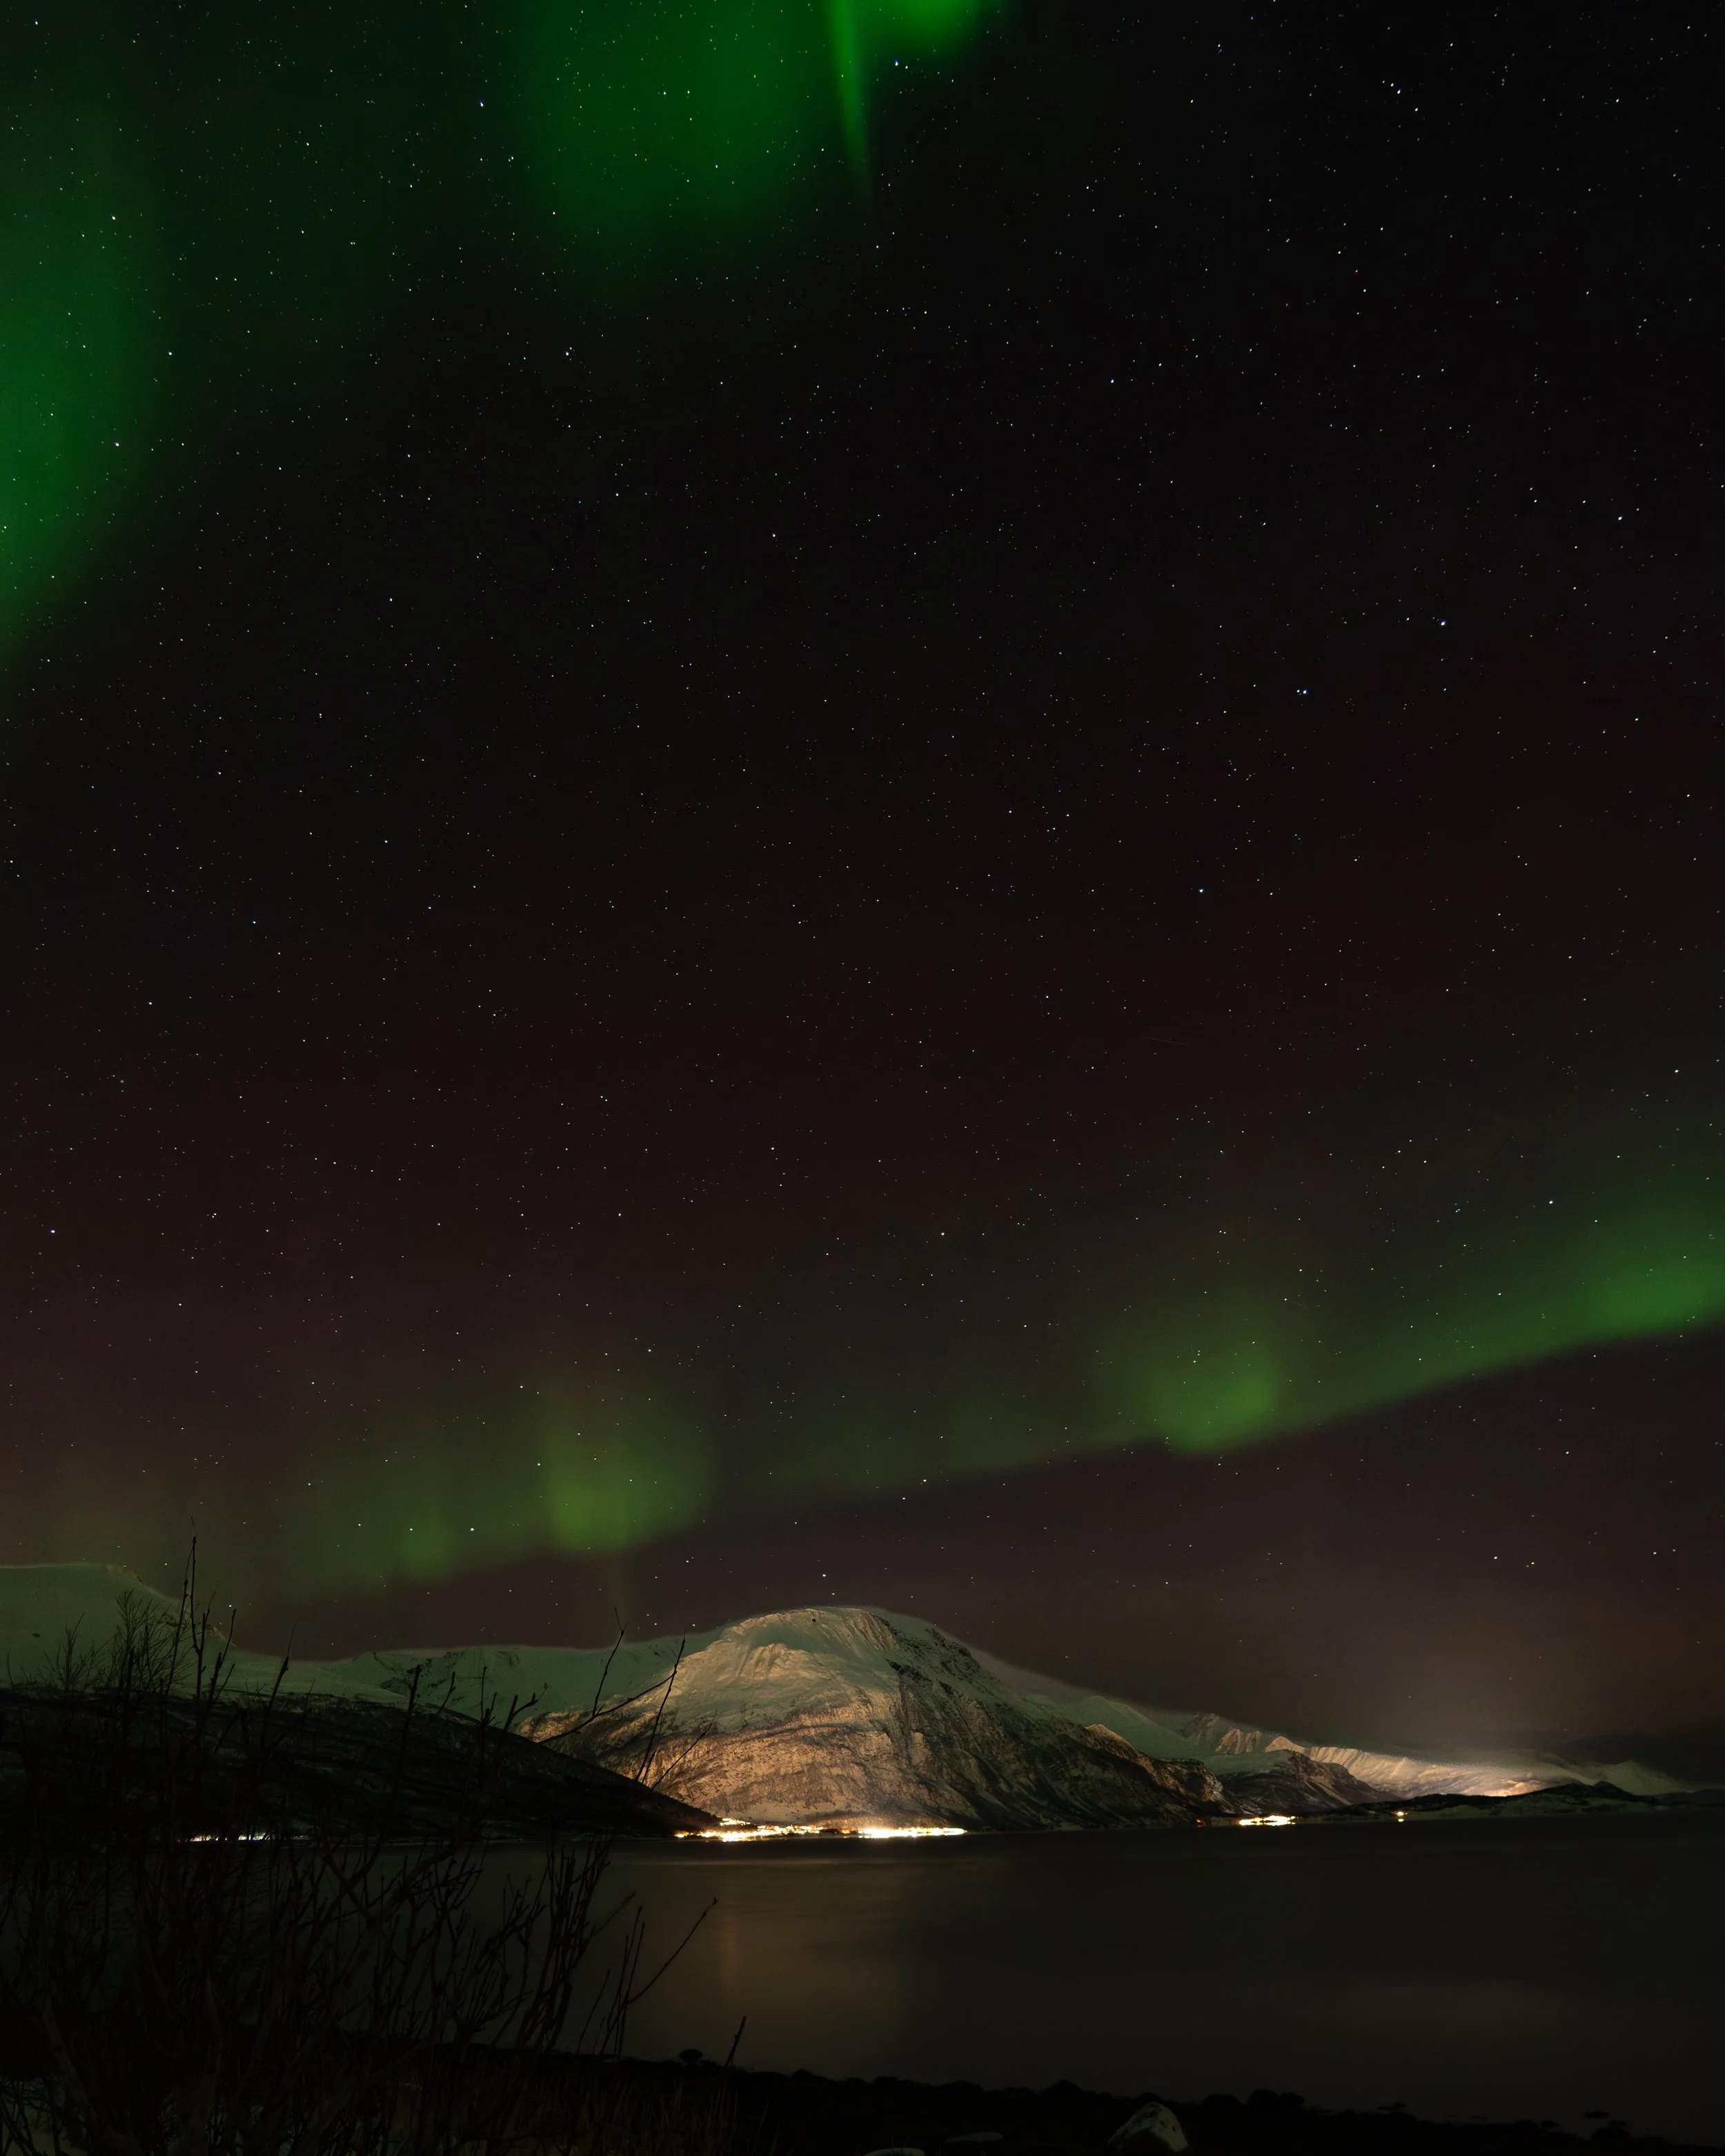
8:20 PM: Skibotn, Final Stop
We arrived in Skibotn, right beside a fjord and surrounded by mountains. I promptly realized that the lights we’d seen on the first stop were just the beginning. Here, the lights were putting on a breathtaking display, on and off for HOURS. We took a fair bit of time to enjoy them in full darkness and get some photos before getting the campfire going. Another thing I didn’t realize? That I’d need to setup my tripod and camera in the snow and dark. The struggle was real.
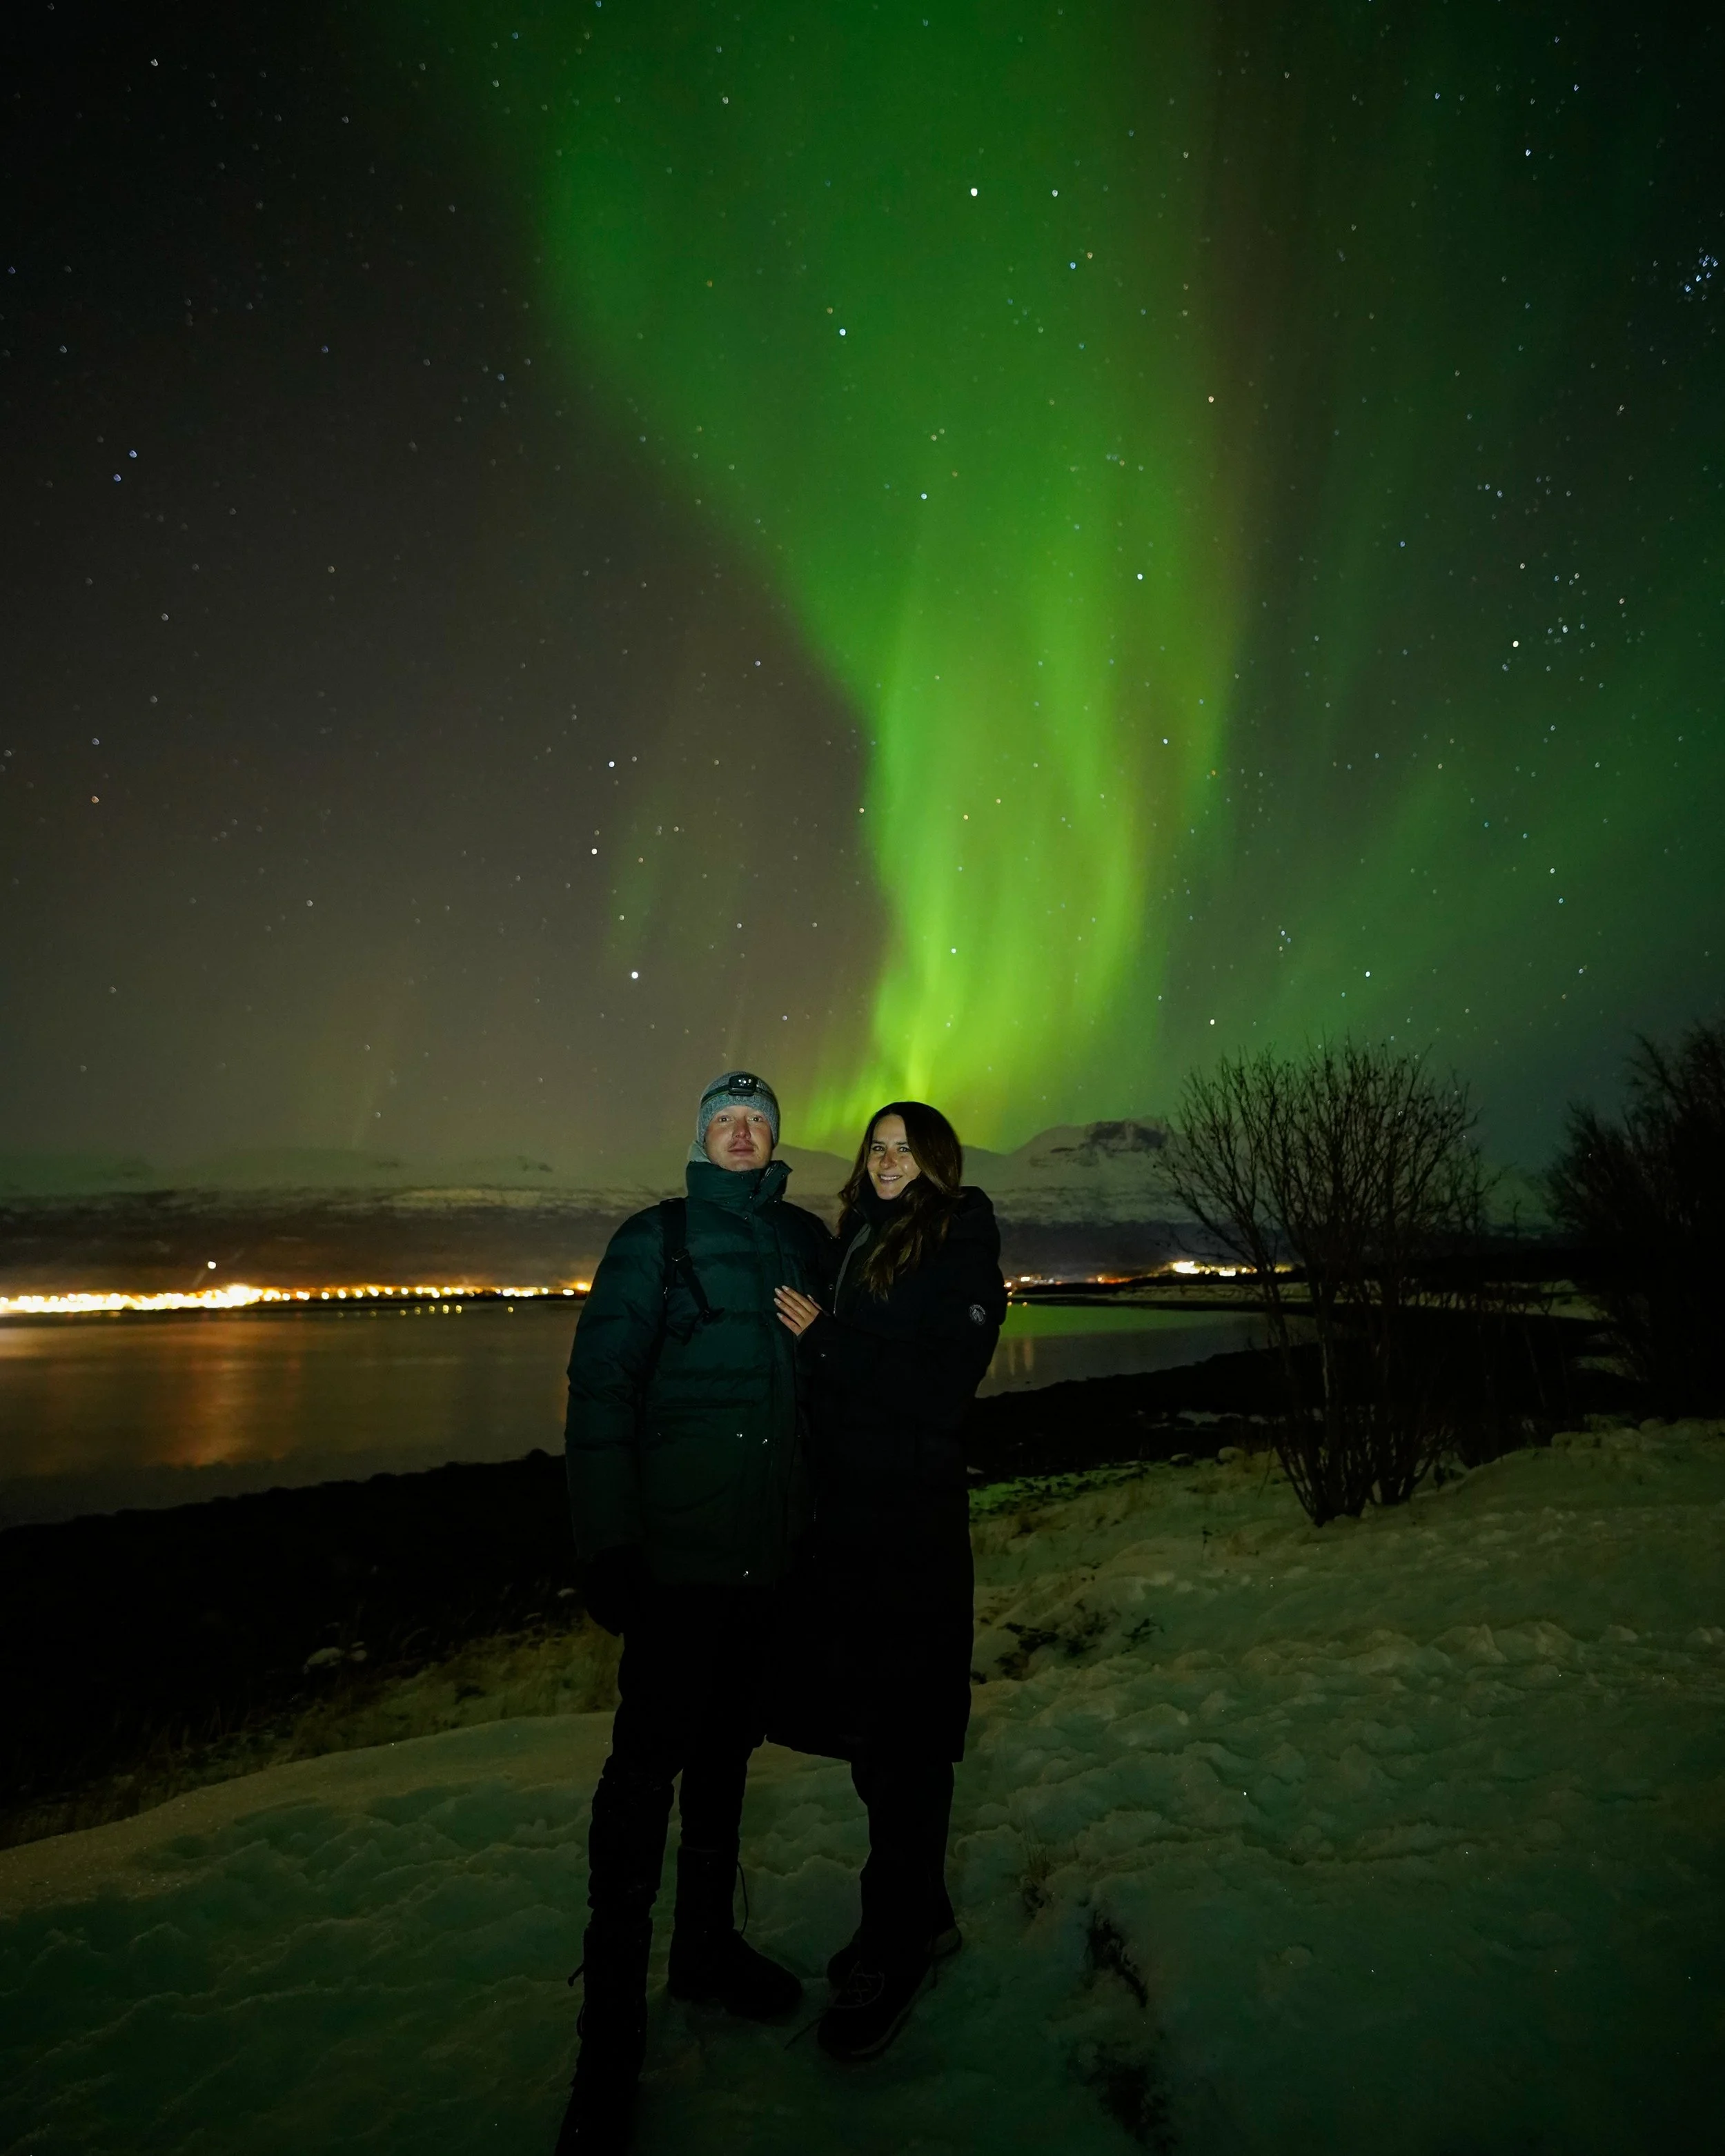
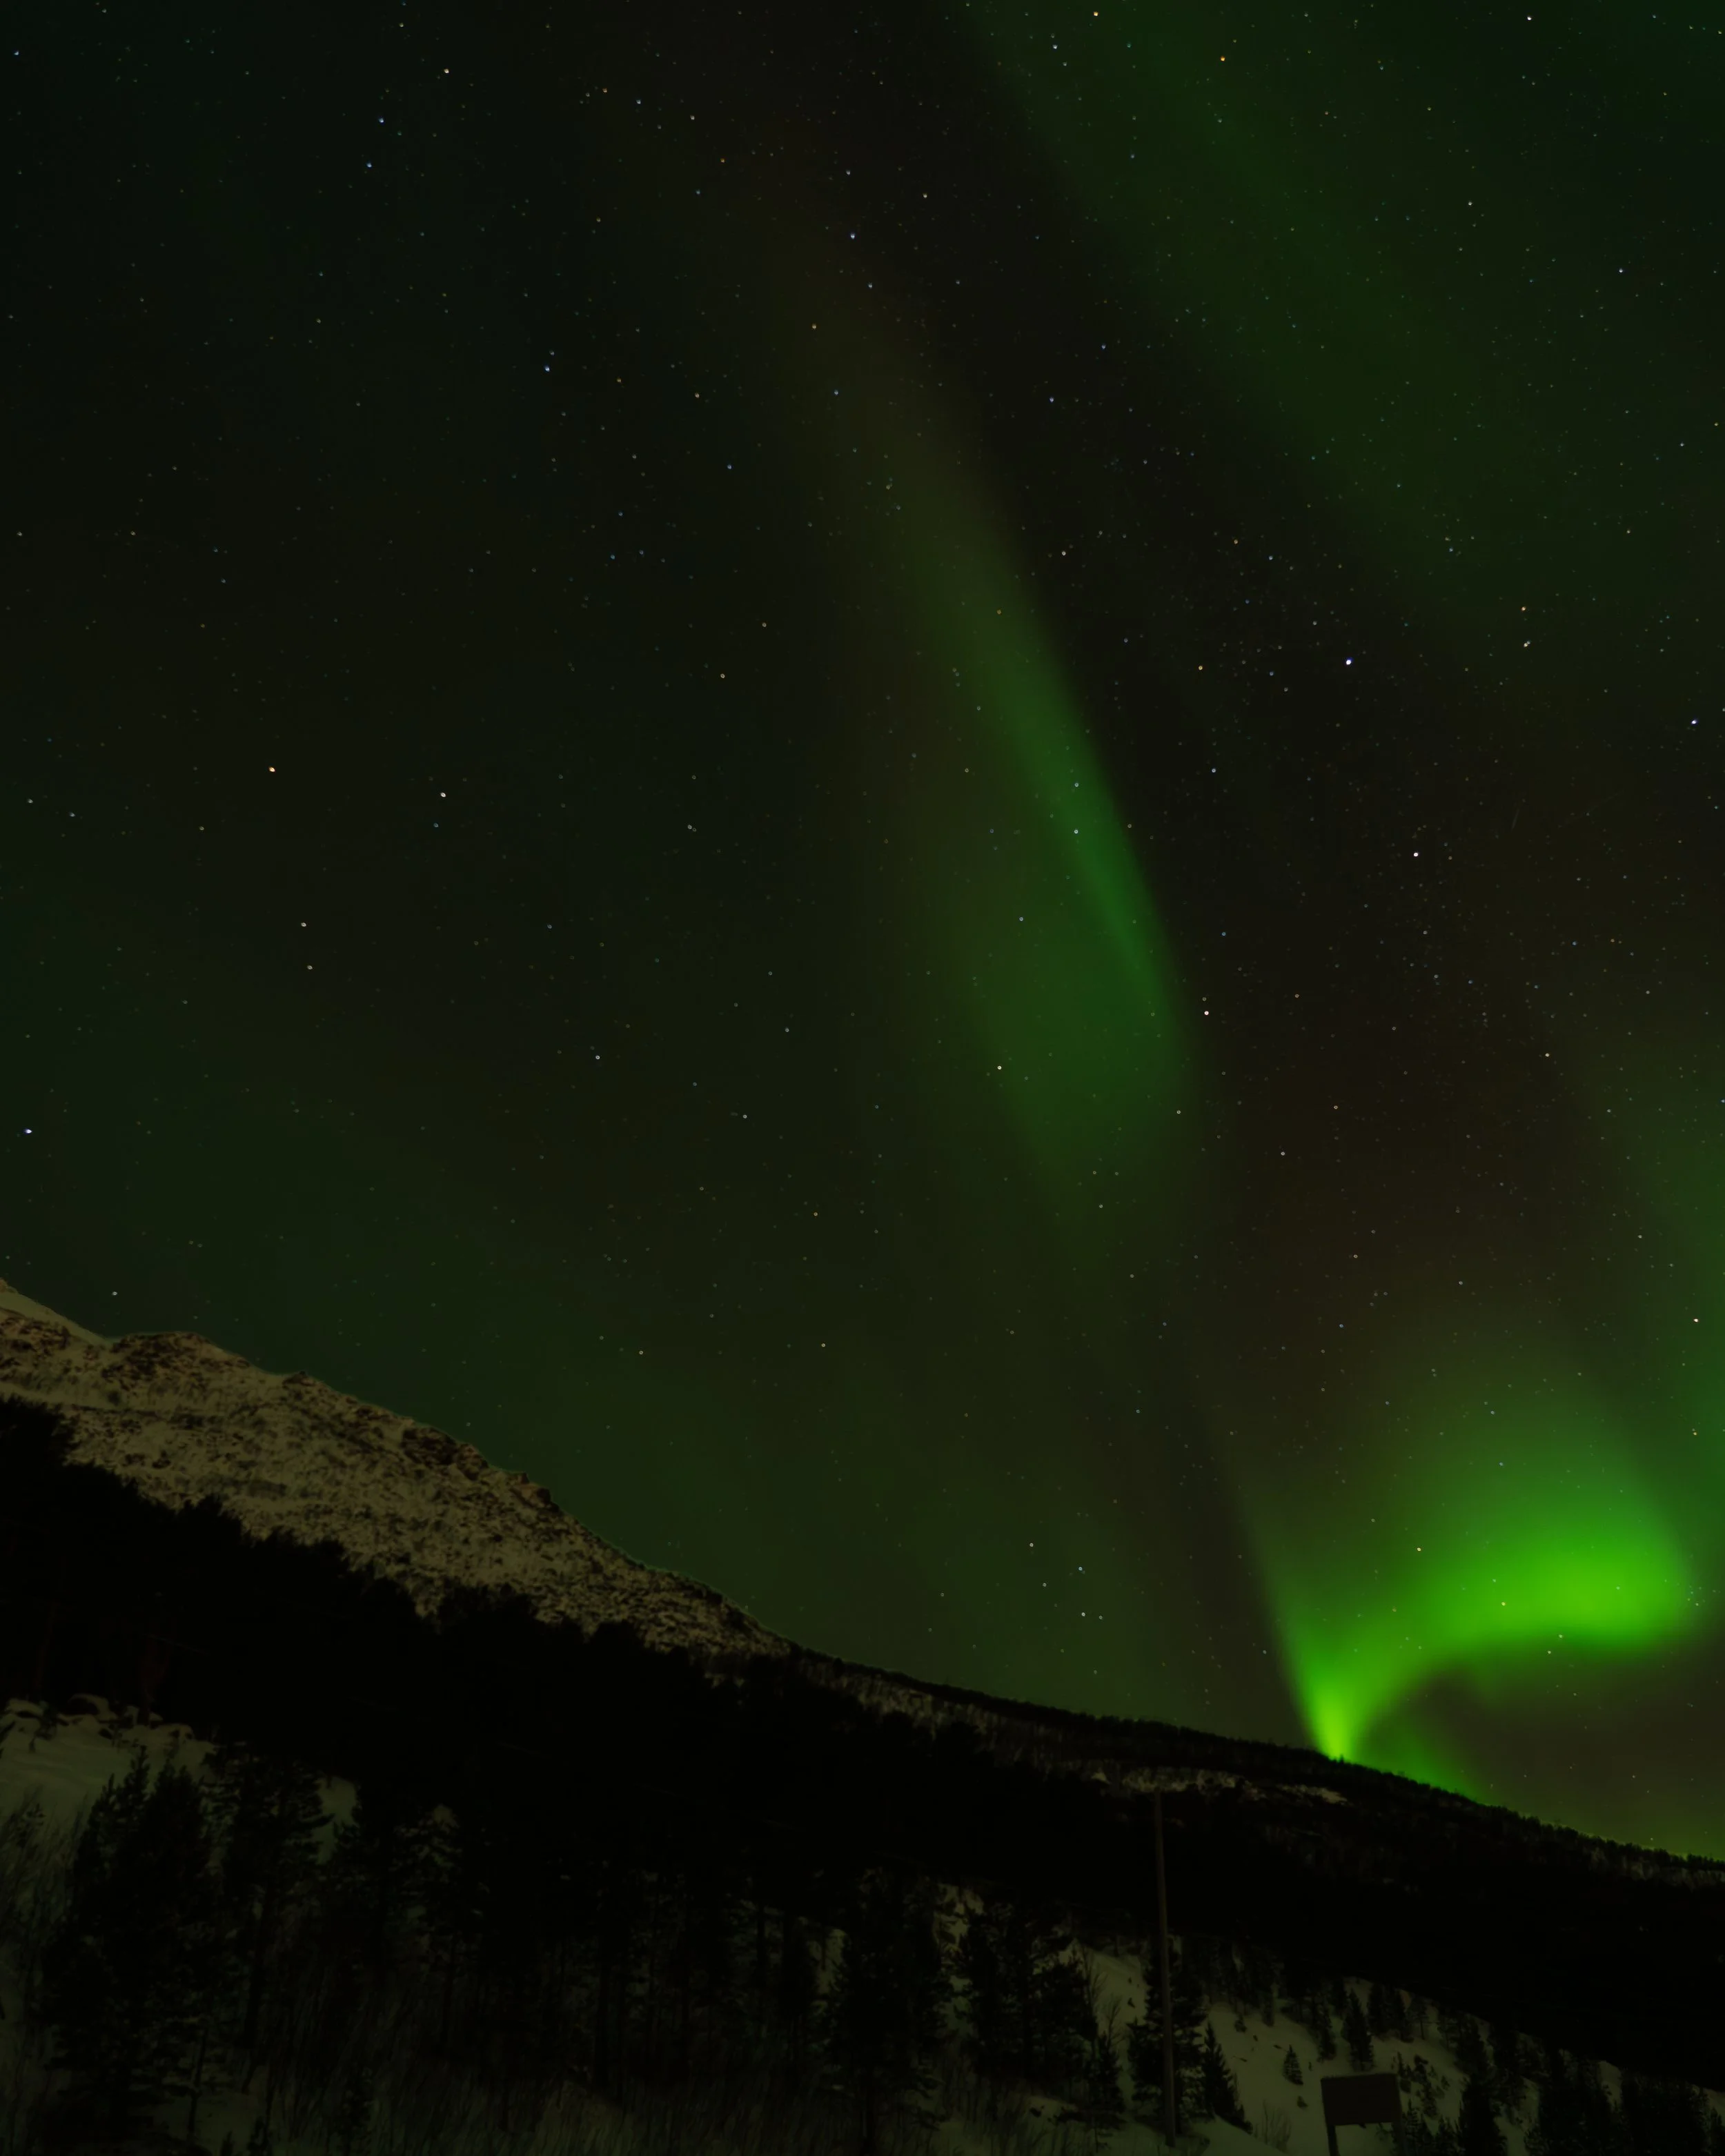
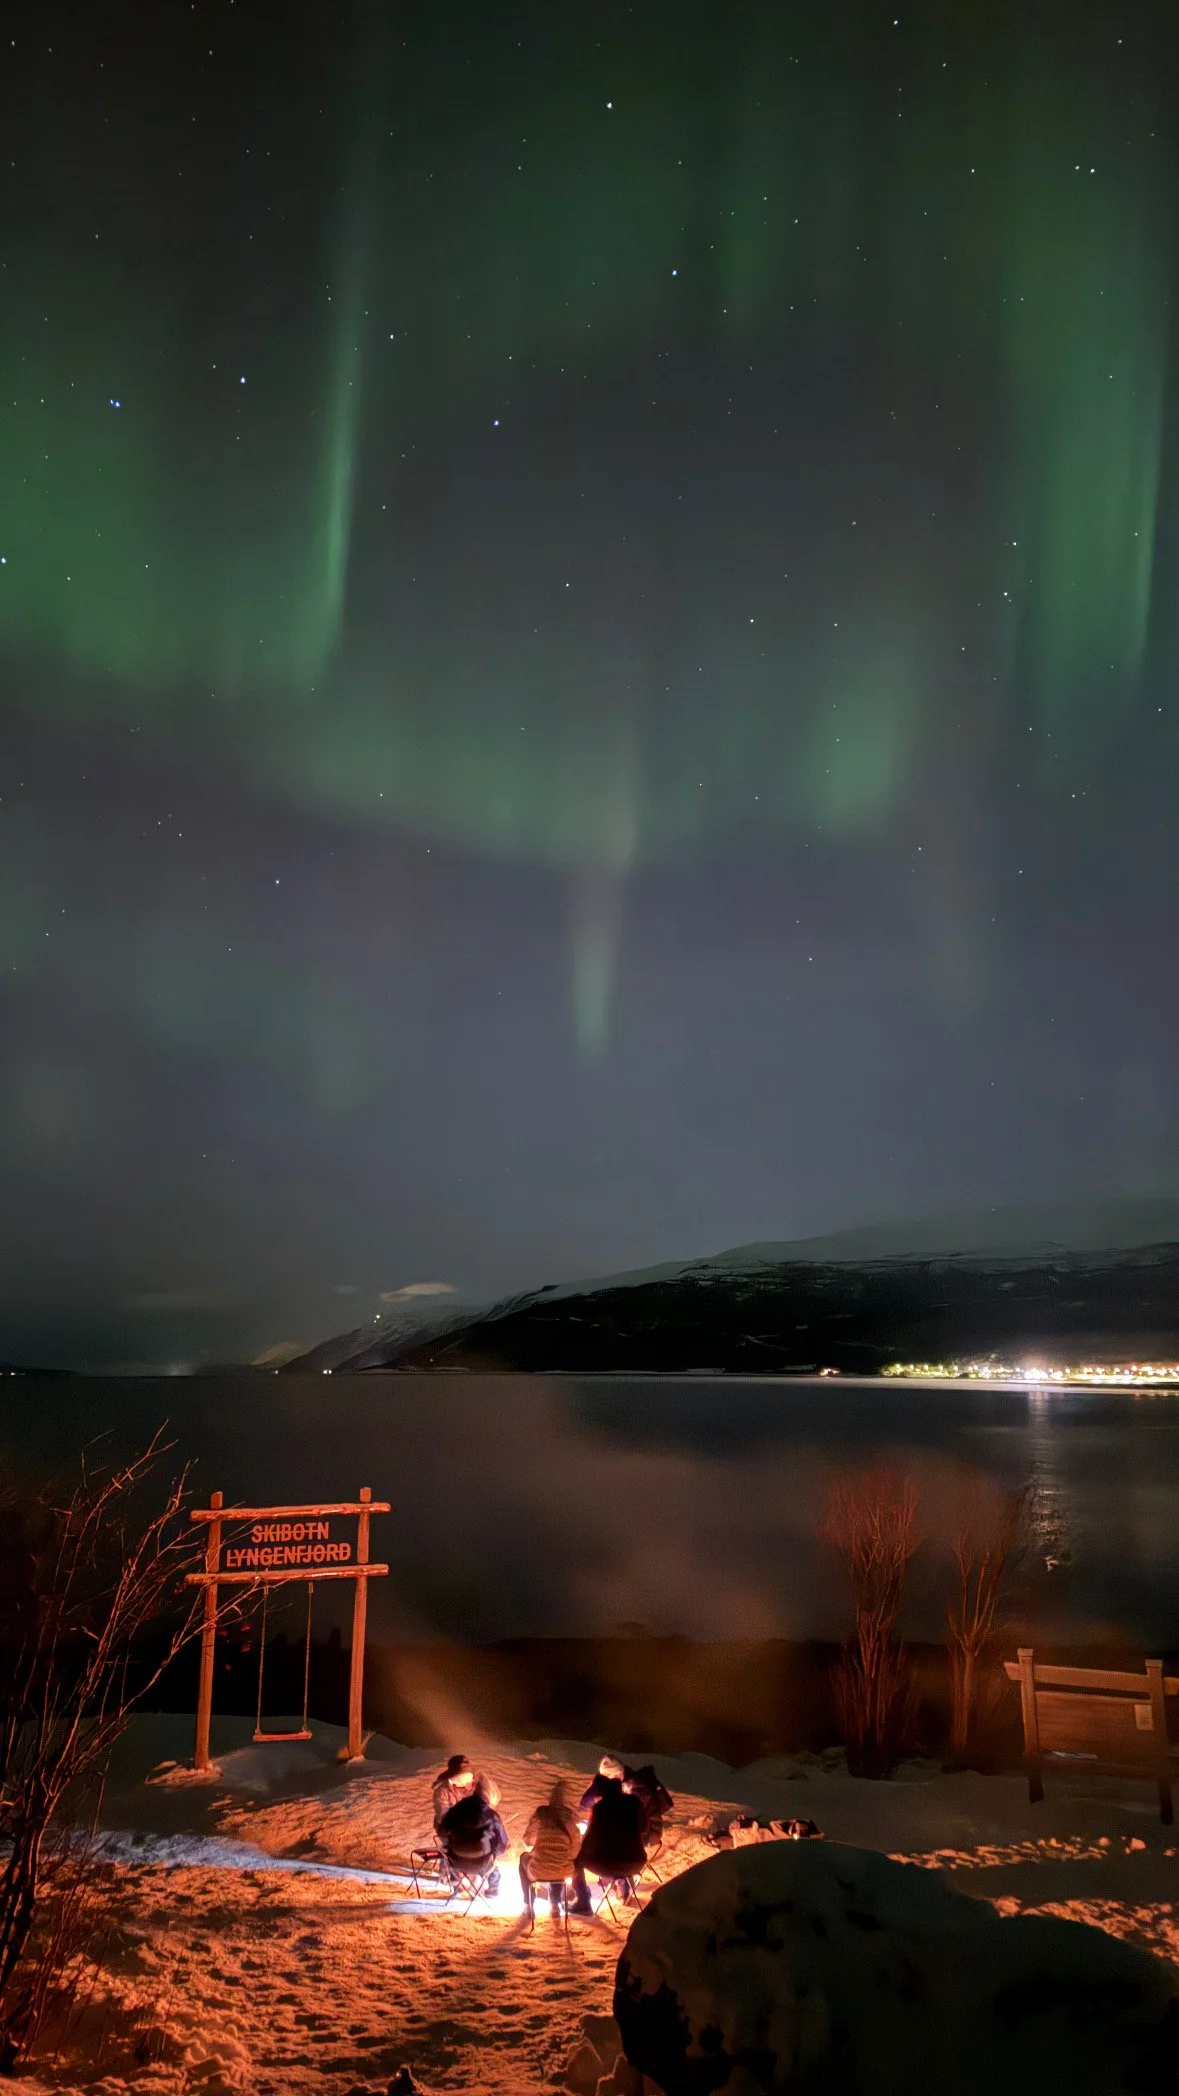
8:20 PM - 11:00 PM: Enjoying the Show
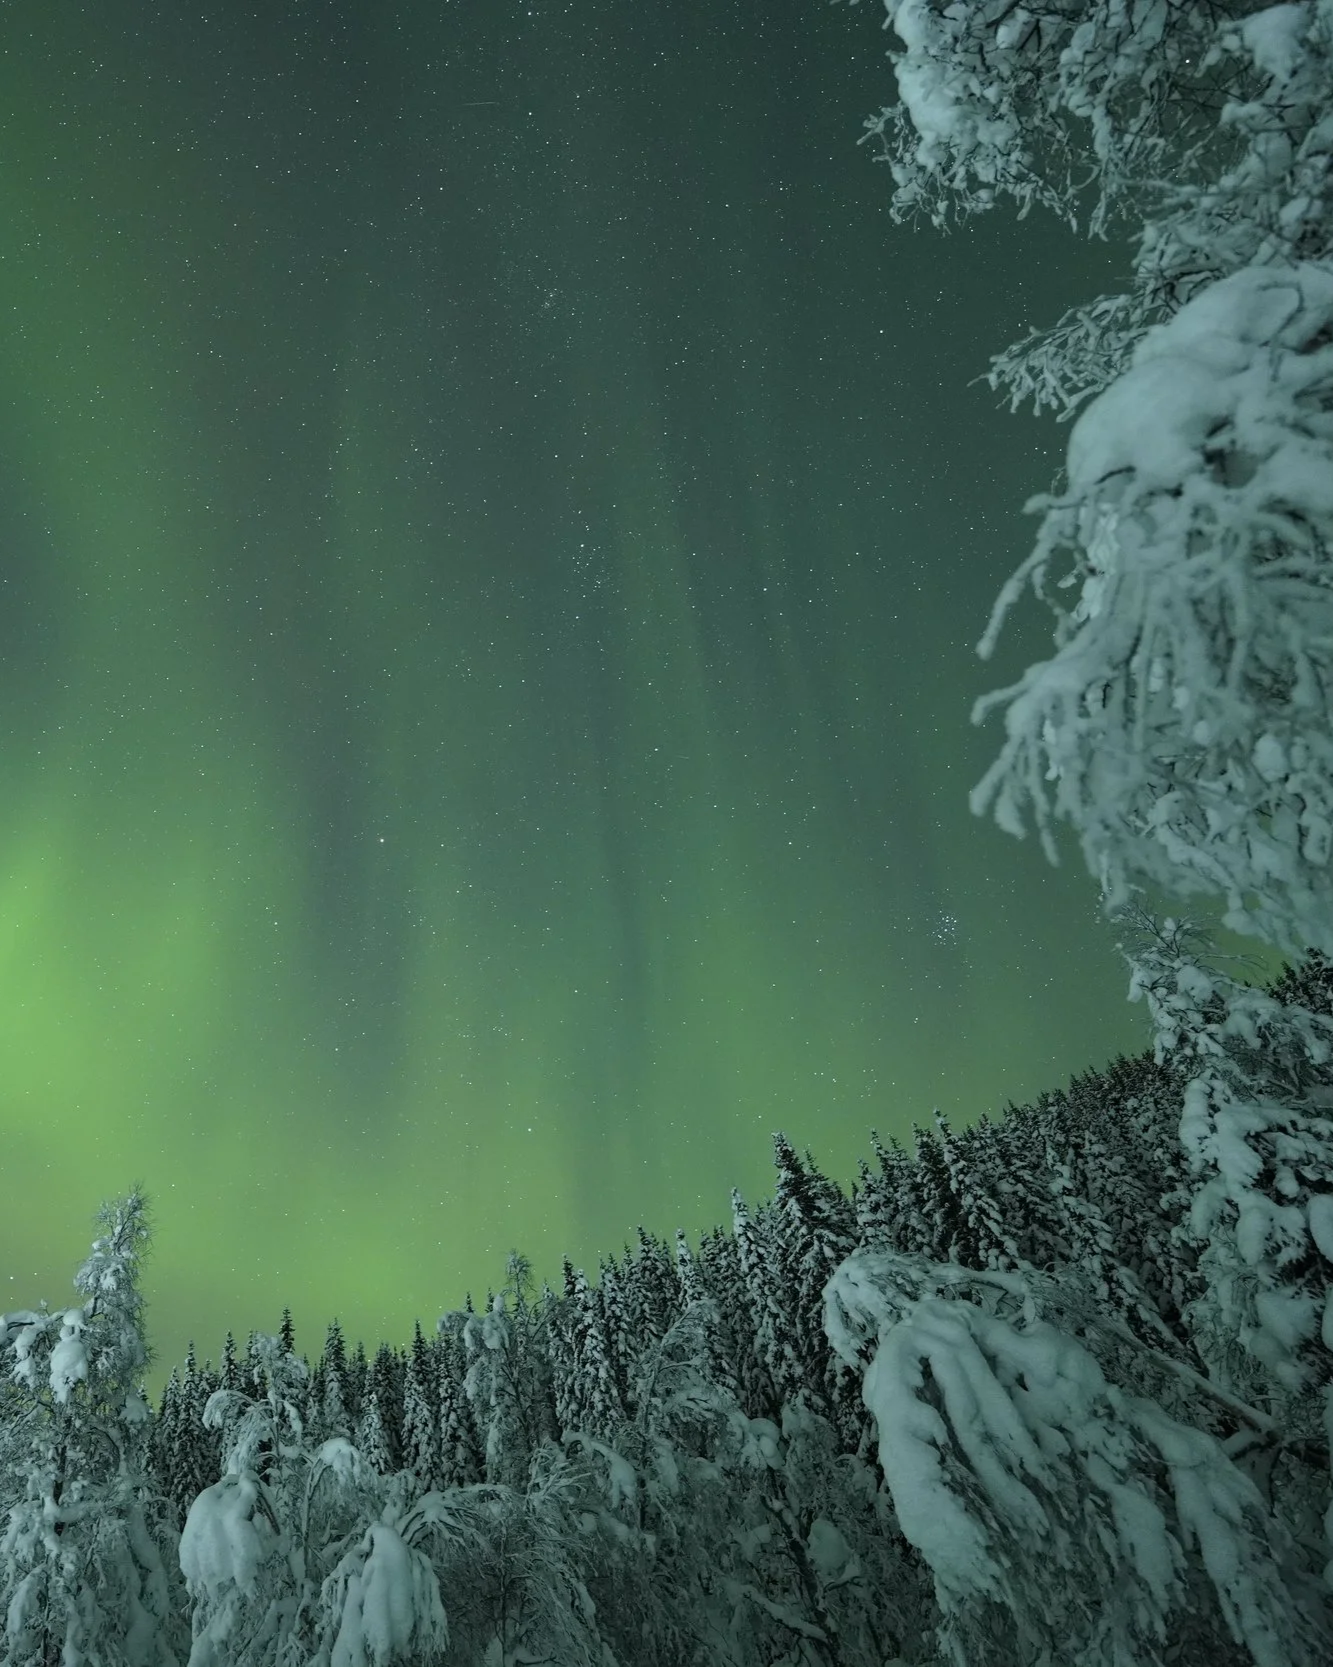
We spent the bulk of the evening in Skibotn, and this was the longest stretch spent outside. The good news? The guides build a campfire for you and provide hot drinks, hot dogs, and marshmallows. It was honestly such a magical setting. (Completely unedited photo below!)
11:00 PM - 12:30 AM: Drive Back
Everyone was blissed out (and half asleep) on the drive back to Tromsø. According to my phone, I was warm in bed by 12:52 AM.
Bonus: If you don’t see the Northern Lights, the tour offers 50% off your next available trip—so there’s really nothing to lose.
What to Wear for Northern Lights Tours
What to wear, what to wear. This question stressed me out the most pre-trip. I was comfortable and warm all trip and I’ll tell you exactly what I packed.
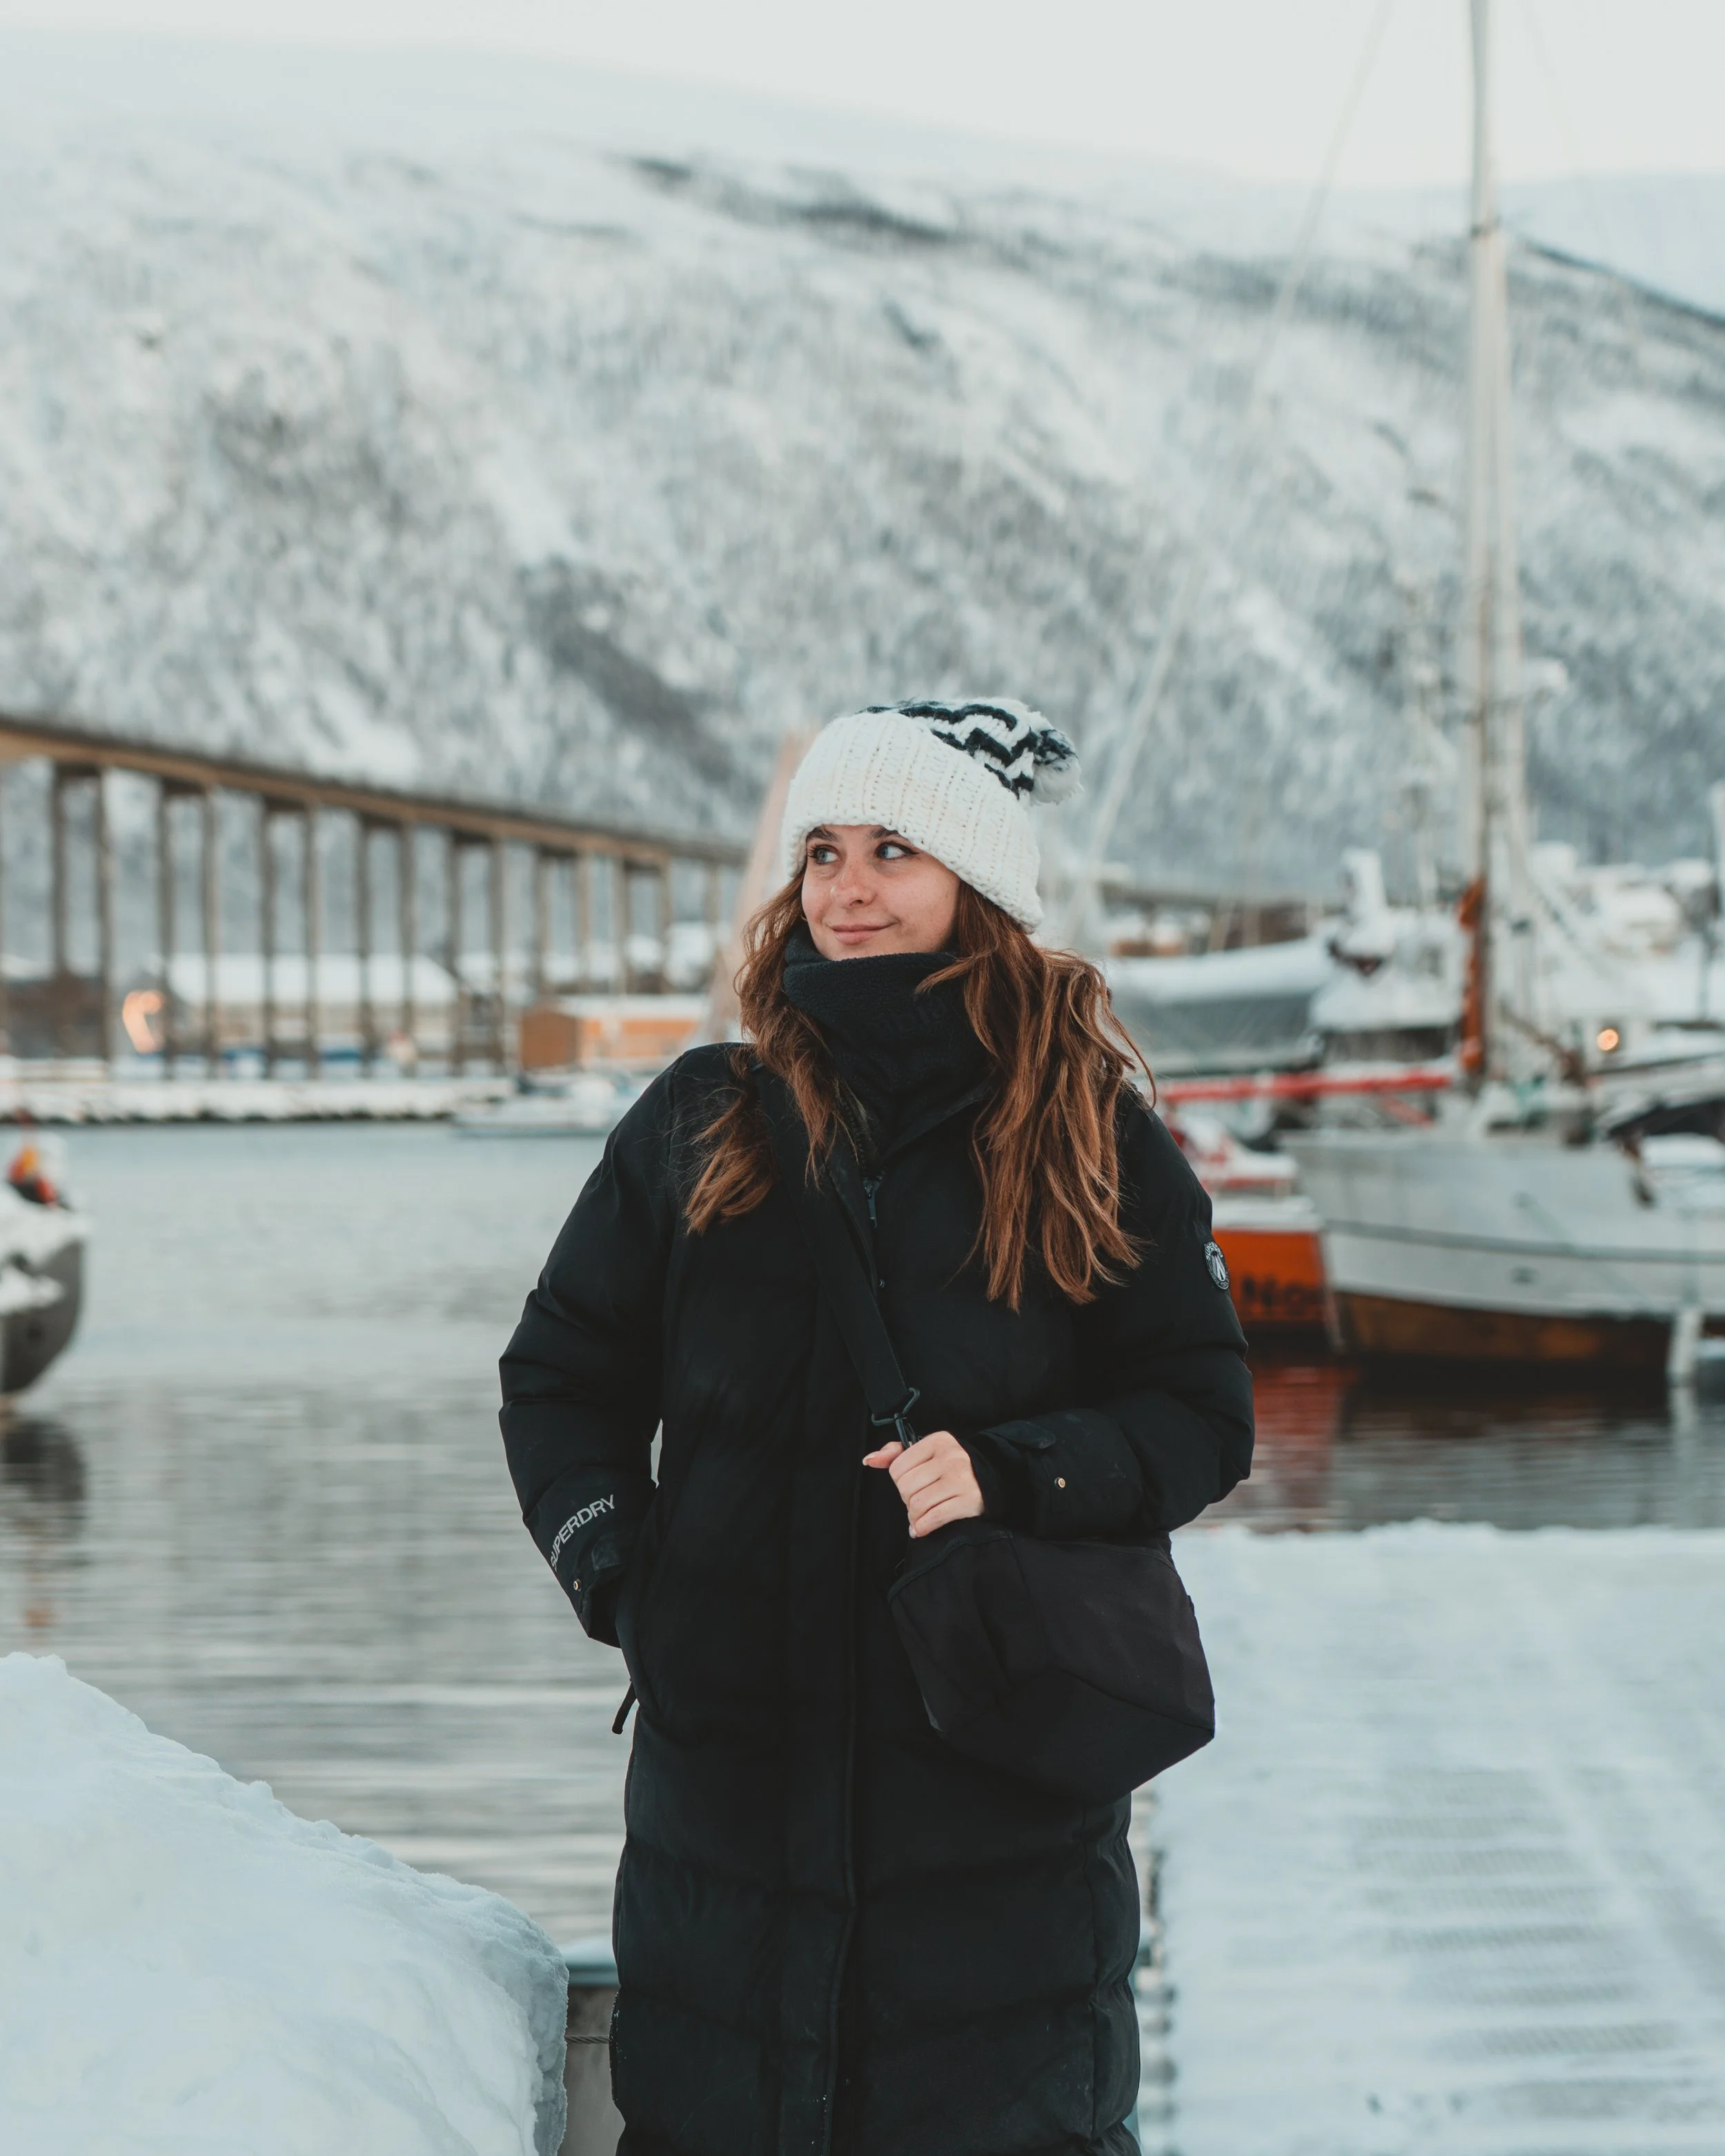
Padded long coat. I’m a cold-weather wimp, so keeping warm was my #1 priority. This is the exact Superdry jacket I brought to Tromsø and it kept me comfortable standing outside for hours. I’ve linked it here through LTK if you want to check it out.
Layers, layers, layers
I wore a down jacket that kept me warm standing outside for hours at -10°C. If you tend to run cold like me, this is the one piece I wouldn’t skip.
2. Thermal tops. Your first line of defense against Arctic chill and keeps your core cozy. To be perfectly honest: I packed three, but kept re-wearing the same one.
3. Fleece-lined leggings. Soft, warm, and stretchy - because freezing legs are not part of the Northern Lights experience.
4. Snow pants. Waterproof, windproof, and built for snow - these are your ticket to standing outside for hours without shivering.
5. Gloves. Warm hands = happy hands. Bonus points for touchscreen-friendly so you can snap aurora photos without frostbite. I did not have these. But my adrenaline kept me warm, I swear.
6. Thick socks. Thick, thermal socks are non-negotiable for polar nights.
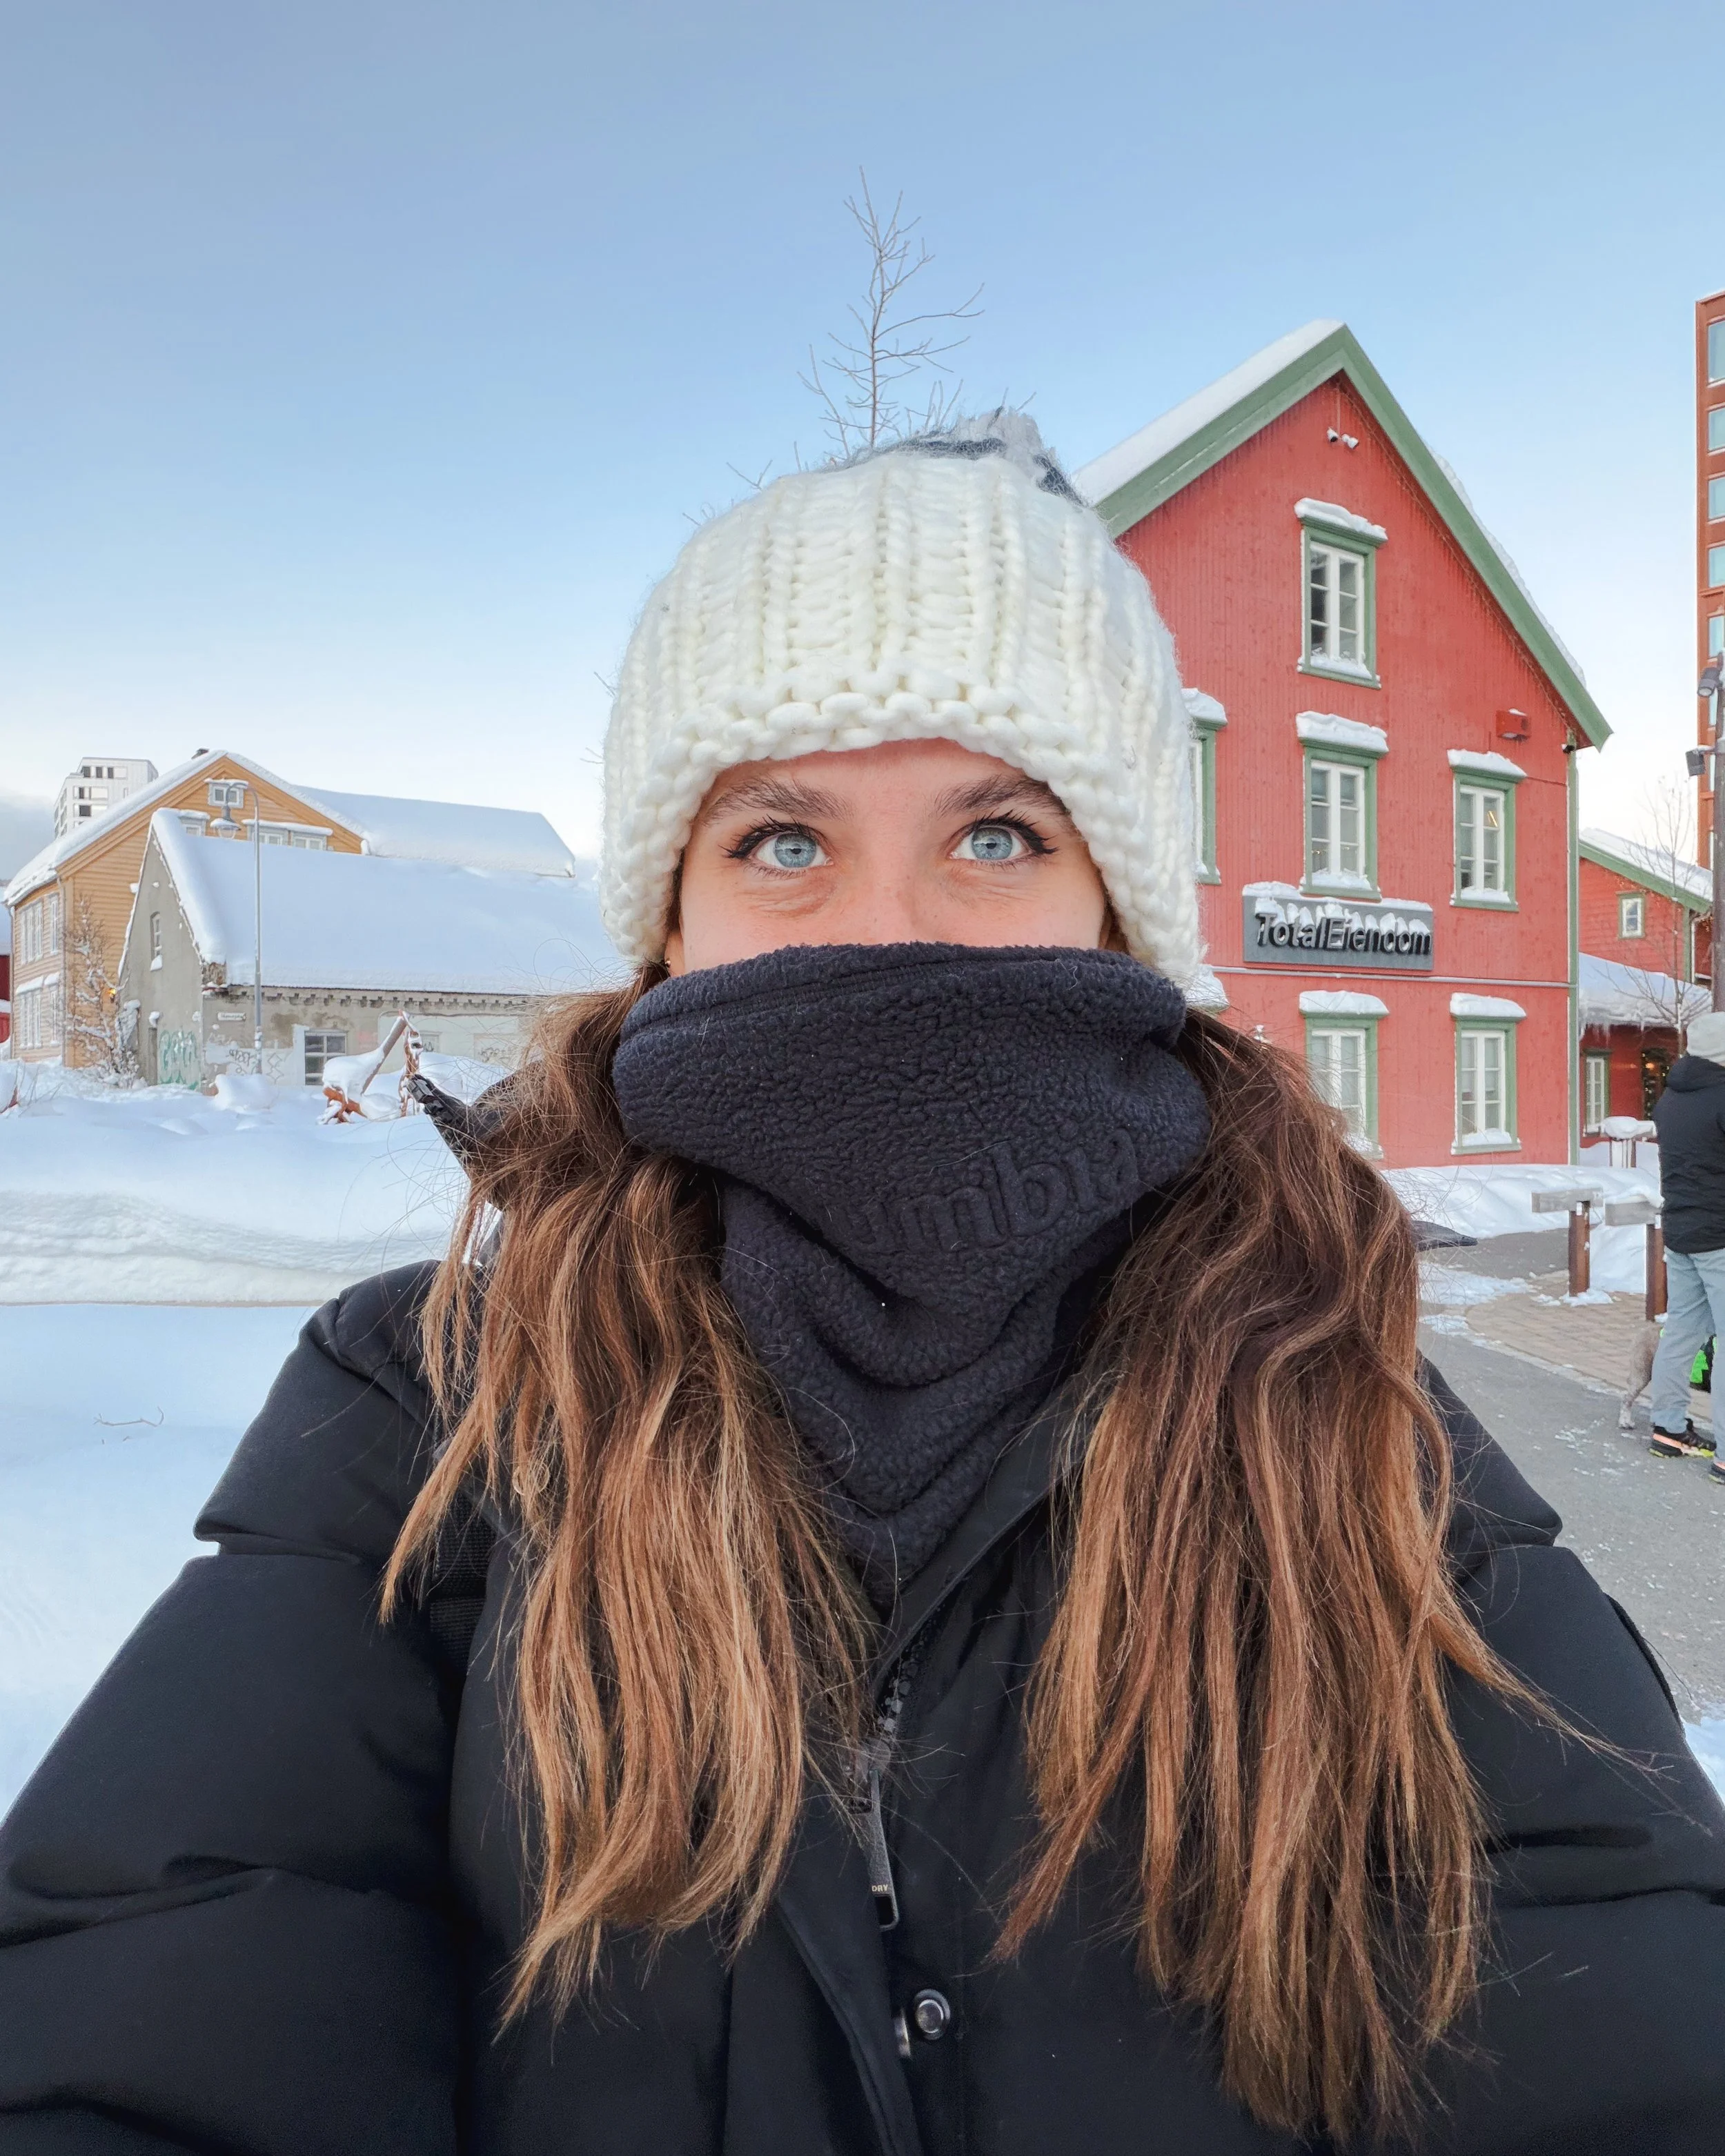
7. Fleece neck warmer. This Columbia gaiter saved me in -10°C. Warm, soft, and actually stays up. A must for aurora nights. Shop this gaiter here.
8. Waterproof boots. The Women’s Newton Ridge Plus Waterproof Amped Hiking Boot kept me dry, warm, and supported while exploring snowy trails and chasing the Northern Lights. Shop the boots here.
9. Hats and more hats. Make sure those ears stay covered, friends.
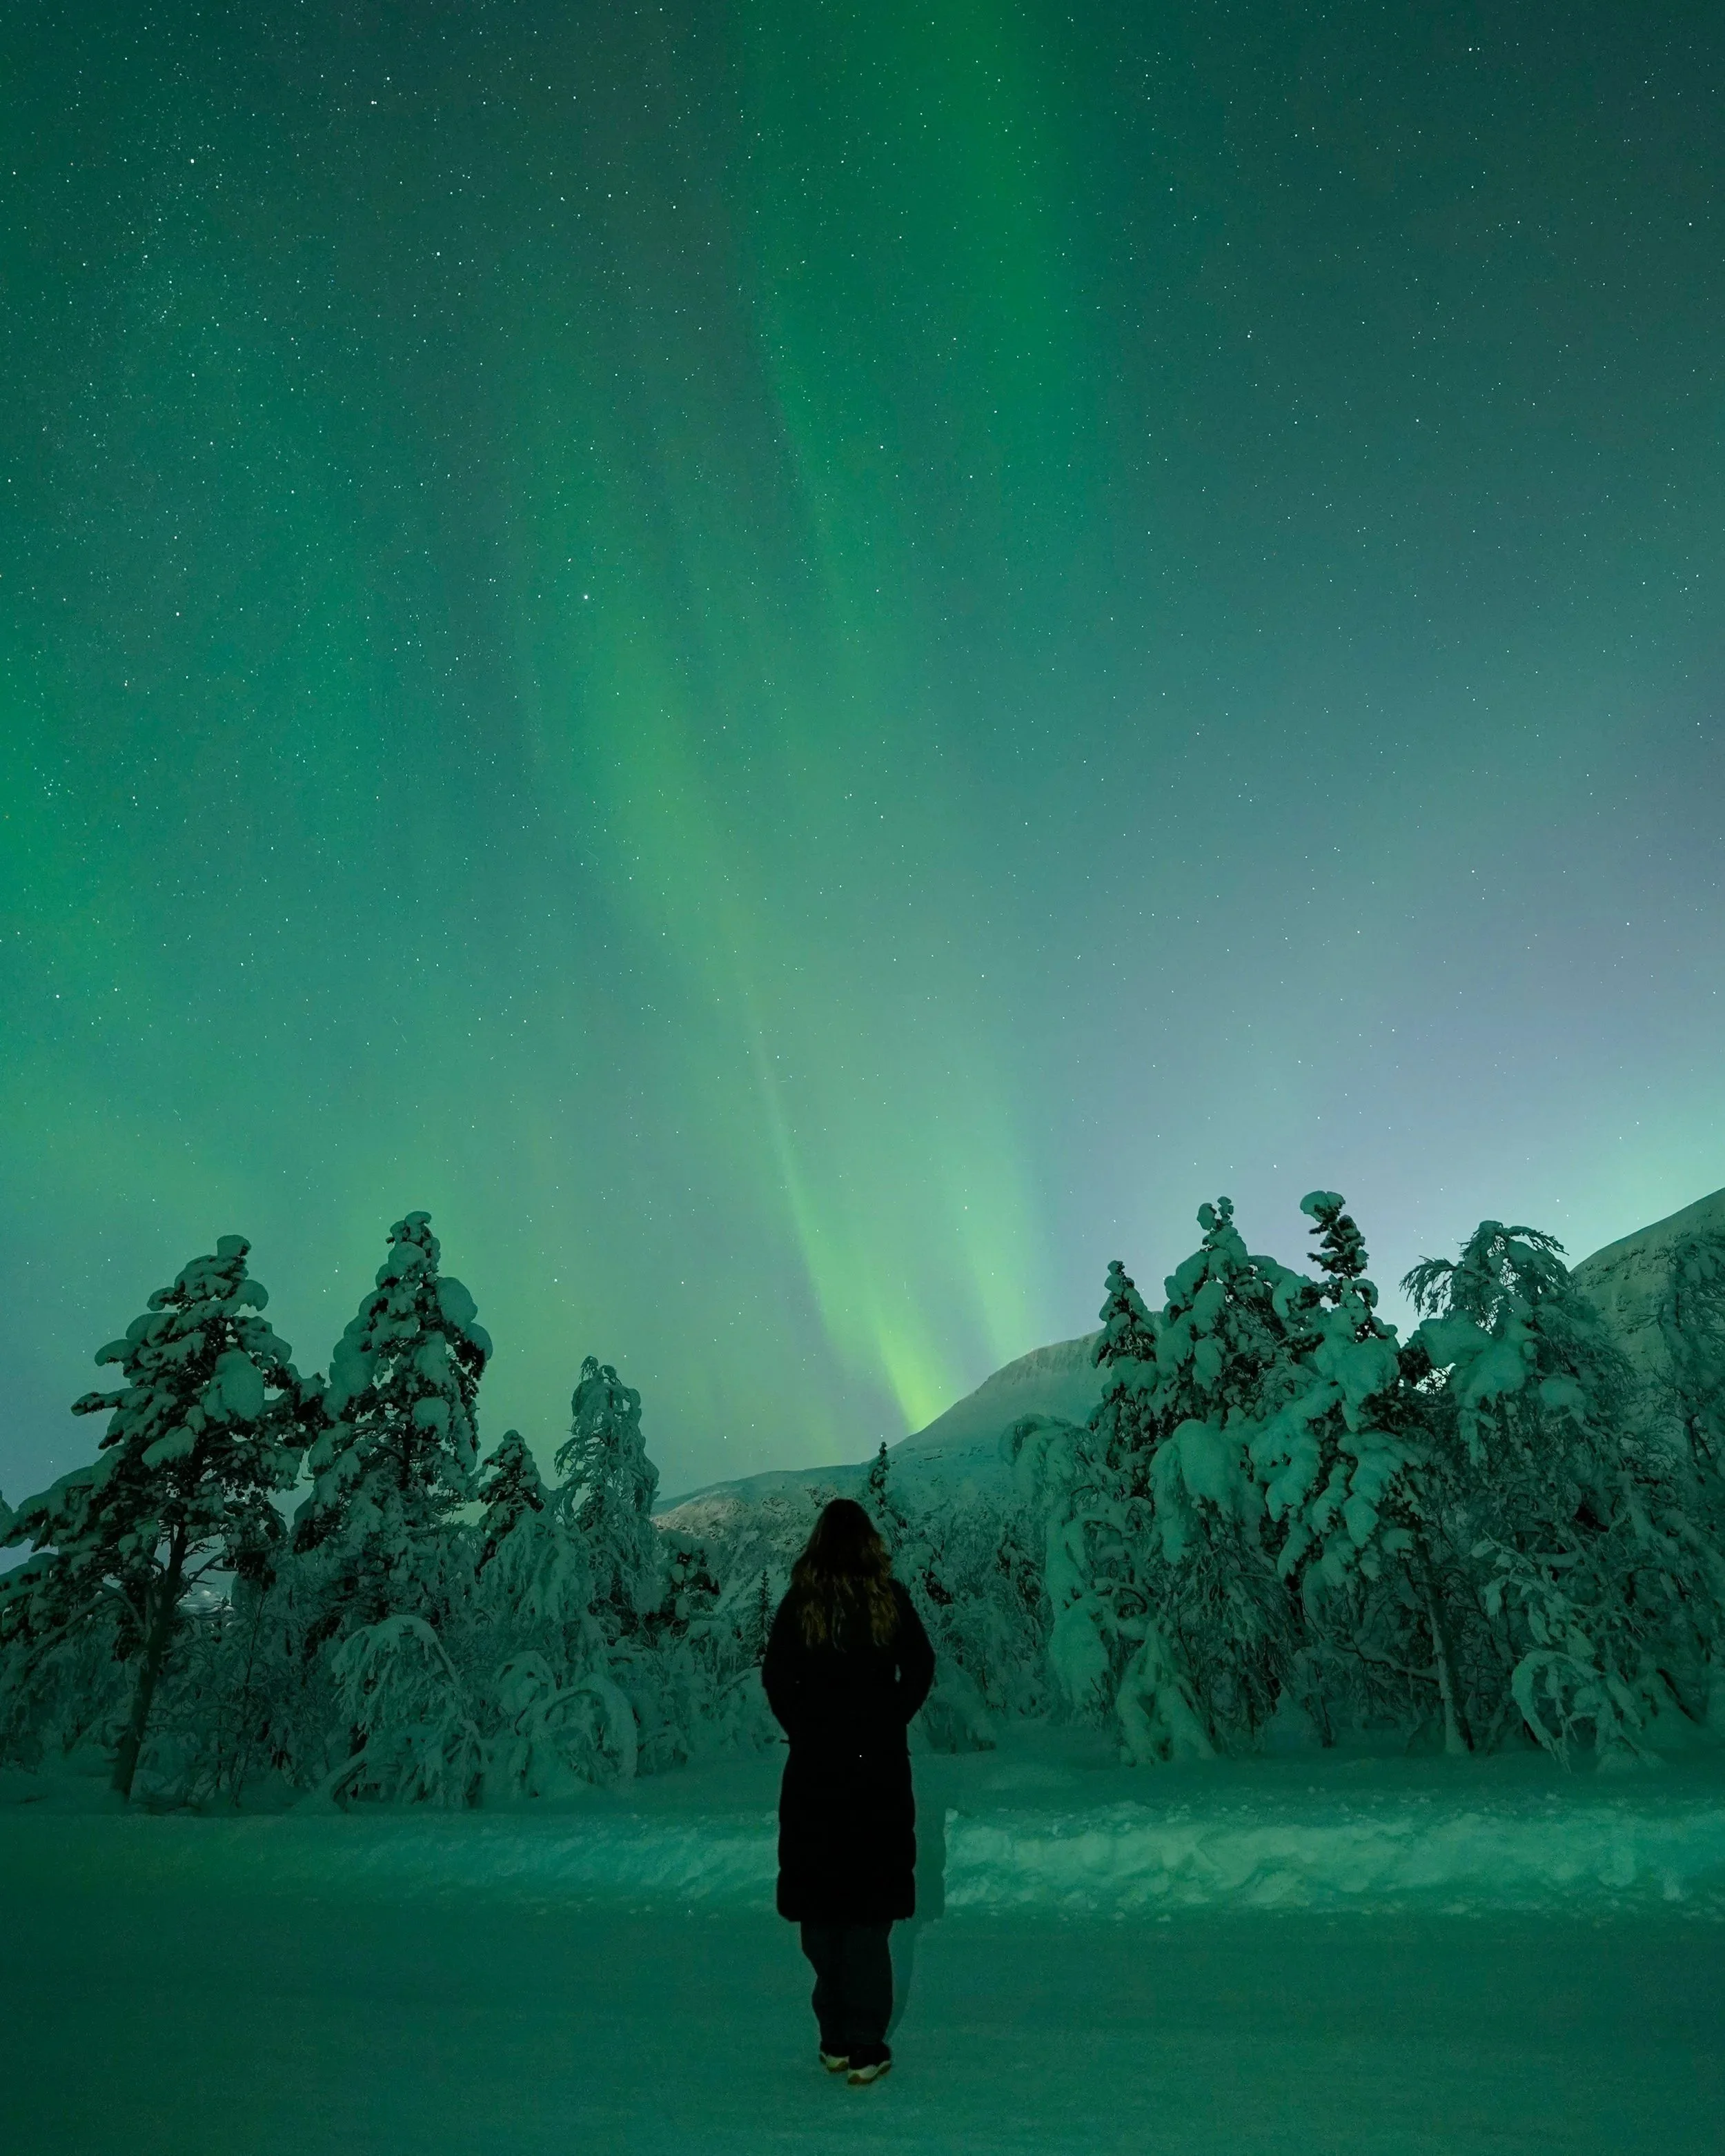
Northern Lights Photography Tips: Camera & Phone
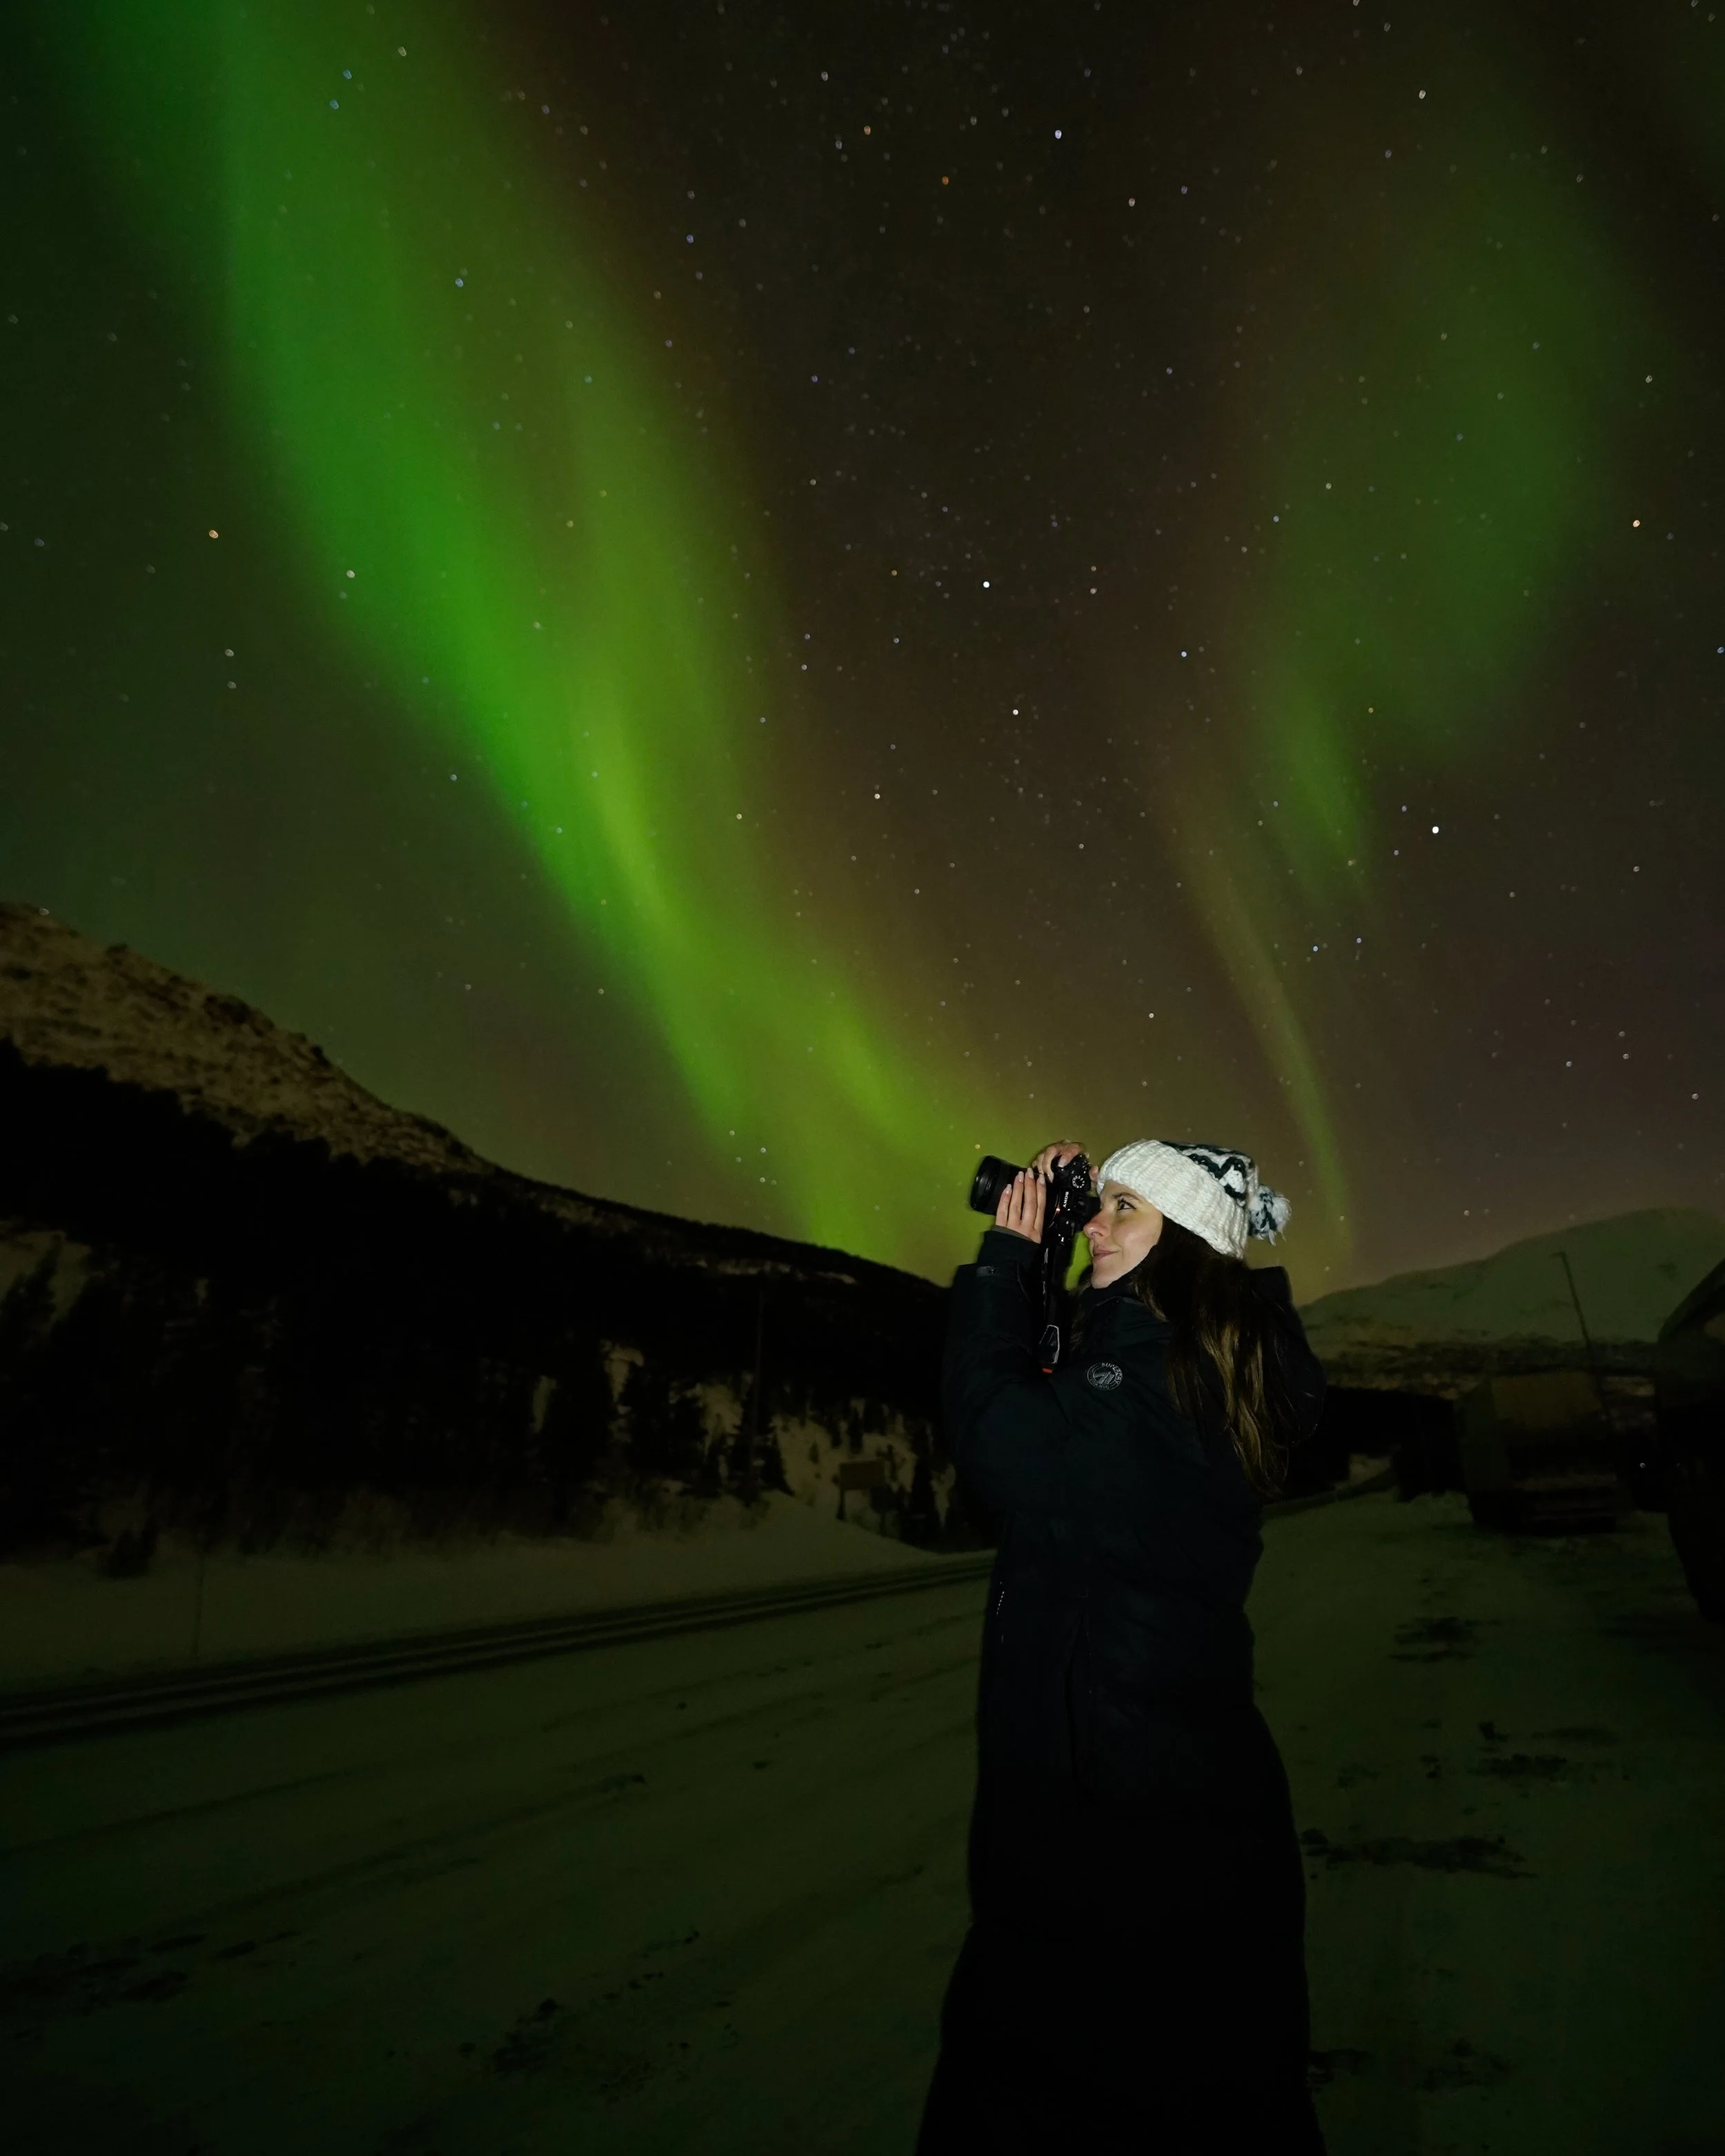
Photos or it didn’t happen, right? I knew the guides would be taking images for us, but as a photographer, I wasn’t sure how good they’d turn out. Spoiler alert: they were amazing. They even captured the shot of me holding my camera that you see above.
That said, I came prepared with my own gear (all items are linked):
iPhone 17 Pro Max
The latter is an accessory that is a total game-changer! It works as a holder for your phone and attaches directly to your camera’s hot shoe mount. In general, it’s perfect for multi-tasking and capturing behind-the-scenes footage while shooting photos. For me, it doubled as a tripod for my phone, letting me snap clear aurora photos on a long exposure.
Camera
Ok, let’s talk about photography tips and camera settings, starting with those of you with proper cameras. For reference, I was shooting with my Sony A7R III using a Sony FE 24–105 mm F4 G OSS Lens.
Ideal Lens
Wide-angle (14–24mm ideal) to capture as much sky as possible.
Fast aperture: f/2.8 or wider if possible.
Focus
Focus on a bright star if possible to keep things sharp.
Warning: this is harder than it sounds—there were plenty of “crap shots” on my memory card.
Shutter Speed
5–25 seconds, depending on aurora movement:
Fast-moving aurora → 5–10 sec to avoid streaks.
Slow aurora → 15–25 sec for more light.
ISO
800–3200, depending on light and noise tolerance.
My sweet spot was about 1600.
Higher ISO brightens the image but increases noise—don’t stress, you can easily de-noise in Lightroom.
White Balance
Auto or 3500K–4000K for a natural look.
You can tweak in post if shooting RAW.
File Format
Always shoot RAW for maximum editing flexibility.
Additional Tips
Use a sturdy tripod.
Remote shutter or 2-second timer to avoid camera shake.
Include a foreground element (trees, mountains, water) for more dynamic composition.
Phone
For my phone-only photographers out there, you’re in luck. Some of my favorite aurora shots were taken on my iPhone, and phones can capture the Northern Lights beautifully. Note: videos are a different story. Mine turned out pretty bad, and photos will almost always outperform video for the aurora on phones.
iPhone Settings
1. Use Night Mode (it usually auto-activates)
When the camera detects low light, Night Mode turns on automatically. Most of my shots only needed a few seconds of exposure.
You can also extend the exposure: tap the little yellow “Night Mode” icon → drag to the longest setting (usually 10–30 seconds, depending on how steady you are).
2. Stabilize Your Phone
This is crucial for sharp aurora shots.
Use a mini tripod, or
Rest your phone on a rock, car roof, railing, backpack…anything stable.
If handheld, the exposure will shorten and stars may streak.
Battery & Gear Management
Cold drains batteries quickly, so bring power banks and keep your phone close to your body or in an inside pocket between shots.
That said, I didn’t experience as much battery drain as I expected and didn’t need to recharge at all.
Other Things to Do in Tromsø in Winter
Tromsø is so much more than just a base for chasing the Northern Lights. We stayed for three nights and completely fell in love with its mix of charming streets, vibrant bars, and breathtaking natural views. Here’s a mini guide with where to stay and what to do when you’re not out aurora hunting.
Where to stay
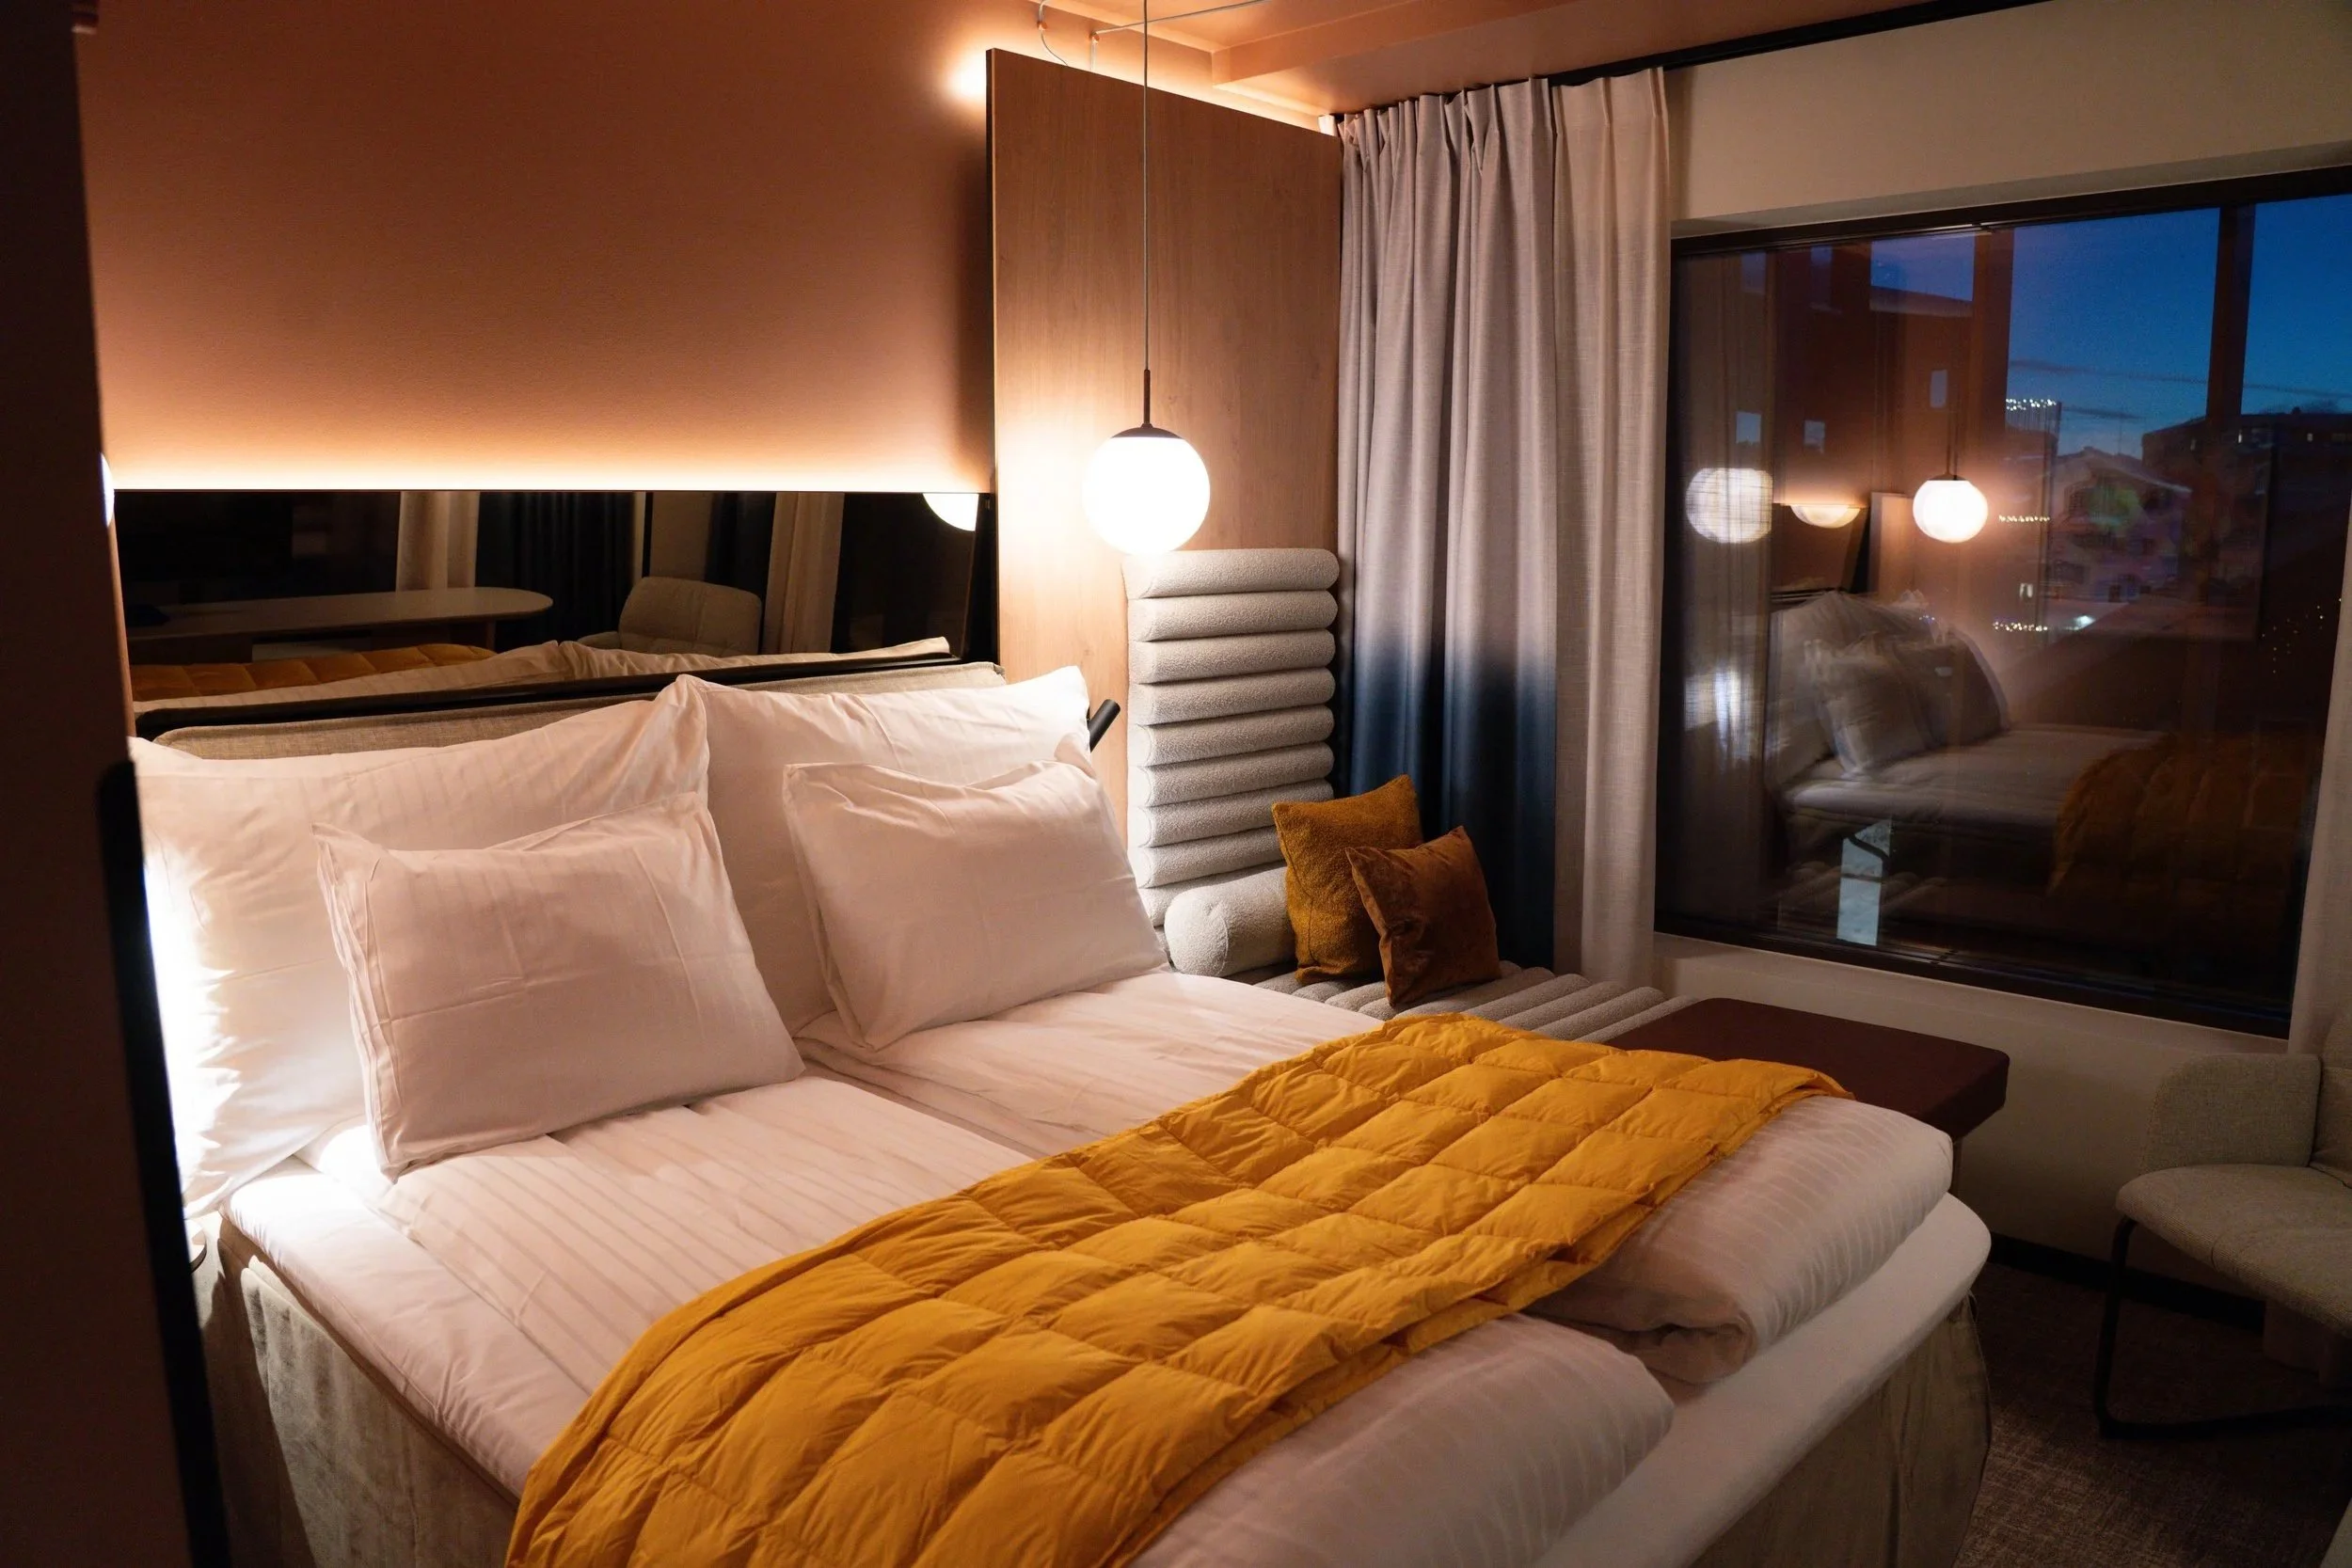
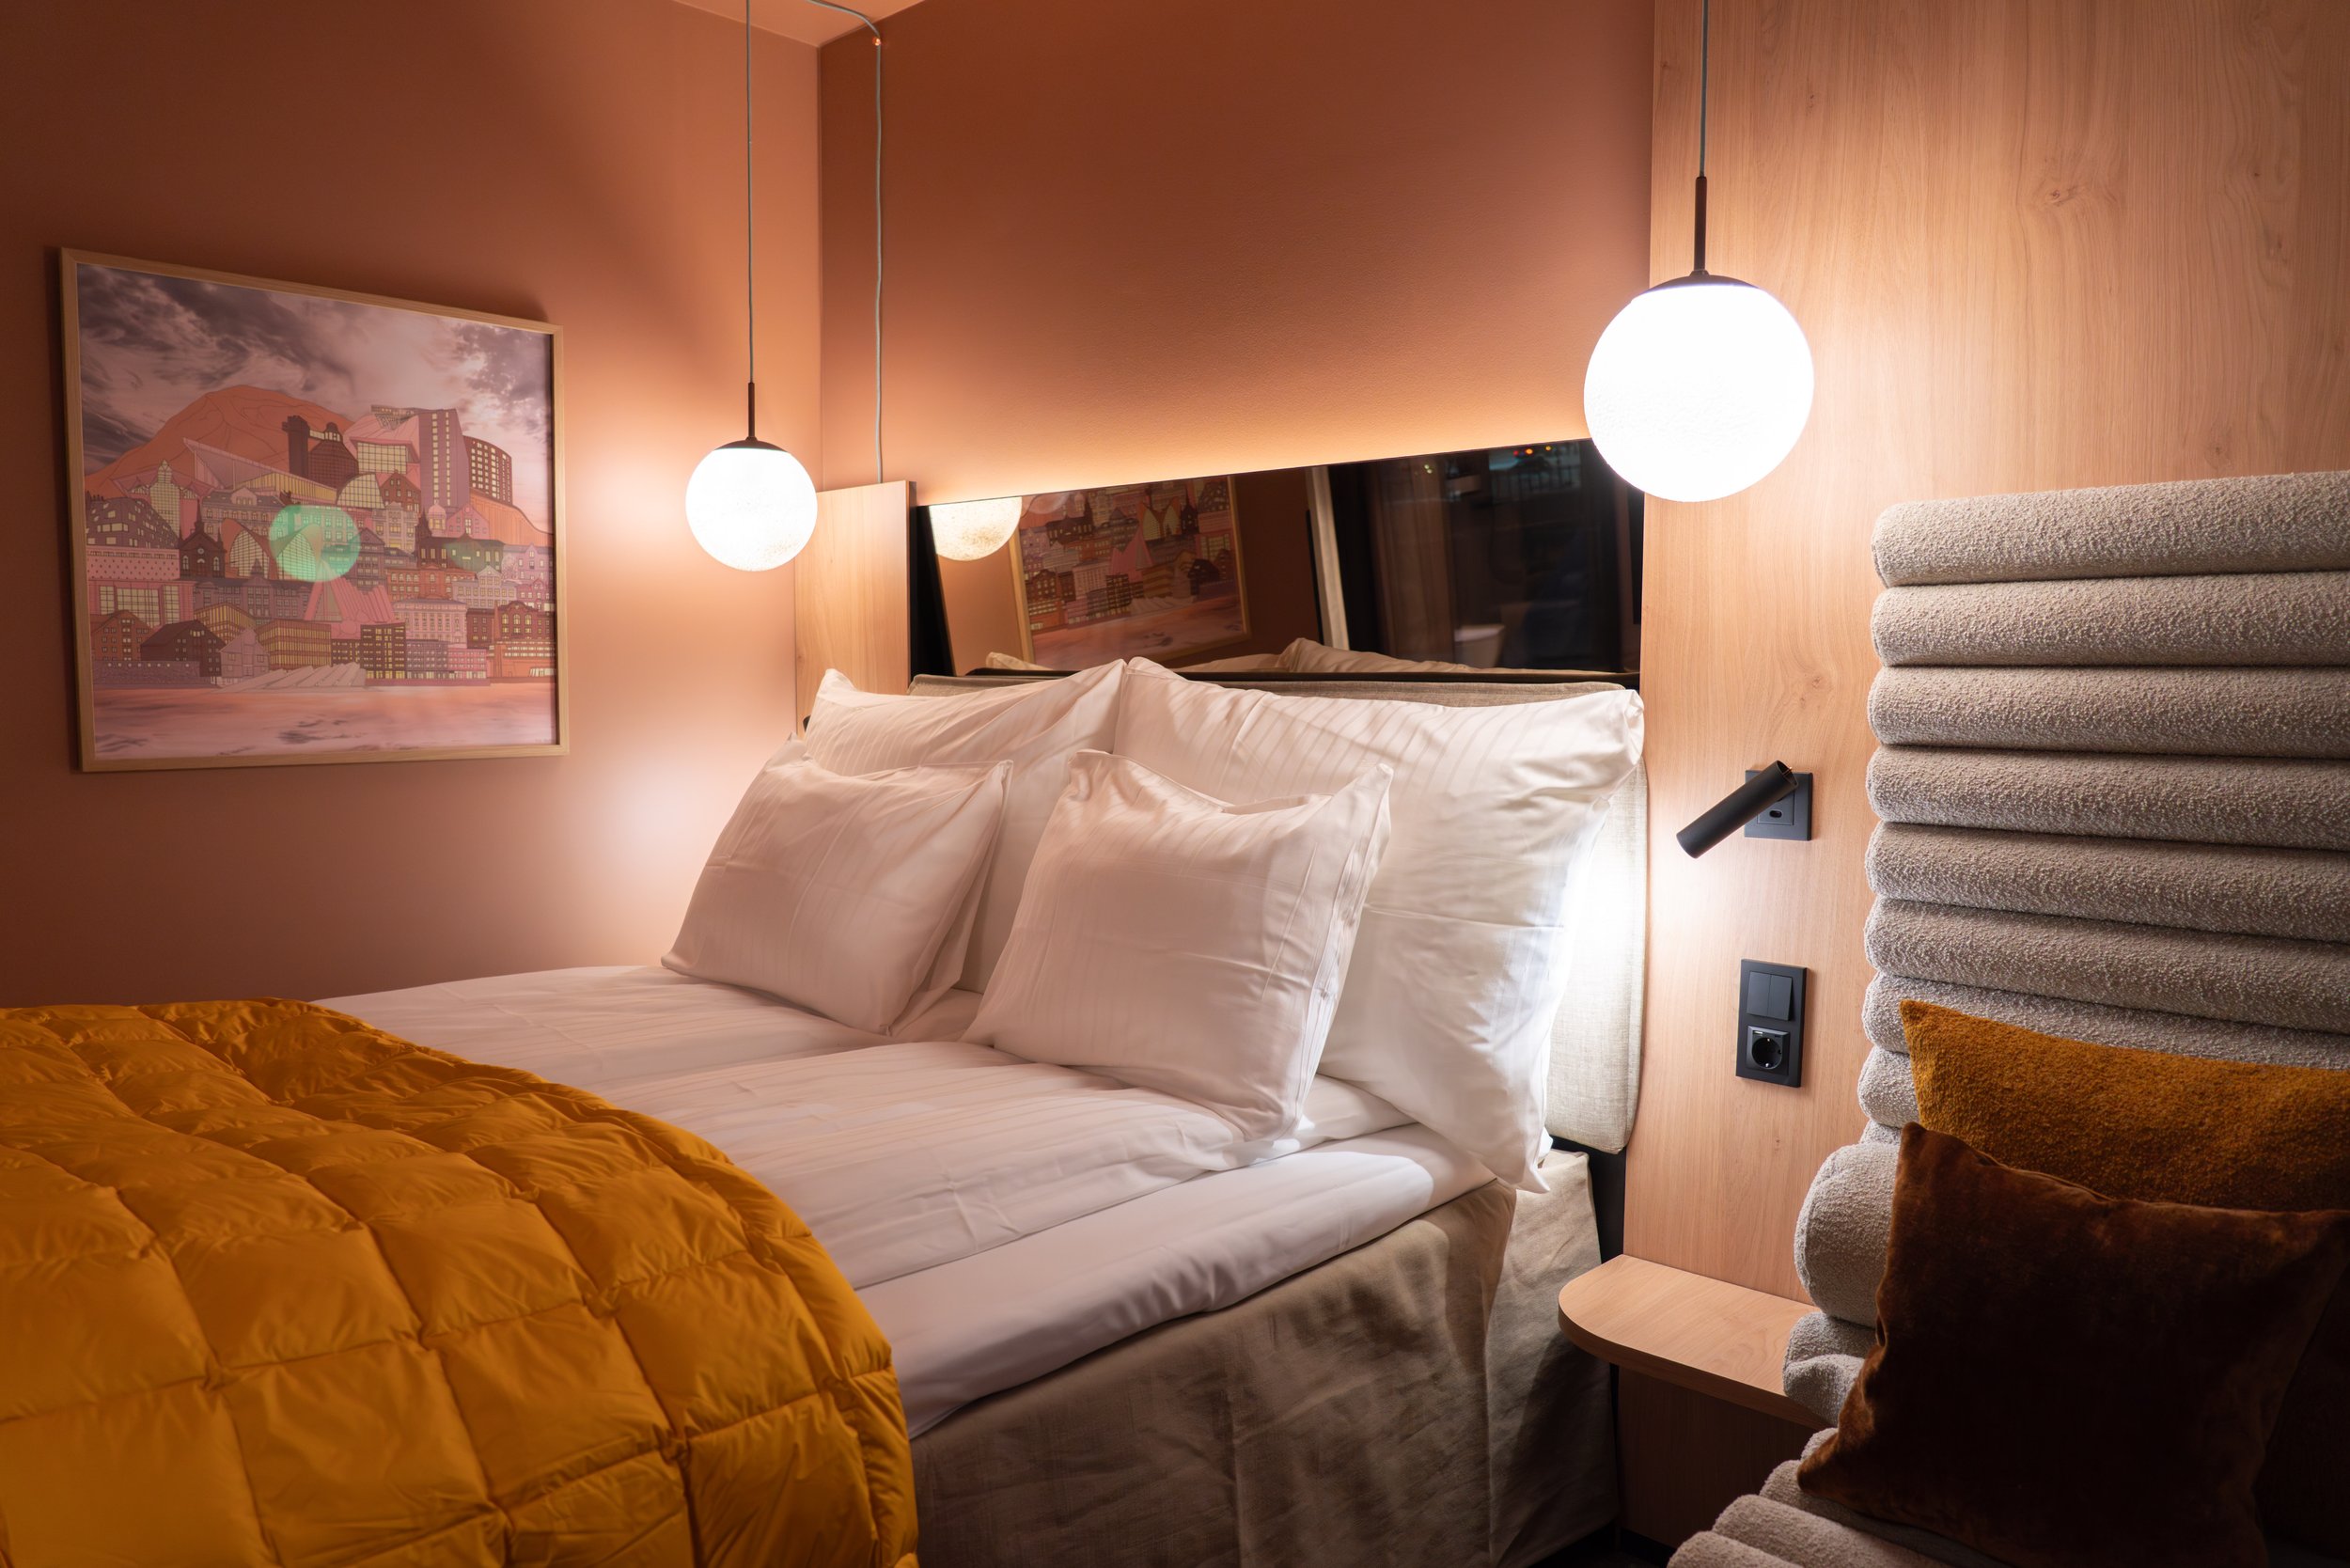
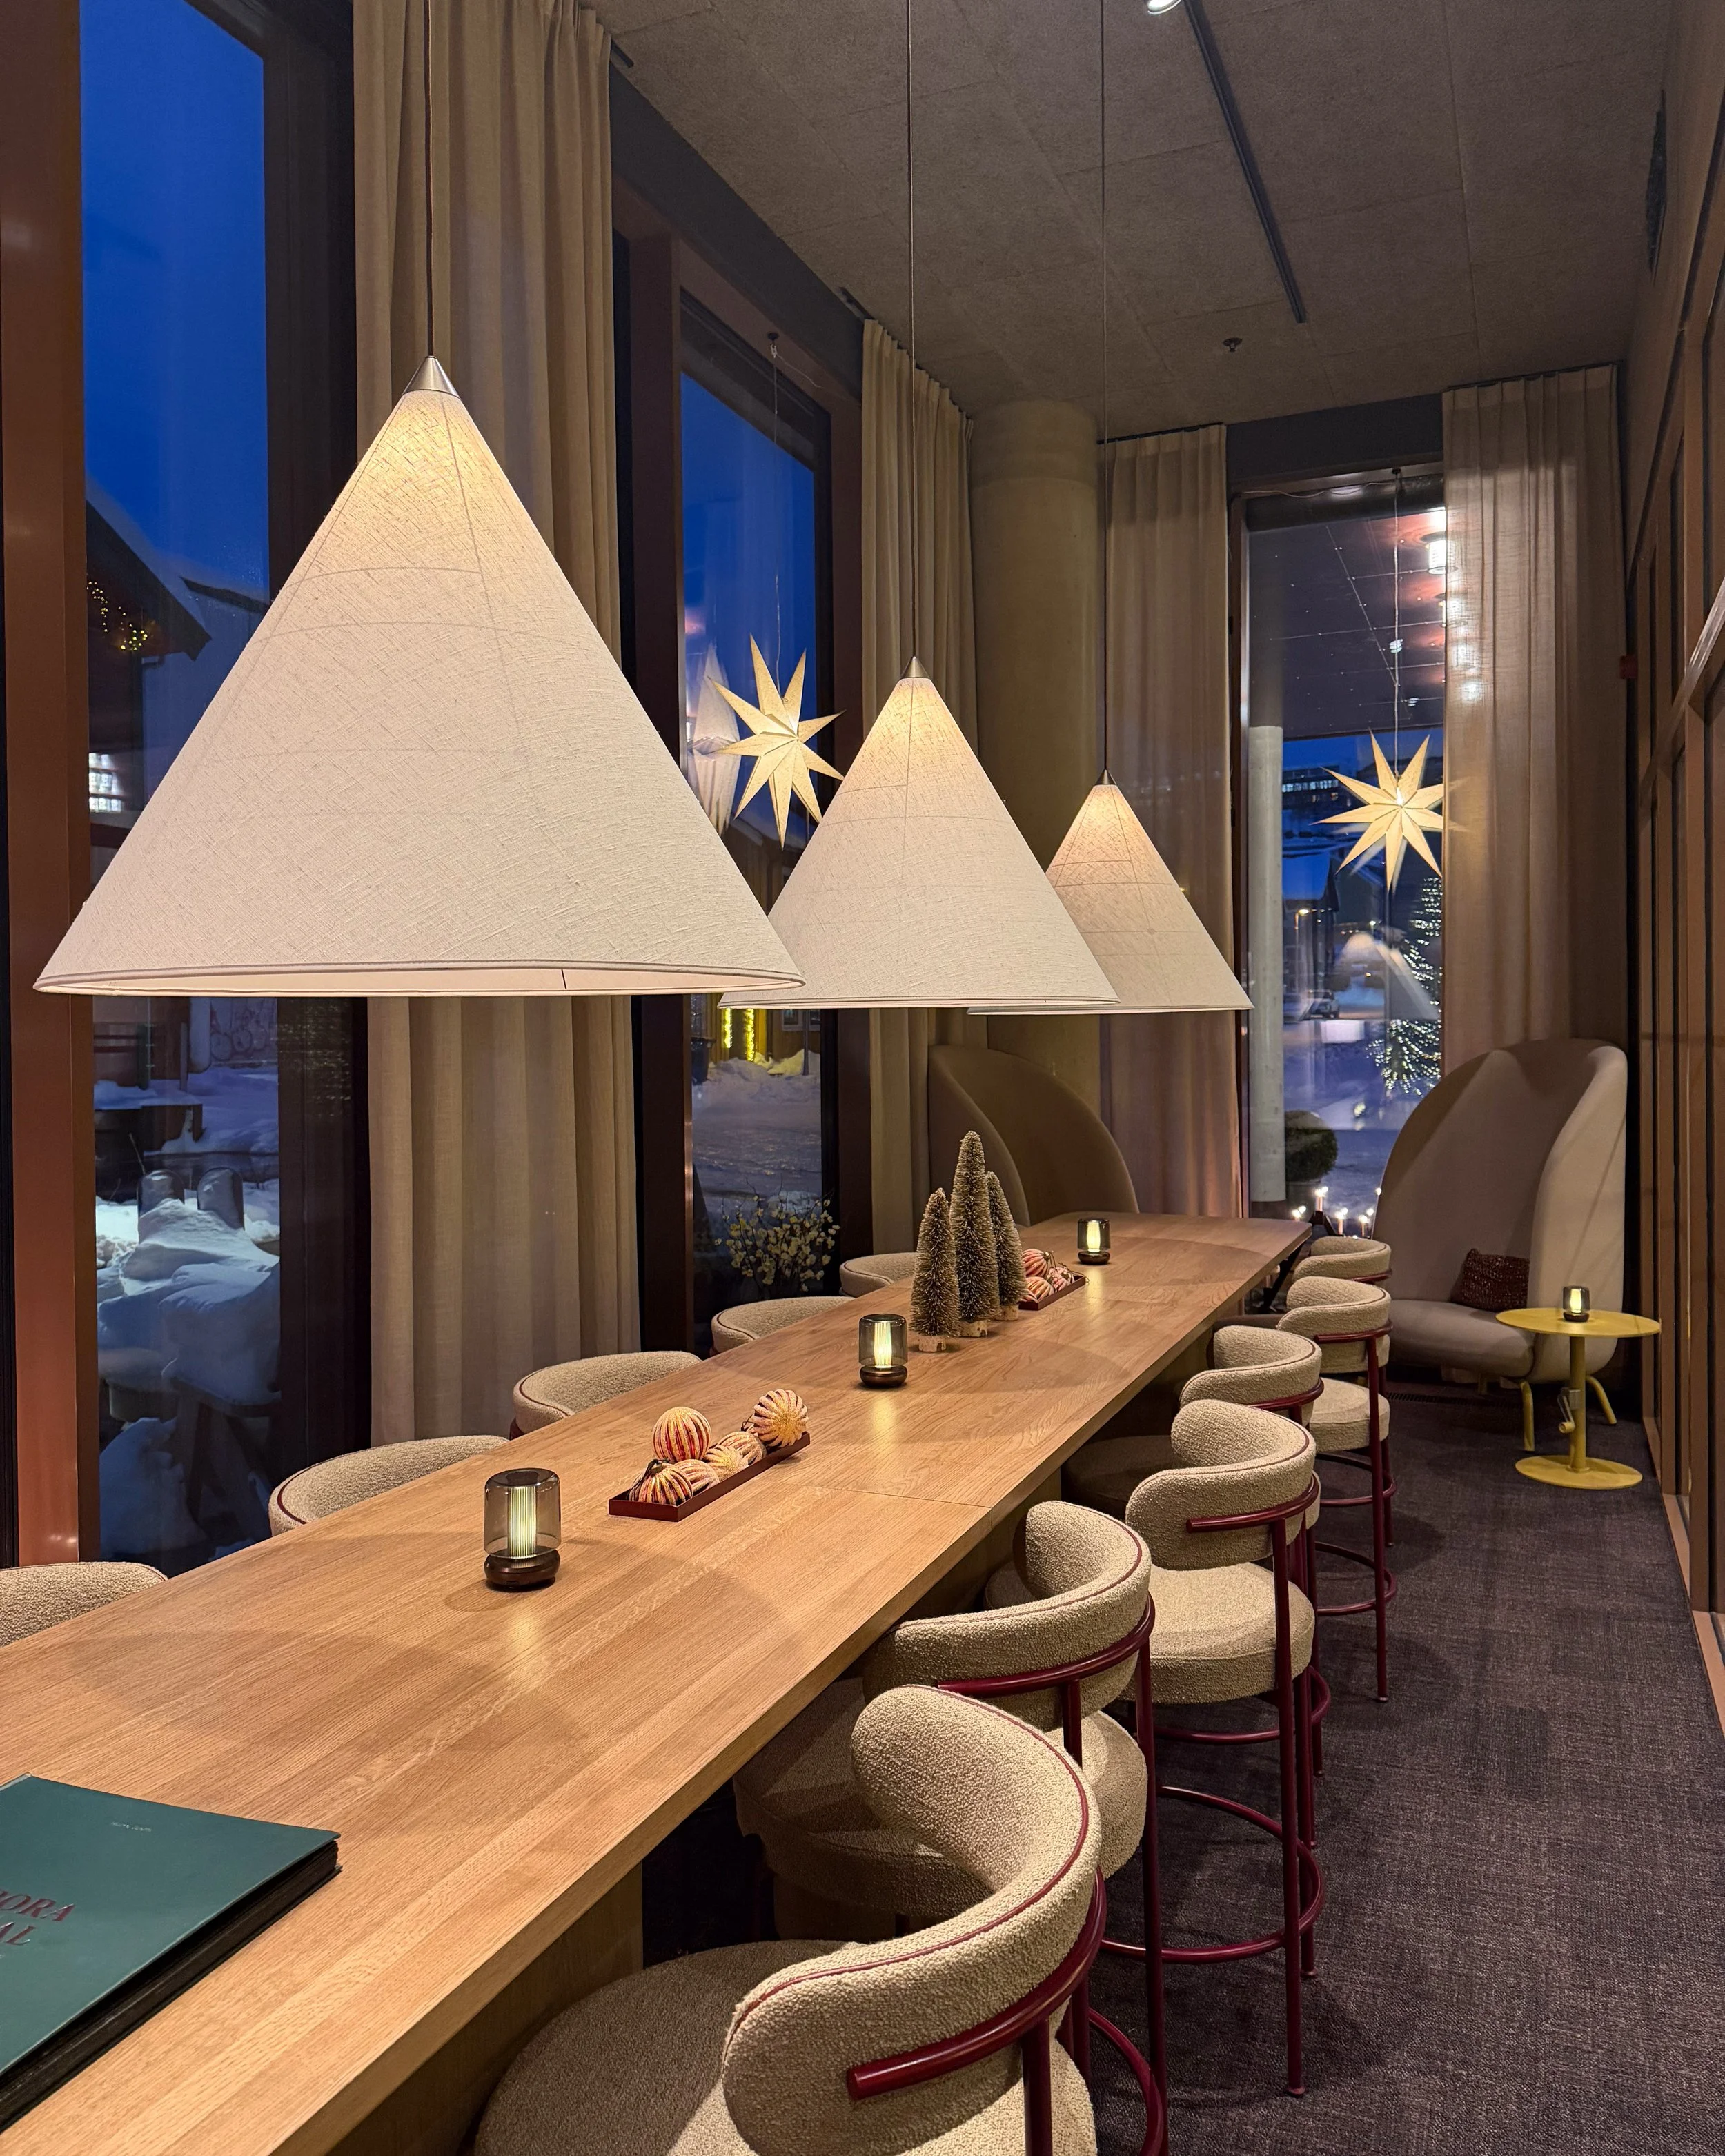
The Dock 69 39 by Scandic was the perfect base for exploring Tromsø. The hotel itself is absolutely stunning, and the location couldn’t be better, just a three-minute walk to the Northern Lights tour pick-up point and right next to the bridge that crosses the water to the Arctic Cathedral. Our room was on the small side, but cozy and well designed. It was also a corner room, so it had a super cute view of this street with heart-shaped lights strung across it. The breakfast is also a must. There’s buffets, and then there’s the extensive, high-quality spread that Dock 69 39 offers in a gorgeous space. Just take my word for it.
A few photos to support my claims:


WHAT TO DO in Tromsø
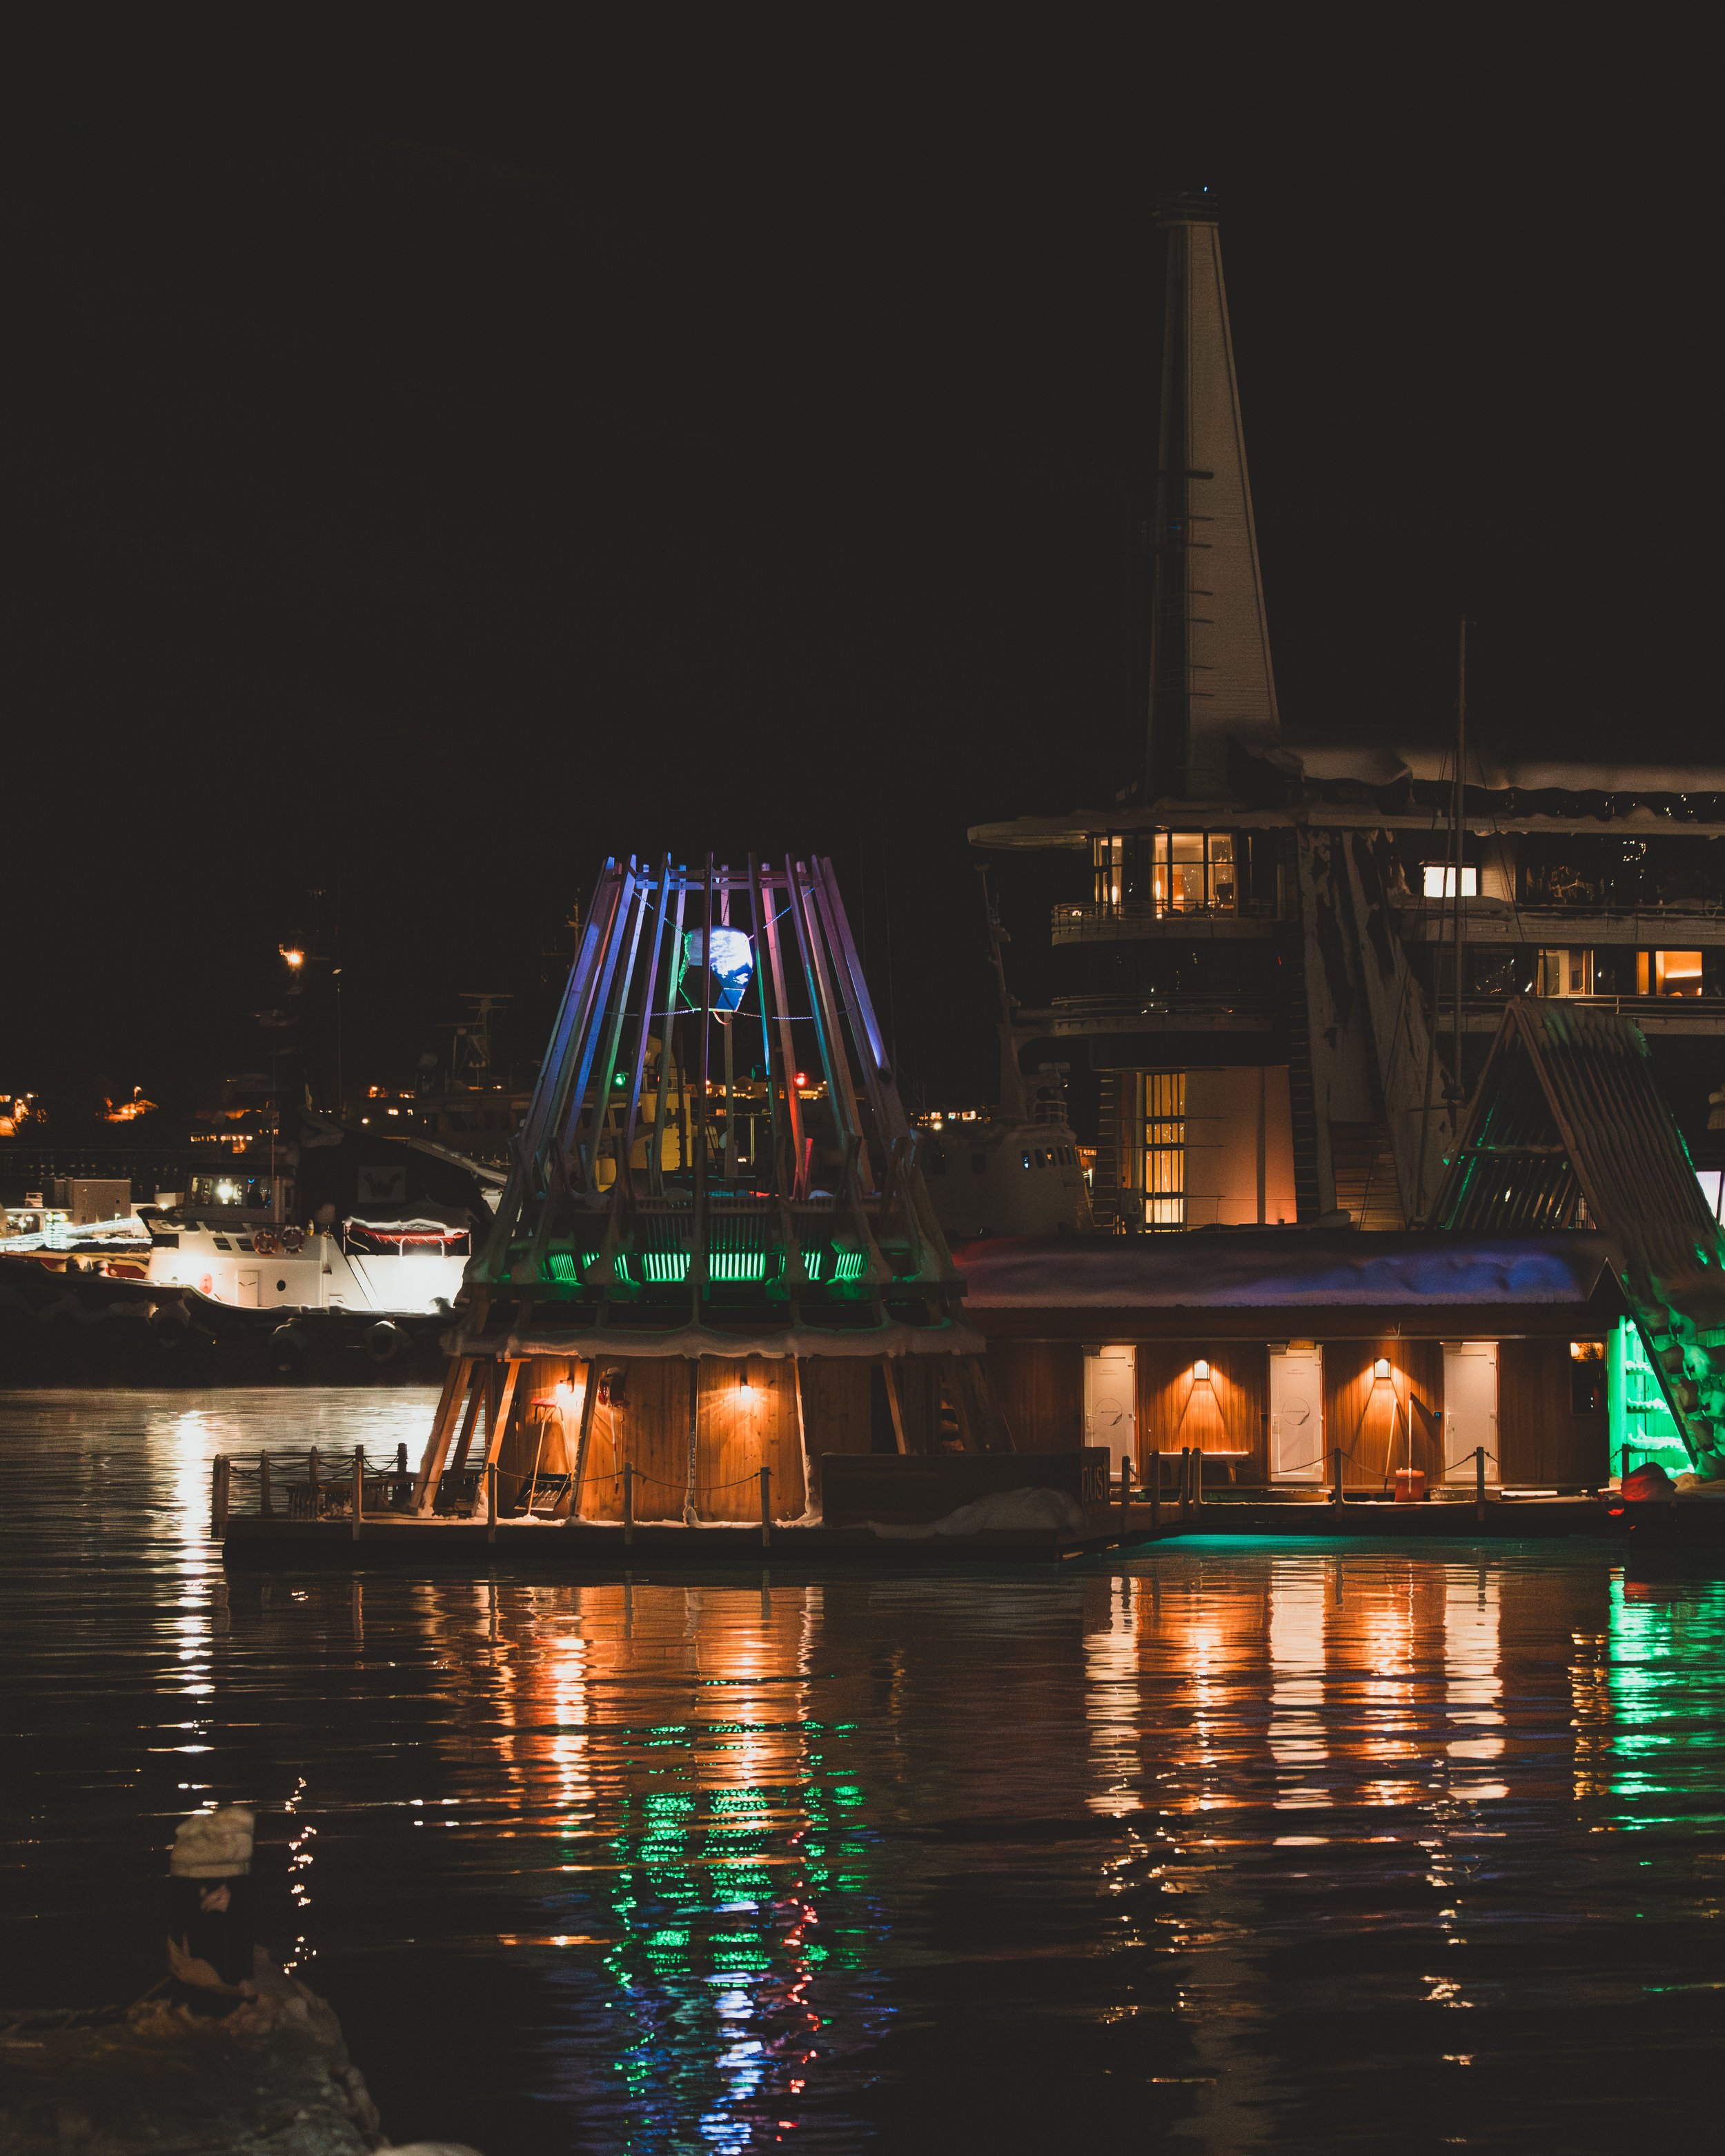
Pust Floating Sauna (@pust.lifestyle)
A truly one-of-a-kind experience: soak in a warm, floating sauna while surrounded by Tromsø's Arctic waters. Perfect for relaxing after a chilly day exploring the city or chasing the aurora. Truth be told we did not do this - but in retrospect I wish we had.
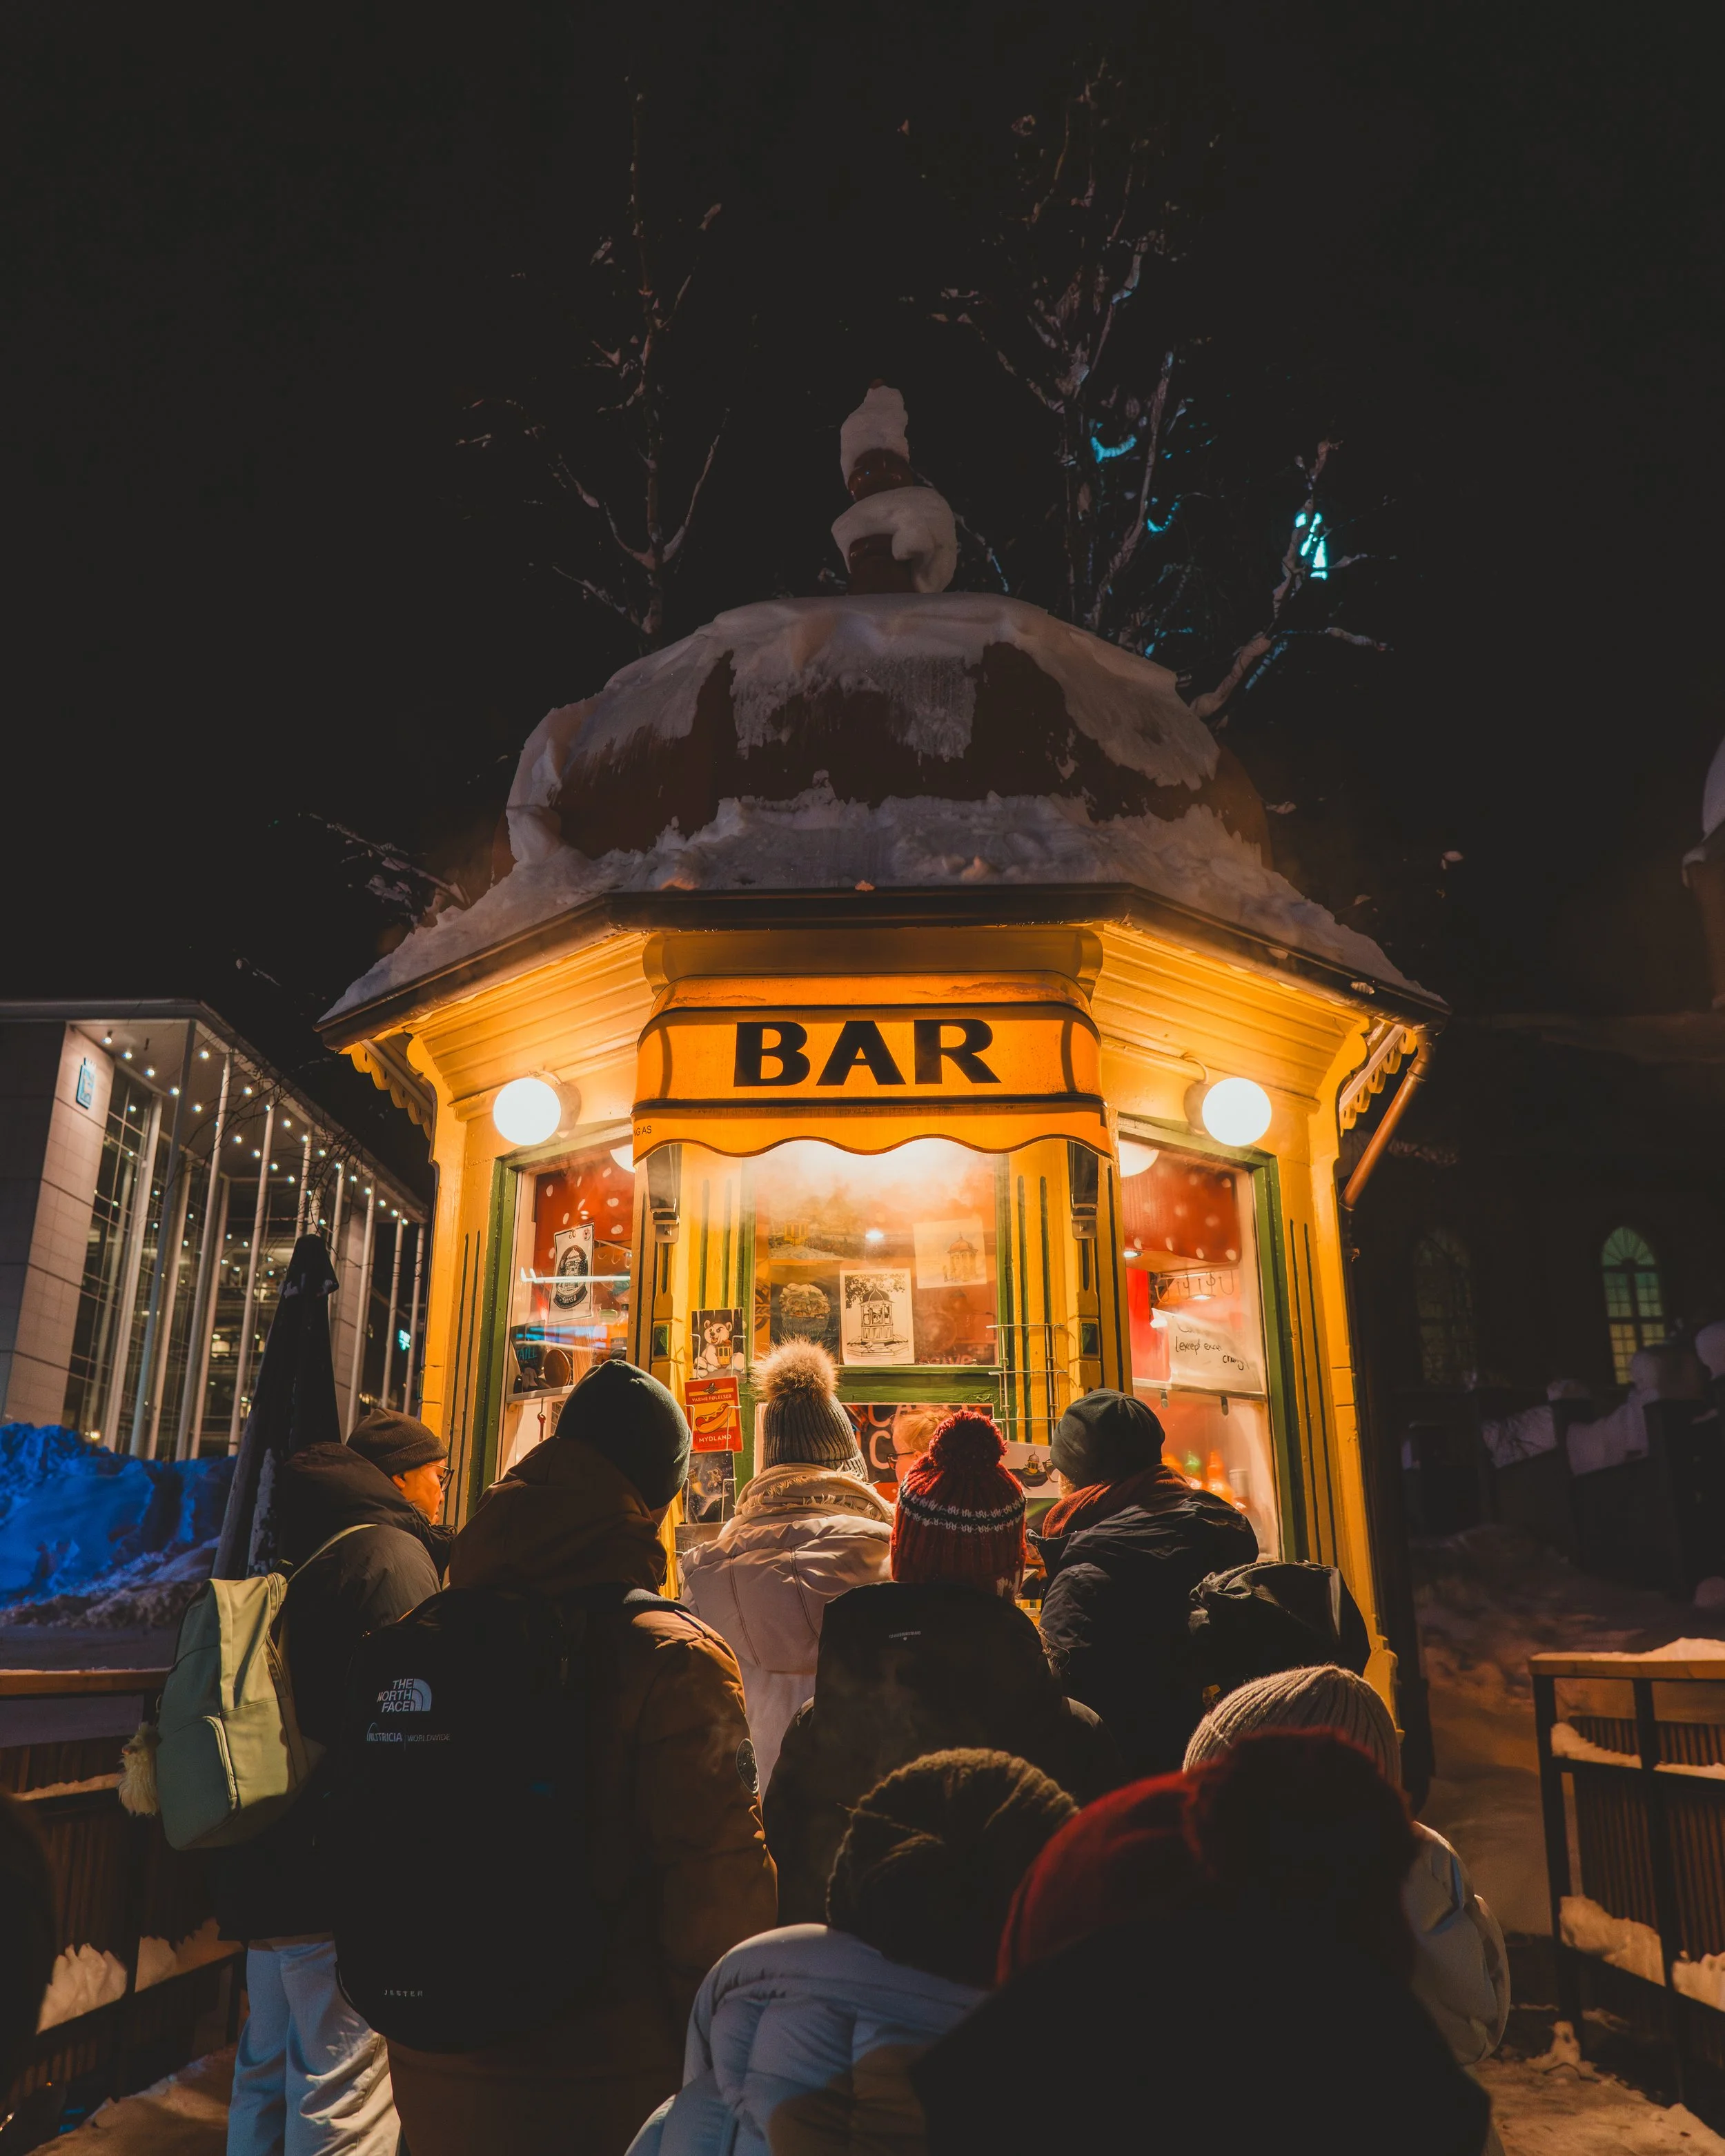
Raketten Bar (@raketten_tromsoe)
This bright yellow, stand-alone Tromsø icon serves up classic bar snacks and drinks. There will probably be a long line and you will probably get really cold, but I can confirm that the hot dogs are pretty darn tasty, and the hot chocolate arguably even better.
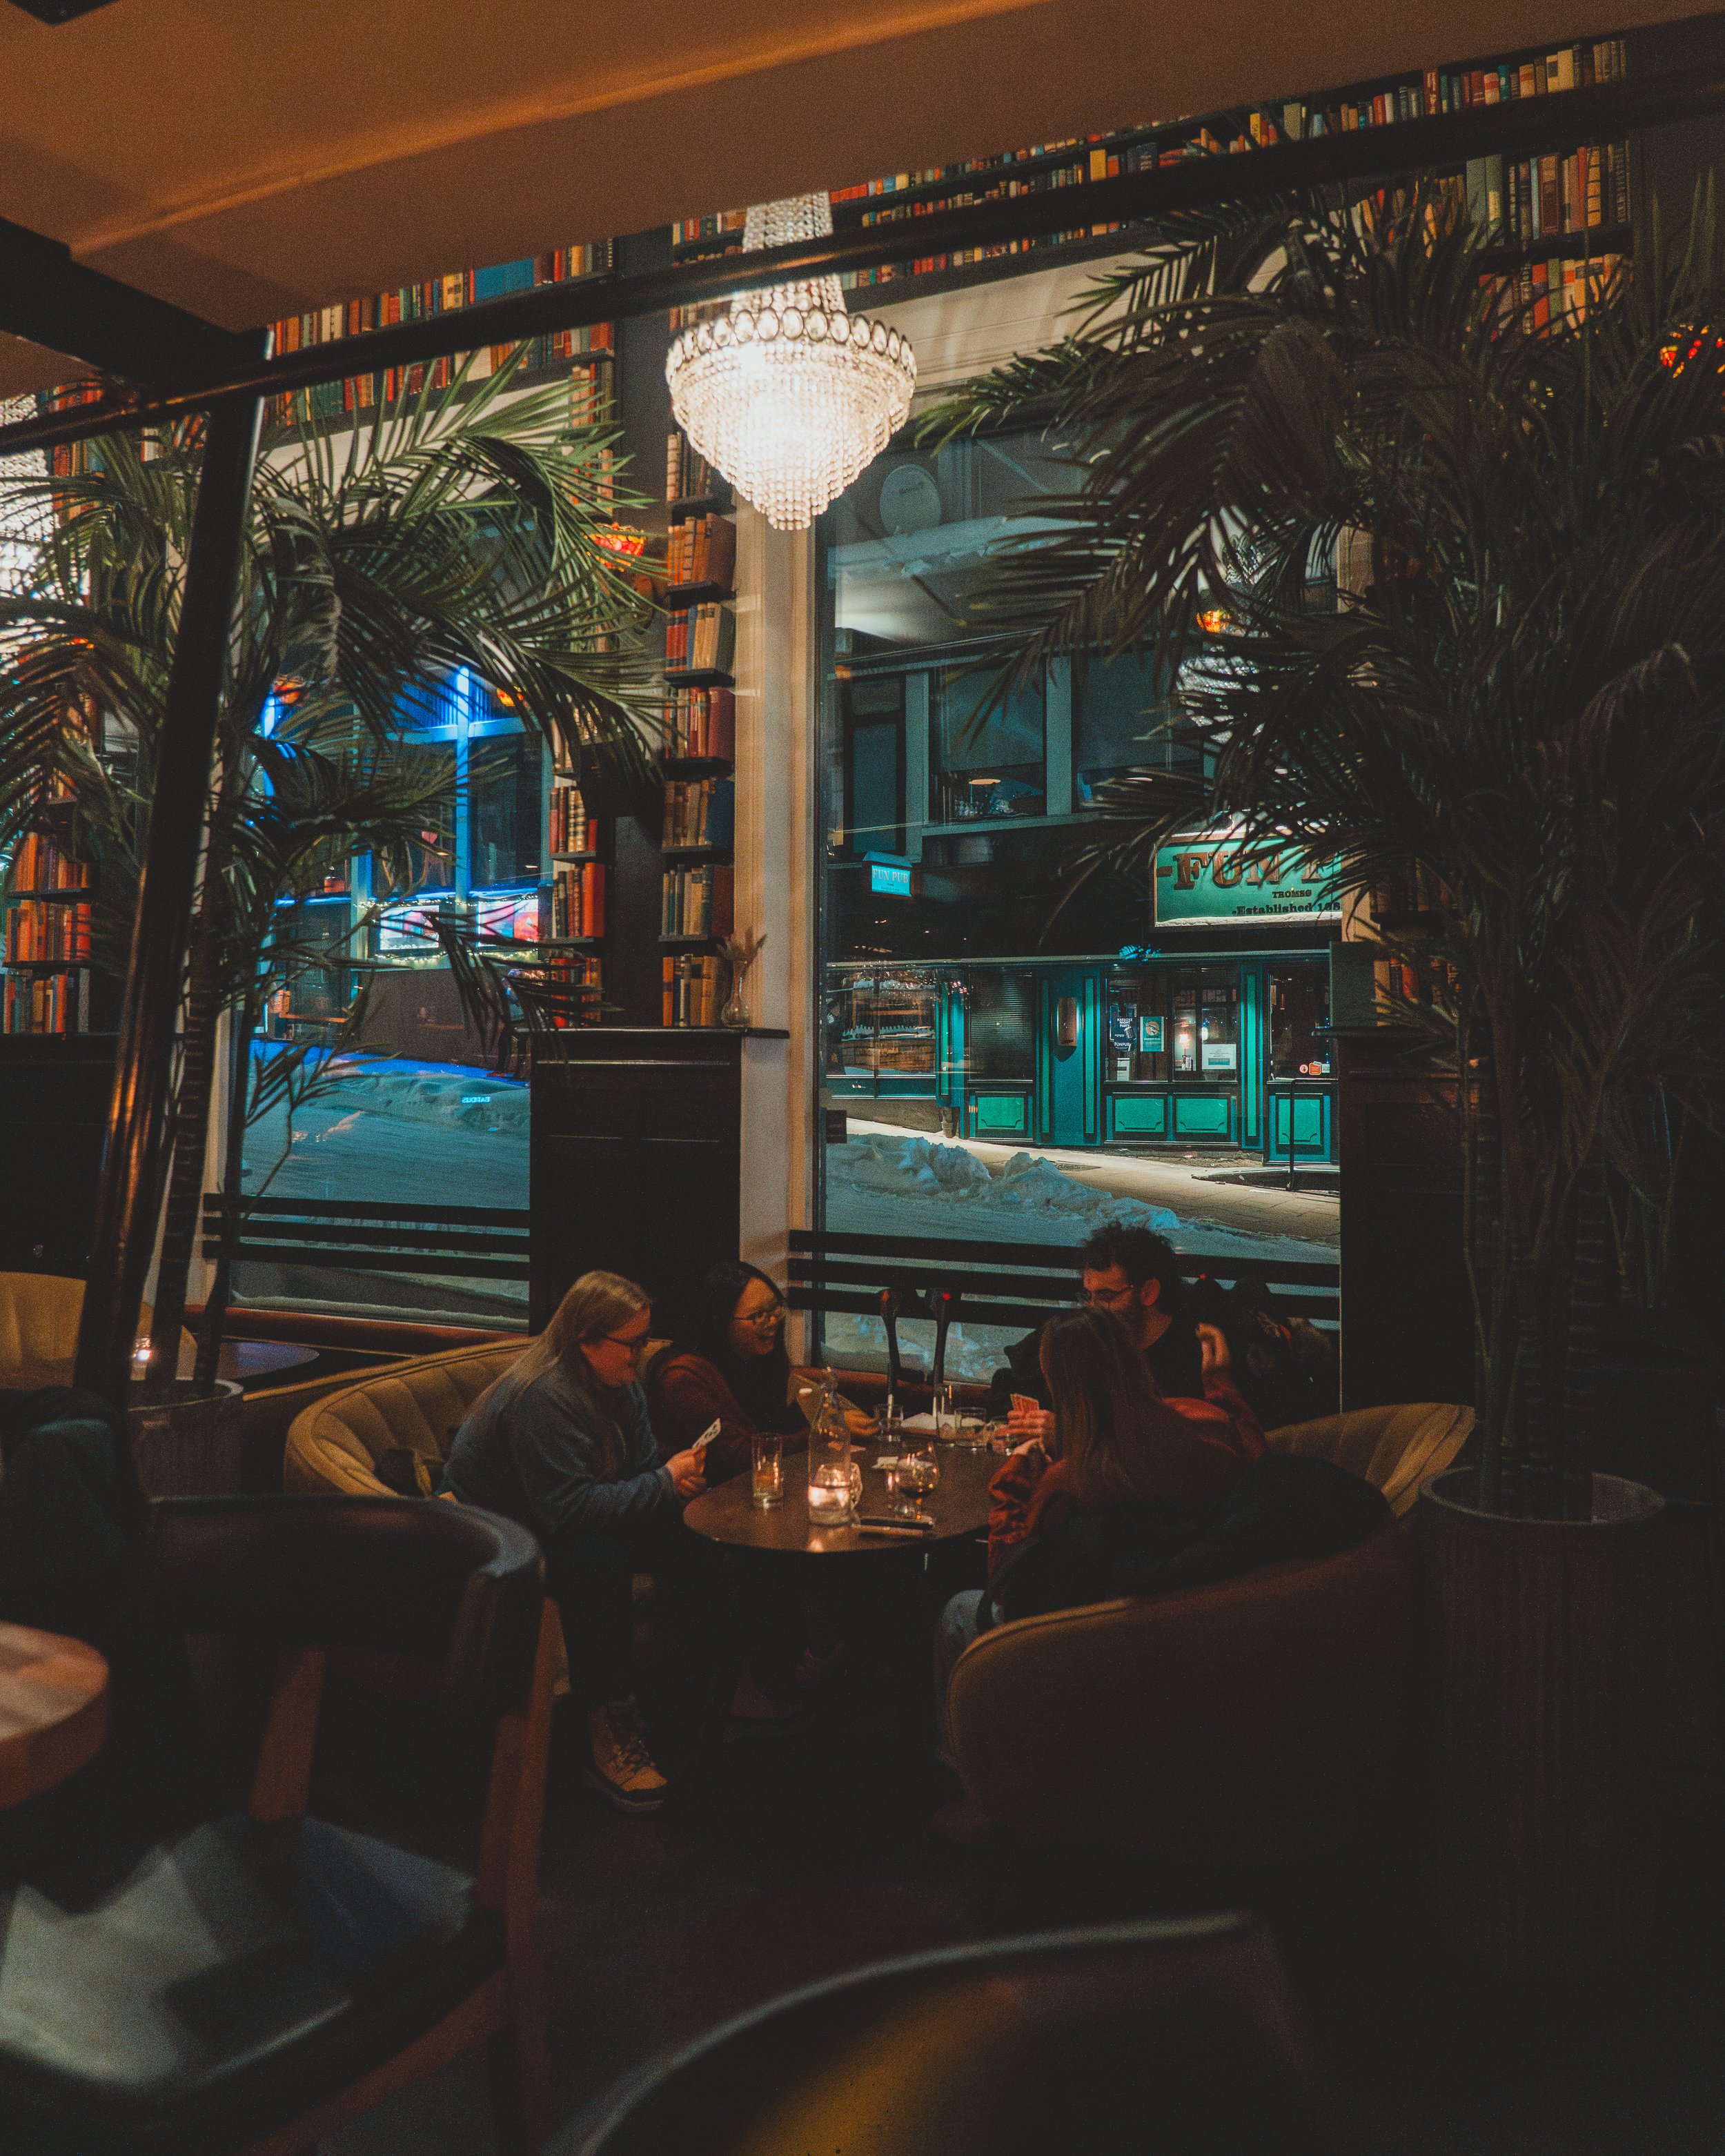
Bardus Bar (@bardusbistroandbar)
This was a great one to duck into for some warmth from the inside out. Not only are the cocktails great, but the interior is super cozy (think chandeliers and lots of books).
Christmas market at Stortorget
Obviously a seasonal one - but this little market is right across from Raketten Bar and has a collection of stalls to peruse.
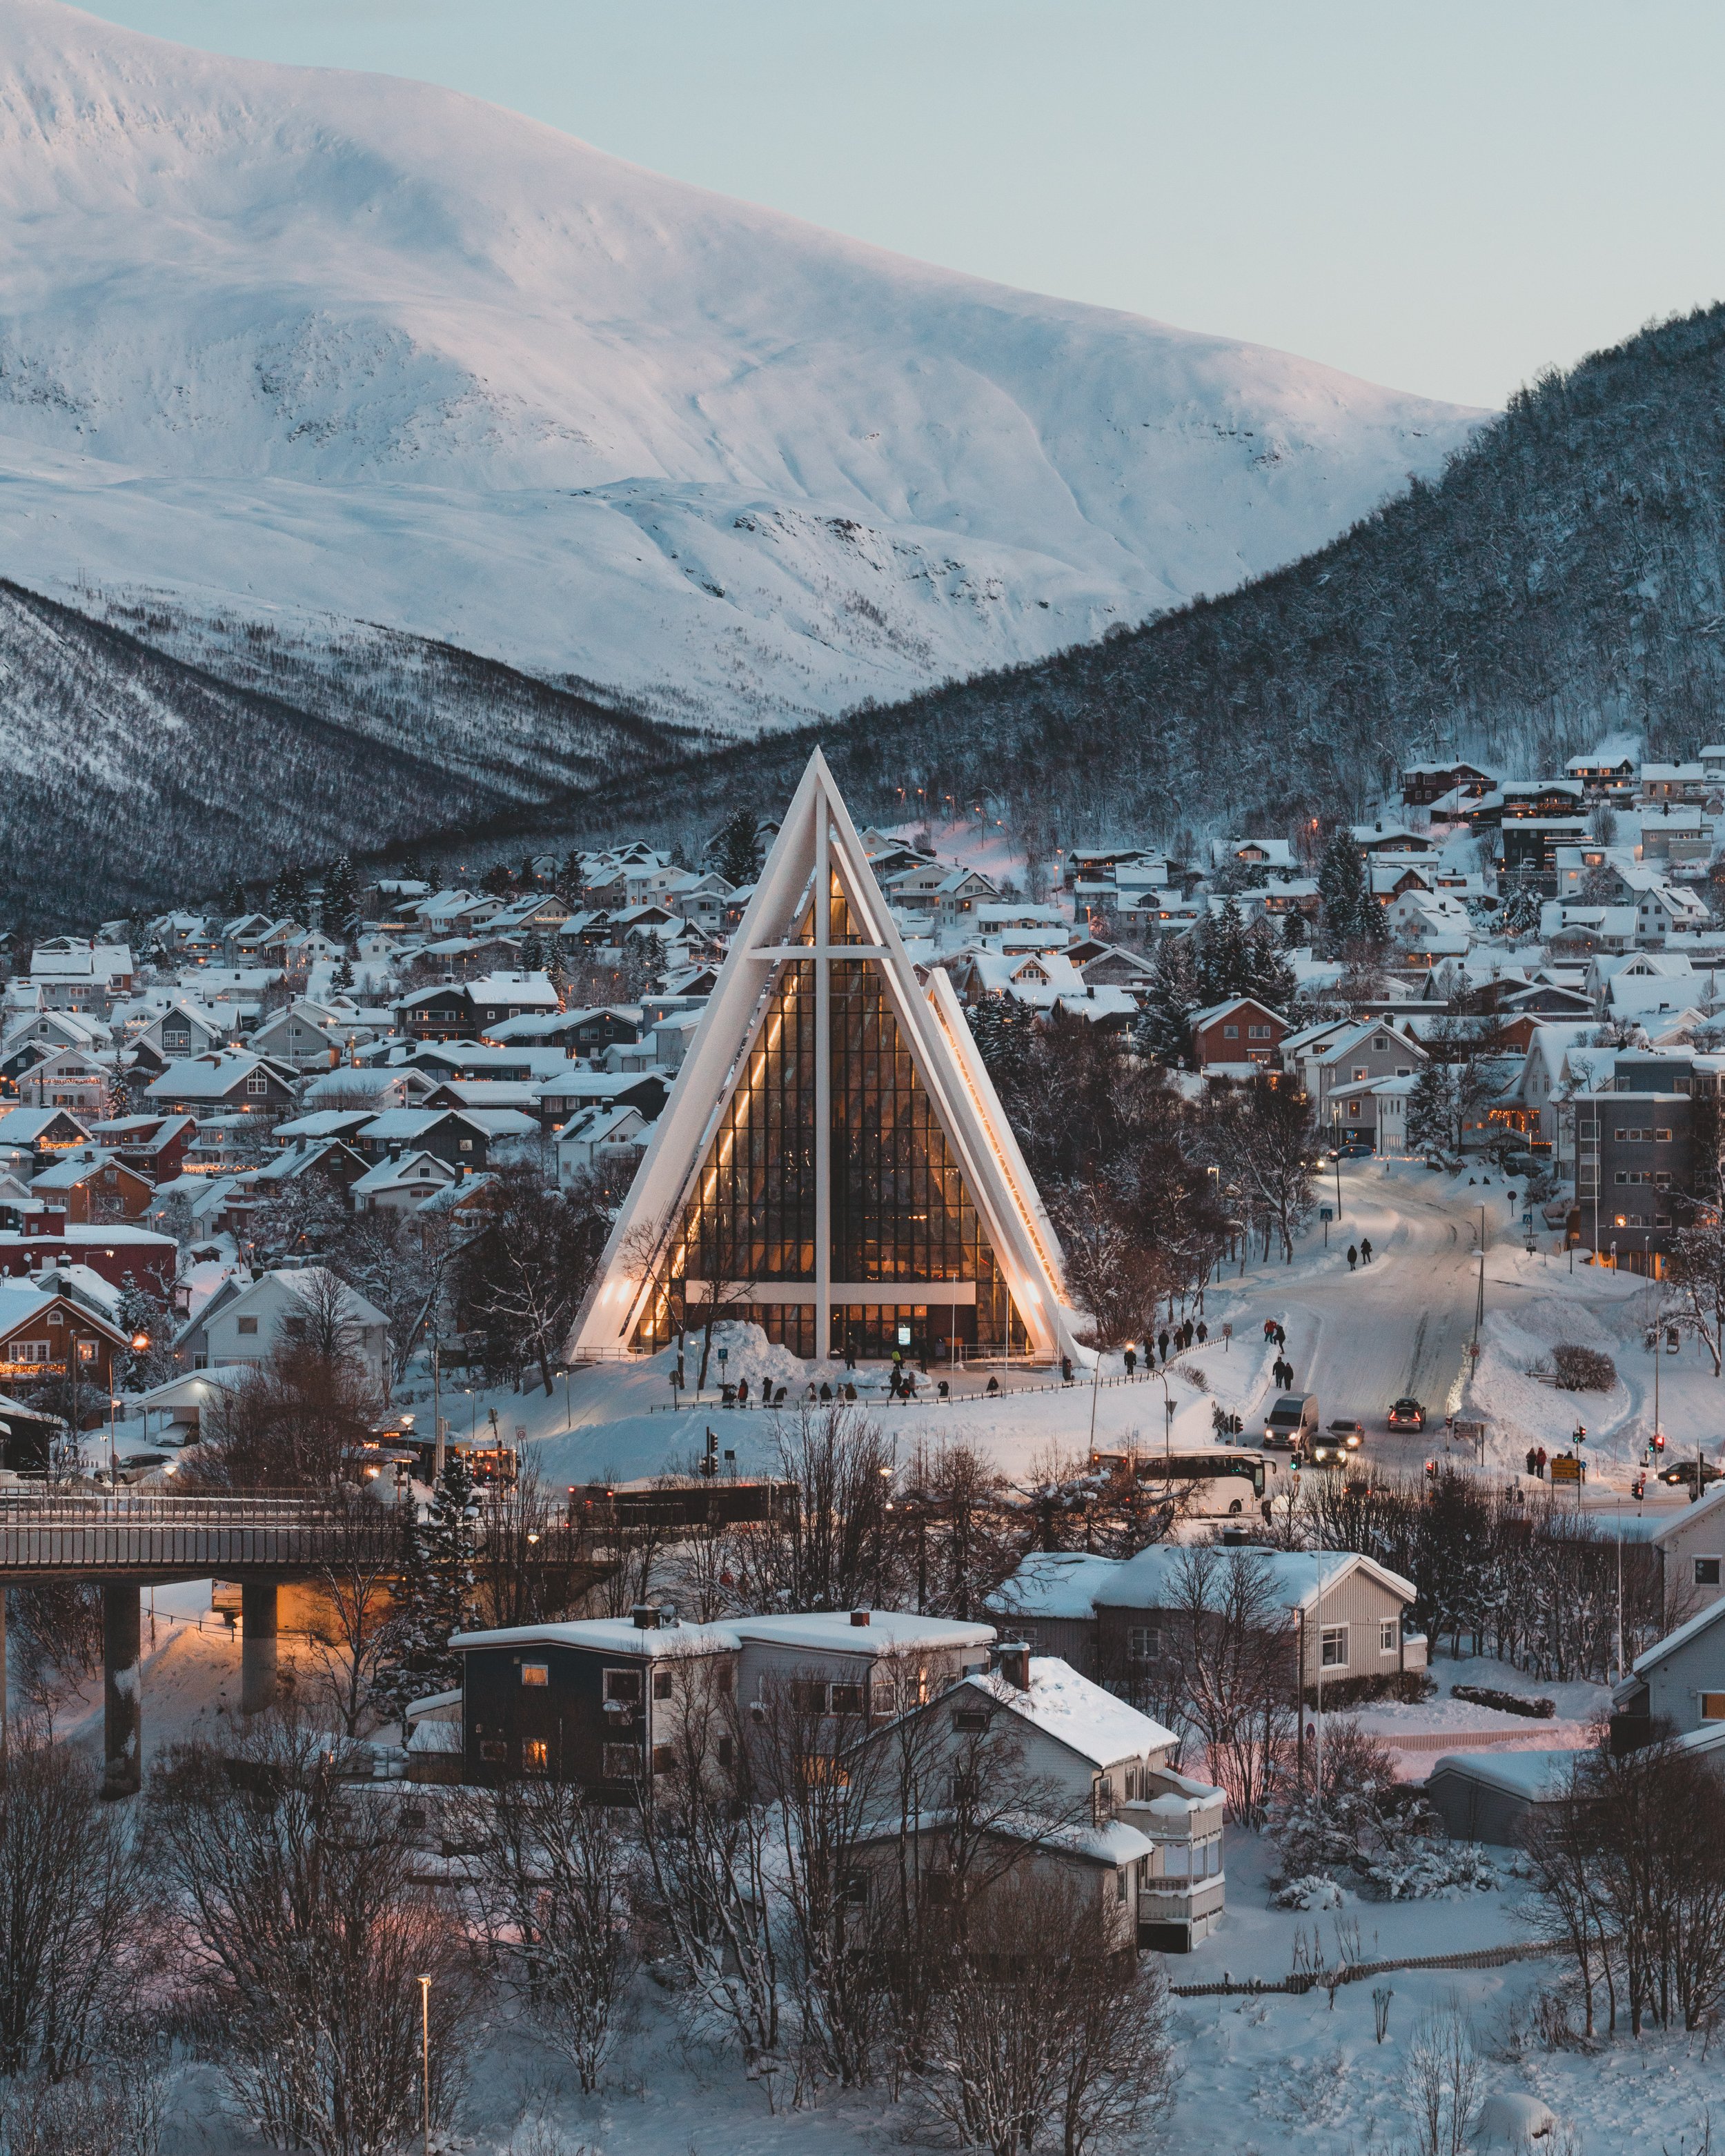
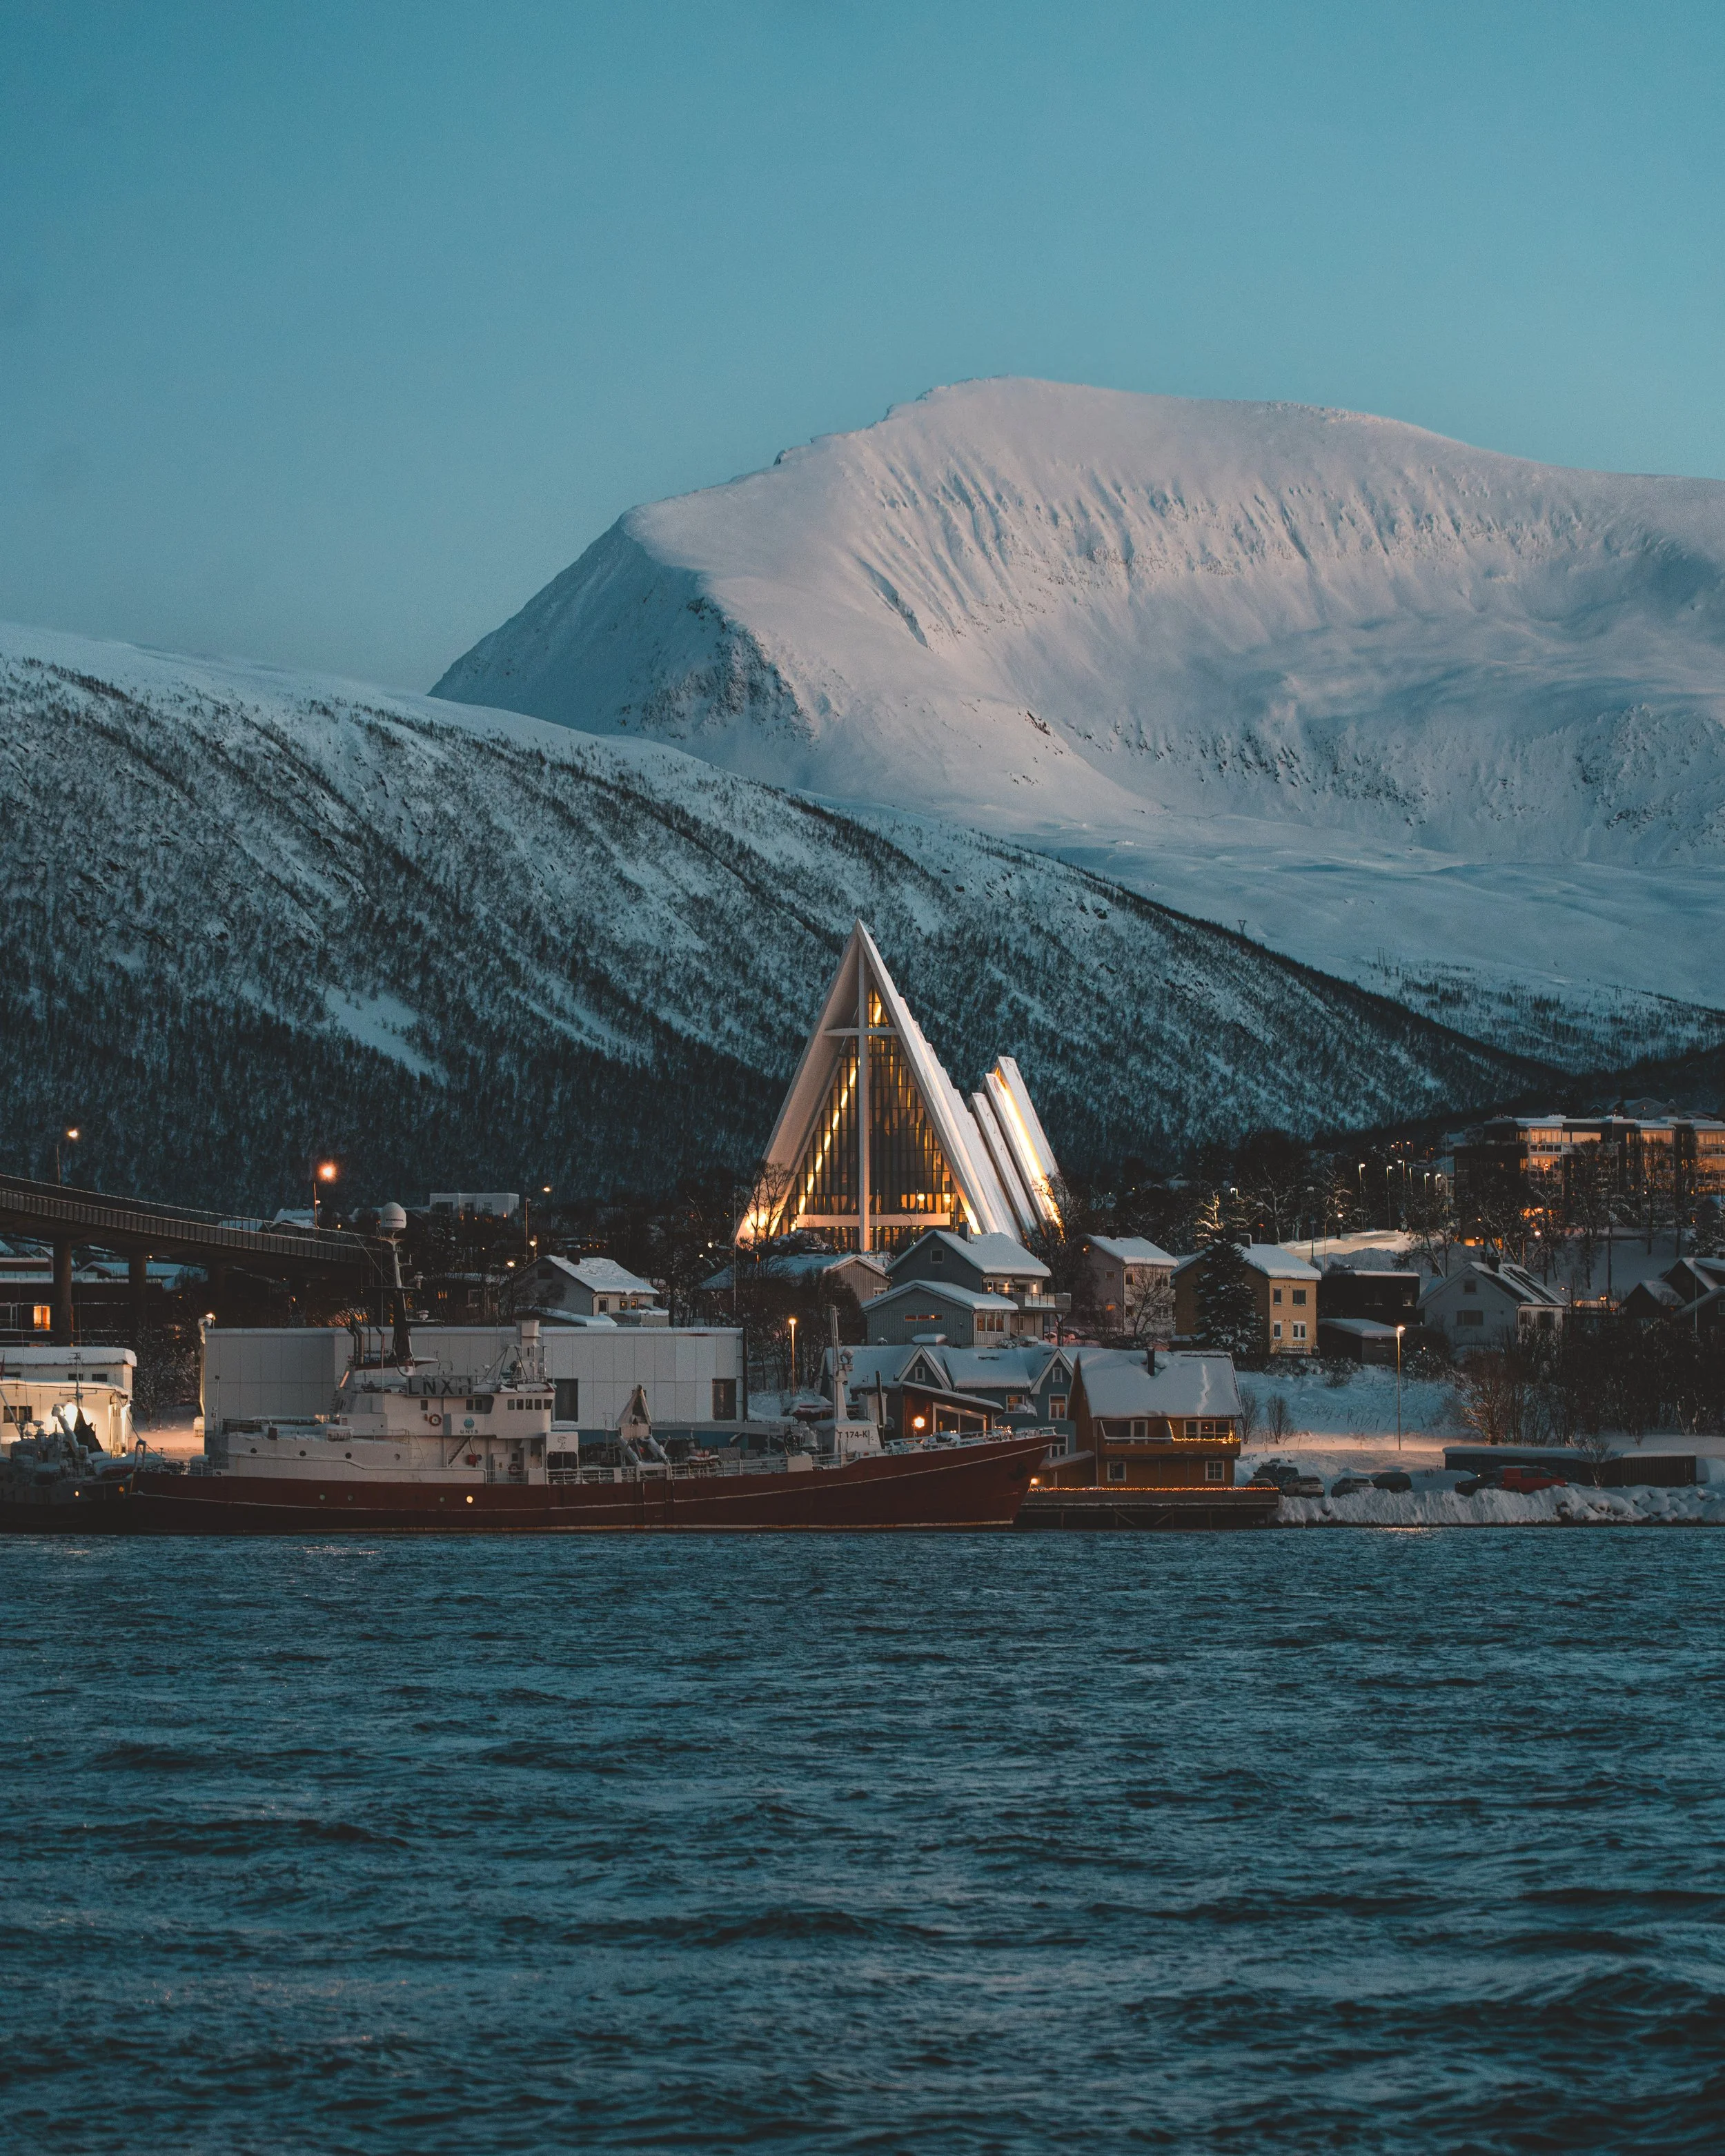
Arctic Cathedral (@arcticcathedral)
We made the windy walk across the bridge over to the Arctic Cathedral, one of (in my opinion) the most photogenic sights in Tromsø. While it's quite striking from the exterior, I was a bit underwhelmed by the interior. That said, it's warm and there's a toilet - so you may find the 80 NOK entrance fee worthwhile. Alternatively, there are walking tours that include a visit to the Arctic Cathedral to consider.
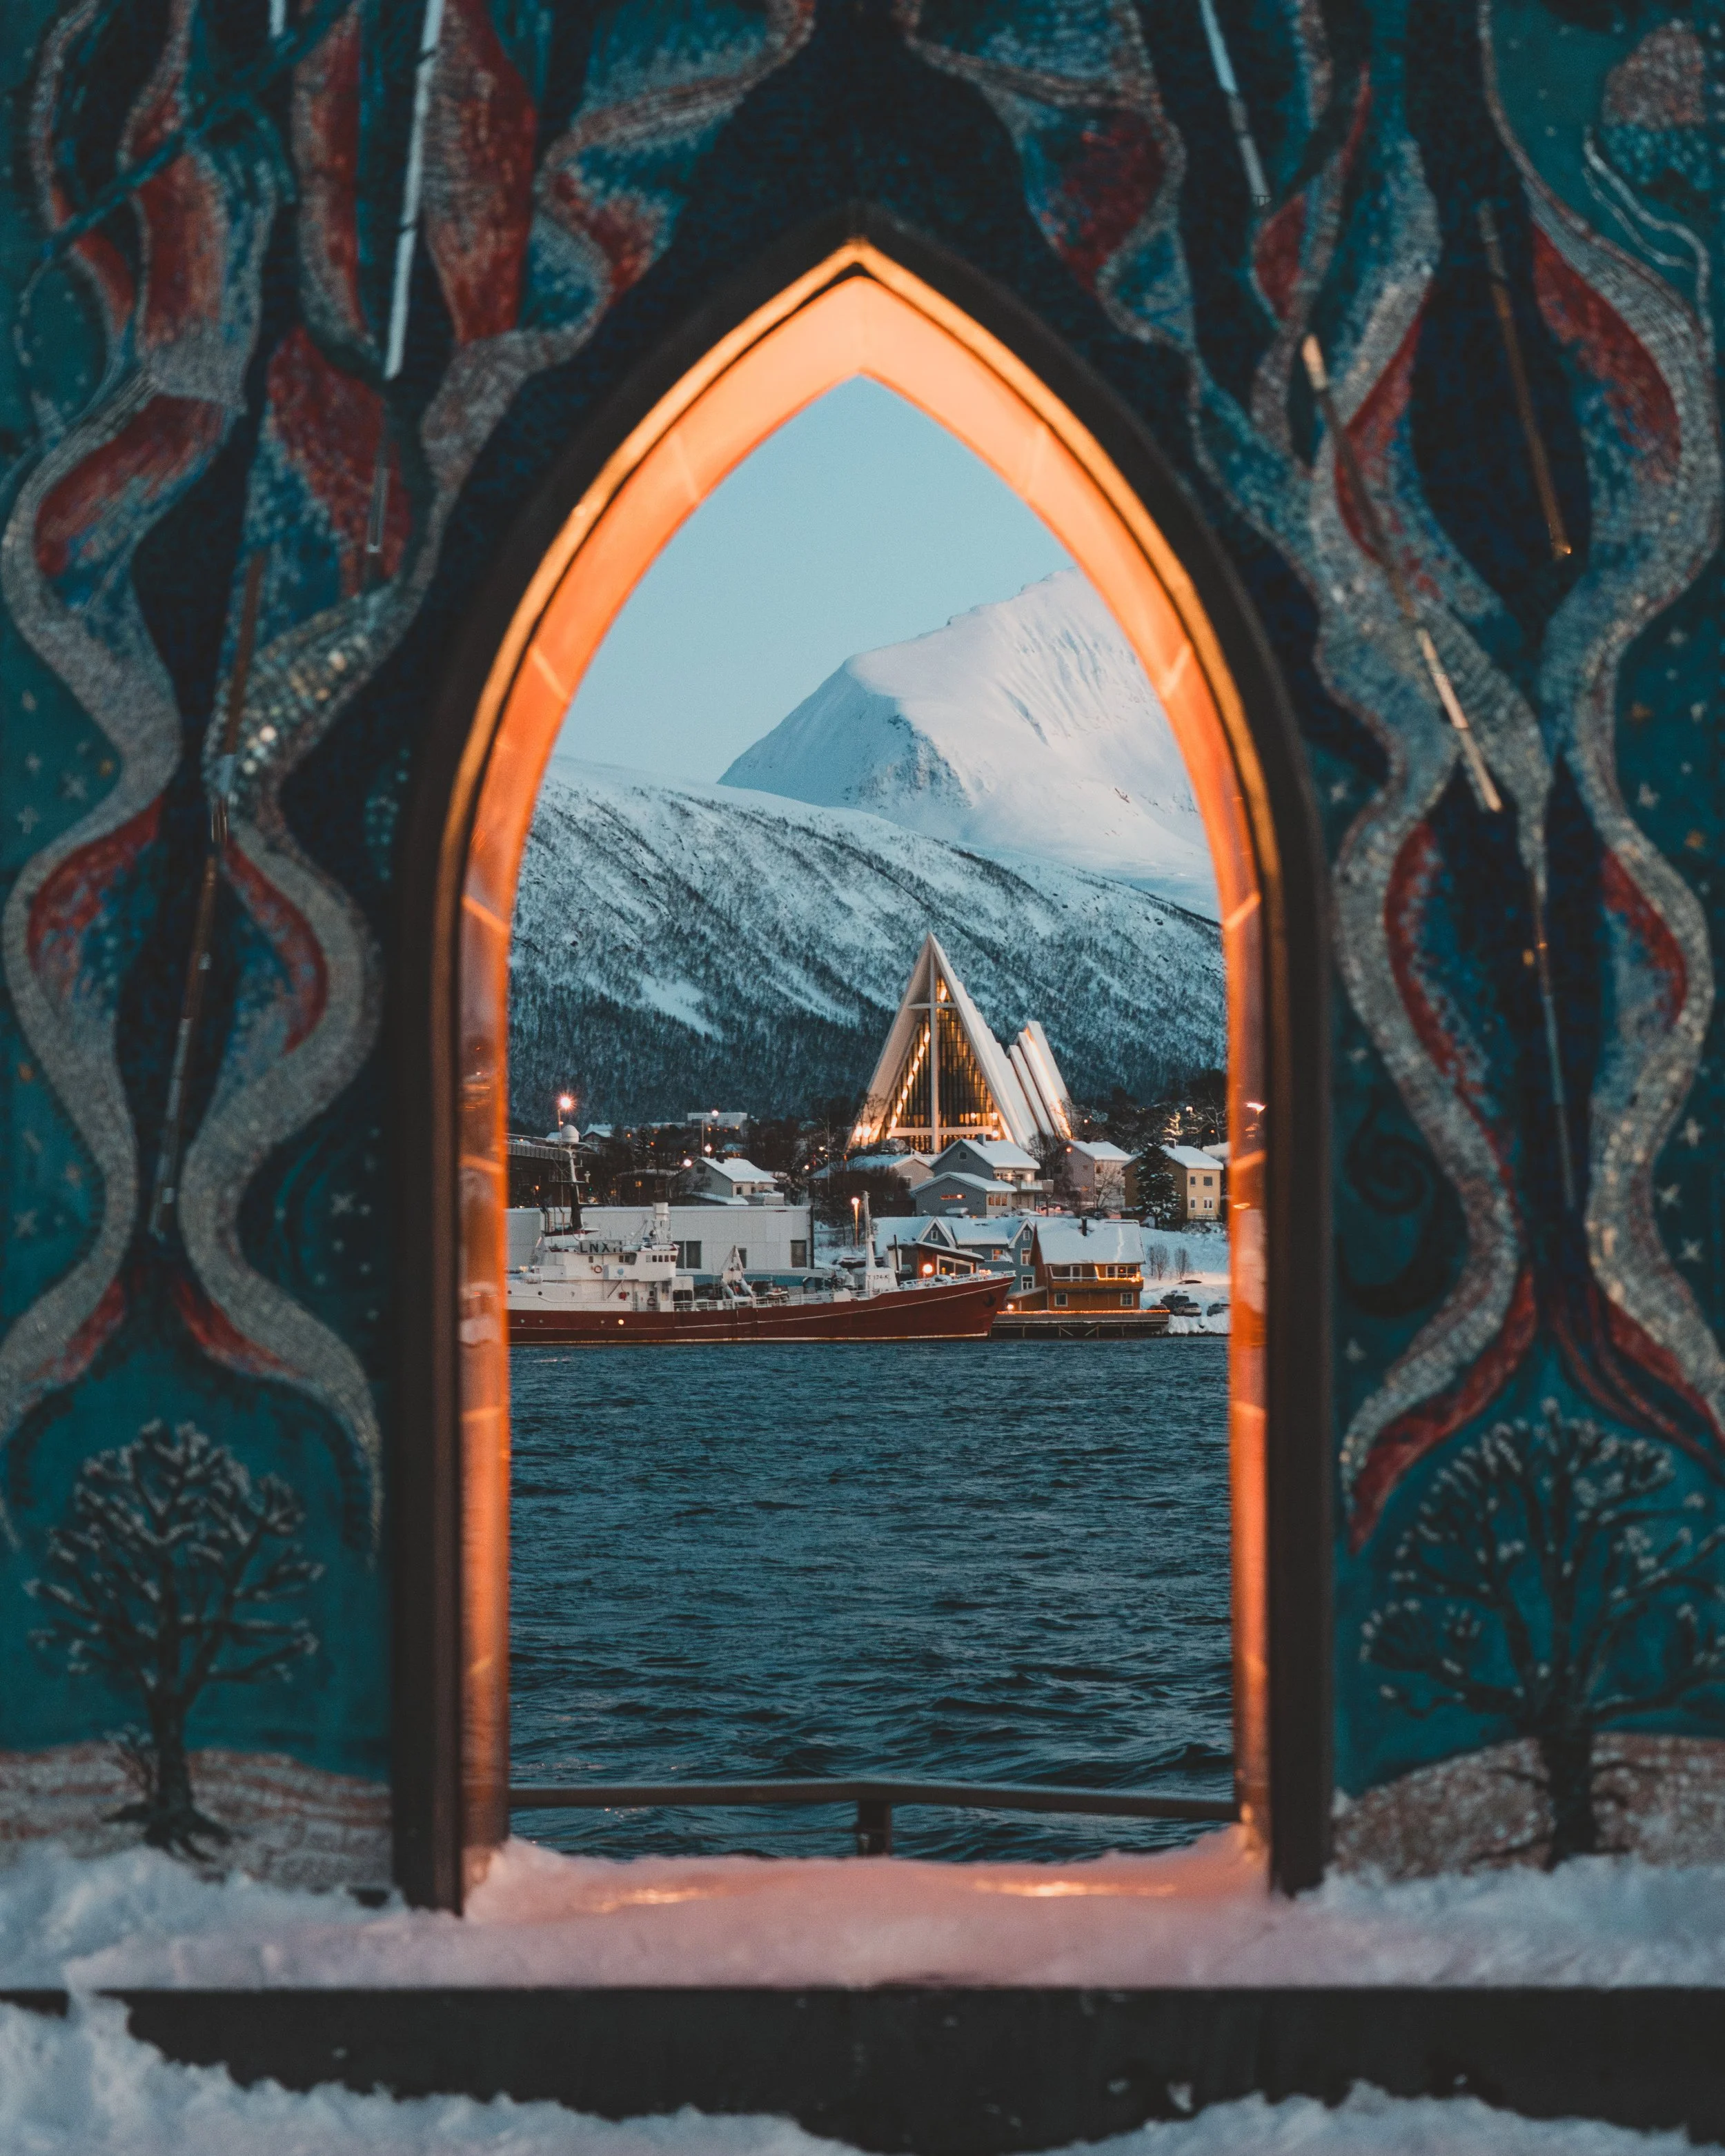
Porten til Ishavet
It's a beautiful mosaic arch and the perfect spot for photos of the fjord/Arctic Cathedral.
Fjellheisen Cable Car (@fjellheisentromso)
This pricy cable car is probably worth it for the sweeping views, but I can't confirm that firsthand. I've read that some people make the hike up or down depending on the season. A round-trip ticket typically costs =445 NOK (about €35-€40 / ~$38-$45) per adult.
Tromse City Library (@tromsobibliotek)
A warm, beautiful library in the city center with one heck of a view (photo below). You'll see signs everywhere that prohibit taking photos of people - but the architecture is ok to photograph!
Visit the Nothernmost McDonald's in the World
Yep - Tromsø is home to the world's northernmost McDonald's, and it's become a quirky must-visit for travelers. Even if you're not craving a Big Mac, it's worth popping in for the novelty.
Reindeer Feeding and Sami Cultural Experience
This one is super popular, and I’m sad to say I did not get to hang out with any reindeer during my visit to Tromsø. Similar to the Northern Lights - you’ll find loads of tours on offer. Do your research and read some reviews! I’ve linked one that comes highly recommended below.

Final Thoughts
Tromsø is one of those rare destinations that feels magical no matter what you’re doing - chasing the Northern Lights, sipping ridiculously good hot chocolate at Raketten Bar (seriously, don’t skip it), or wandering its charming little streets like a confused but happy tourist. Seeing the aurora was, of course, the highlight of my trip, but honestly, the city itself and the snowy landscapes surrounding it were just as unforgettable. With the right tour, warm clothes, and a camera ready, you can soak in one of the most iconic natural shows on the planet. If Tromsø isn’t already on your bucket list…well, consider this your gentle (but slightly pushy) nudge. Keep this guide handy, you’ll want it for your own Arctic adventure, trust me!