How to Move to Europe as an American: The Dutch-American Friendship Treaty

If you’re American, self-employed, and dream of living in Europe, the Netherlands is about to be your new best friend thanks to something called the Dutch-American Friendship Treaty. I know, what a name.
Otherwise known as the DAFT, this agreement gives self-employed Americans the opportunity to legally live and work in the country. You’ll get your very own resident card valid for two (renewable!) years and have access to the best continent on the planet.
But first, let me layout the deal breakers that you’ll want to know up front:
The application fee has been significantly reduced: from €1,416 when I applied in 2020 to €380.
The process makes very little sense, and the first thing you should do is to move to the Netherlands. You need an address, and then you can open up a DAFT application.
You’ll work on a self-employed basis, and you’re going to have to register your own business in the Netherlands.
You must deposit €4,500 euros into a Dutch business bank account and maintain it as a minimum balance for the duration of your visa.
You’ll pay your taxes to the Dutch but still file in the US. There is a no double taxation agreement, however, so the USA likely won’t be getting any money from you.
Still into it? Let’s continue. I’m going to outline the steps that I personally went through when applying for this visa. Keep in mind that it’s been several years since I first applied and COVID-19 may have affected the standard process. Today it may differ in some ways. Also note that people often choose to hire an immigration lawyer. I did not do this. If you’re anything like me, you’ll fumble through the application a bit but it is totally manageable on your own and will ultimately save you a lot of money.
Step 1:
As mentioned, book that ticket to the Netherlands. It sounds scary and totally backwards, but it’s what you need to do. (Take comfort in the fact that the application approval rate is extremely high.) The process is old school and the IND (Immigration and Naturalisation Service) sends everything by mail, so you need to have a mailing address in the country. Be warned that the letters are always in Dutch, so that’s fun. Help from local Dutch friends and the Google translate camera made this bearable for me.
Step 2:
Open up an application. The most important thing to know is this: you will not have all of the information you need to fill out the application forms completely. Prepare to hand in an incomplete application! (I couldn’t wrap my head around this, but it’s true.) You’re going to fill out what you can, and either mail it to the IND or make an appointment to come in person. I think my application had to be mailed due to COVID. One way or another, they’ll get you a visa extension in the form of a sticker in your passport.
Later, you’ll submit the remaining required documents as you complete them. One thing I did include in the first batch of forms was my business plan. I’ve been a freelancer for years- doing a lot of photography, editing, and digital marketing work. As a result, it made sense to propose a marketing business. Do not stress too much about your business plan- as long as you can argue how your business can help the Dutch economy, you’re in good shape.
You’re going to be missing a lot of required documents at first, but by simply sending the first set of forms in, your application is officially opened and your visa is automatically extended. Why is this important? Because Americans are only allowed to spend 90 out of 180 days in the Schengen Zone. If you’re not familiar with the Schengen, it’s a zone comprised of 29 European countries that decided to go borderless. The Netherlands is one of them. I decided to apply for the visa towards the end of my 90 day stay, and opening up my application extended my visa and ensured I wasn’t staying illegally. I wouldn’t recommend waiting until your time is almost up, however- it was very stressful! It makes the most sense to come to the Netherlands early on in that 90 day period and then start the application process.
Step 3:
If you mailed your application, wait for a letter from the IND acknowledging that they’ve received it. In the same letter or possibly in a separate one, you’ll get a list of the remaining items you need to submit.
Step 4:
Find your local Gemeente (government office) and make an appointment to get a BSN. A BSN is like a Dutch social security number. When you call, tell them you’re applying for the DAFT. You’ll need to bring a signed lease, your passport with the visa extension from the IND, and ideally, an apostilled birth certificate. The birth certificate is not necessary at this meeting- they give you a few months to get it in if you don’t have it yet. I had to go through hoops to get mine mailed from the states!
Step 5:
Make an appointment with the KVK (the Chamber of Commerce) to open your business. They’ll give you a VAT number for collecting Dutch sales tax. There’s a cost to register your business, €51.30 (at the time of writing.) You’ll also need to request a company extract, which is needed to open your business bank account. The cost for the extract is €15.40.
Step 6:
Get health insurance. I personally opted for Zilveren Kruis, which costs me roughly €115/month. Health insurance is mandatory in the Netherlands.
Step 7:
Open a business bank account and deposit your €4,500 minimum investment. I used BUNQ because it’s online-based and had a relatively easy sign up process. It’s an odd referral program, but apparently if you use my link they’ll plant 20 trees- 10 for you and 10 for me!
Step 8:
Get a Dutch accountant to sign off on a balance sheet that shows you have deposited the minimum investment. I used Orange Tax which cost €109. I had to provide the company extract from the KVK and a copy of my bank statement showing the €4,500 minimum balance.
Step 9:
Send all your remaining documents to the IND and await your decision! (Don’t worry, it’s probably a YES.)

Timeline:
I thought it would be helpful to share the timeline of my own application process. I dragged my feet quite a bit, so if you make appointments and submit your documents promptly, it should not take this long. From what I’ve read, it should take about three months on average, not four.
Sent initial application: October 12th
Appointment with Gemeente for BSN: December 14th
Appointment with KVK: January 4th
Decision email received: January 14th
Collected resident card: February 11th
If it all seems overwhelming and confusing, just know that the process is a lot more relaxed than the bureaucratic nature of it will have you believe. When you get stuck and have questions, you can call the IND. They get A LOT of phone calls, so you might find yourself on hold for quite a while. Expect every call to take 45 minutes to an hour at least. Use Skype calling, get a Dutch phone number, or borrow a friend’s phone to avoid any crazy international charges.
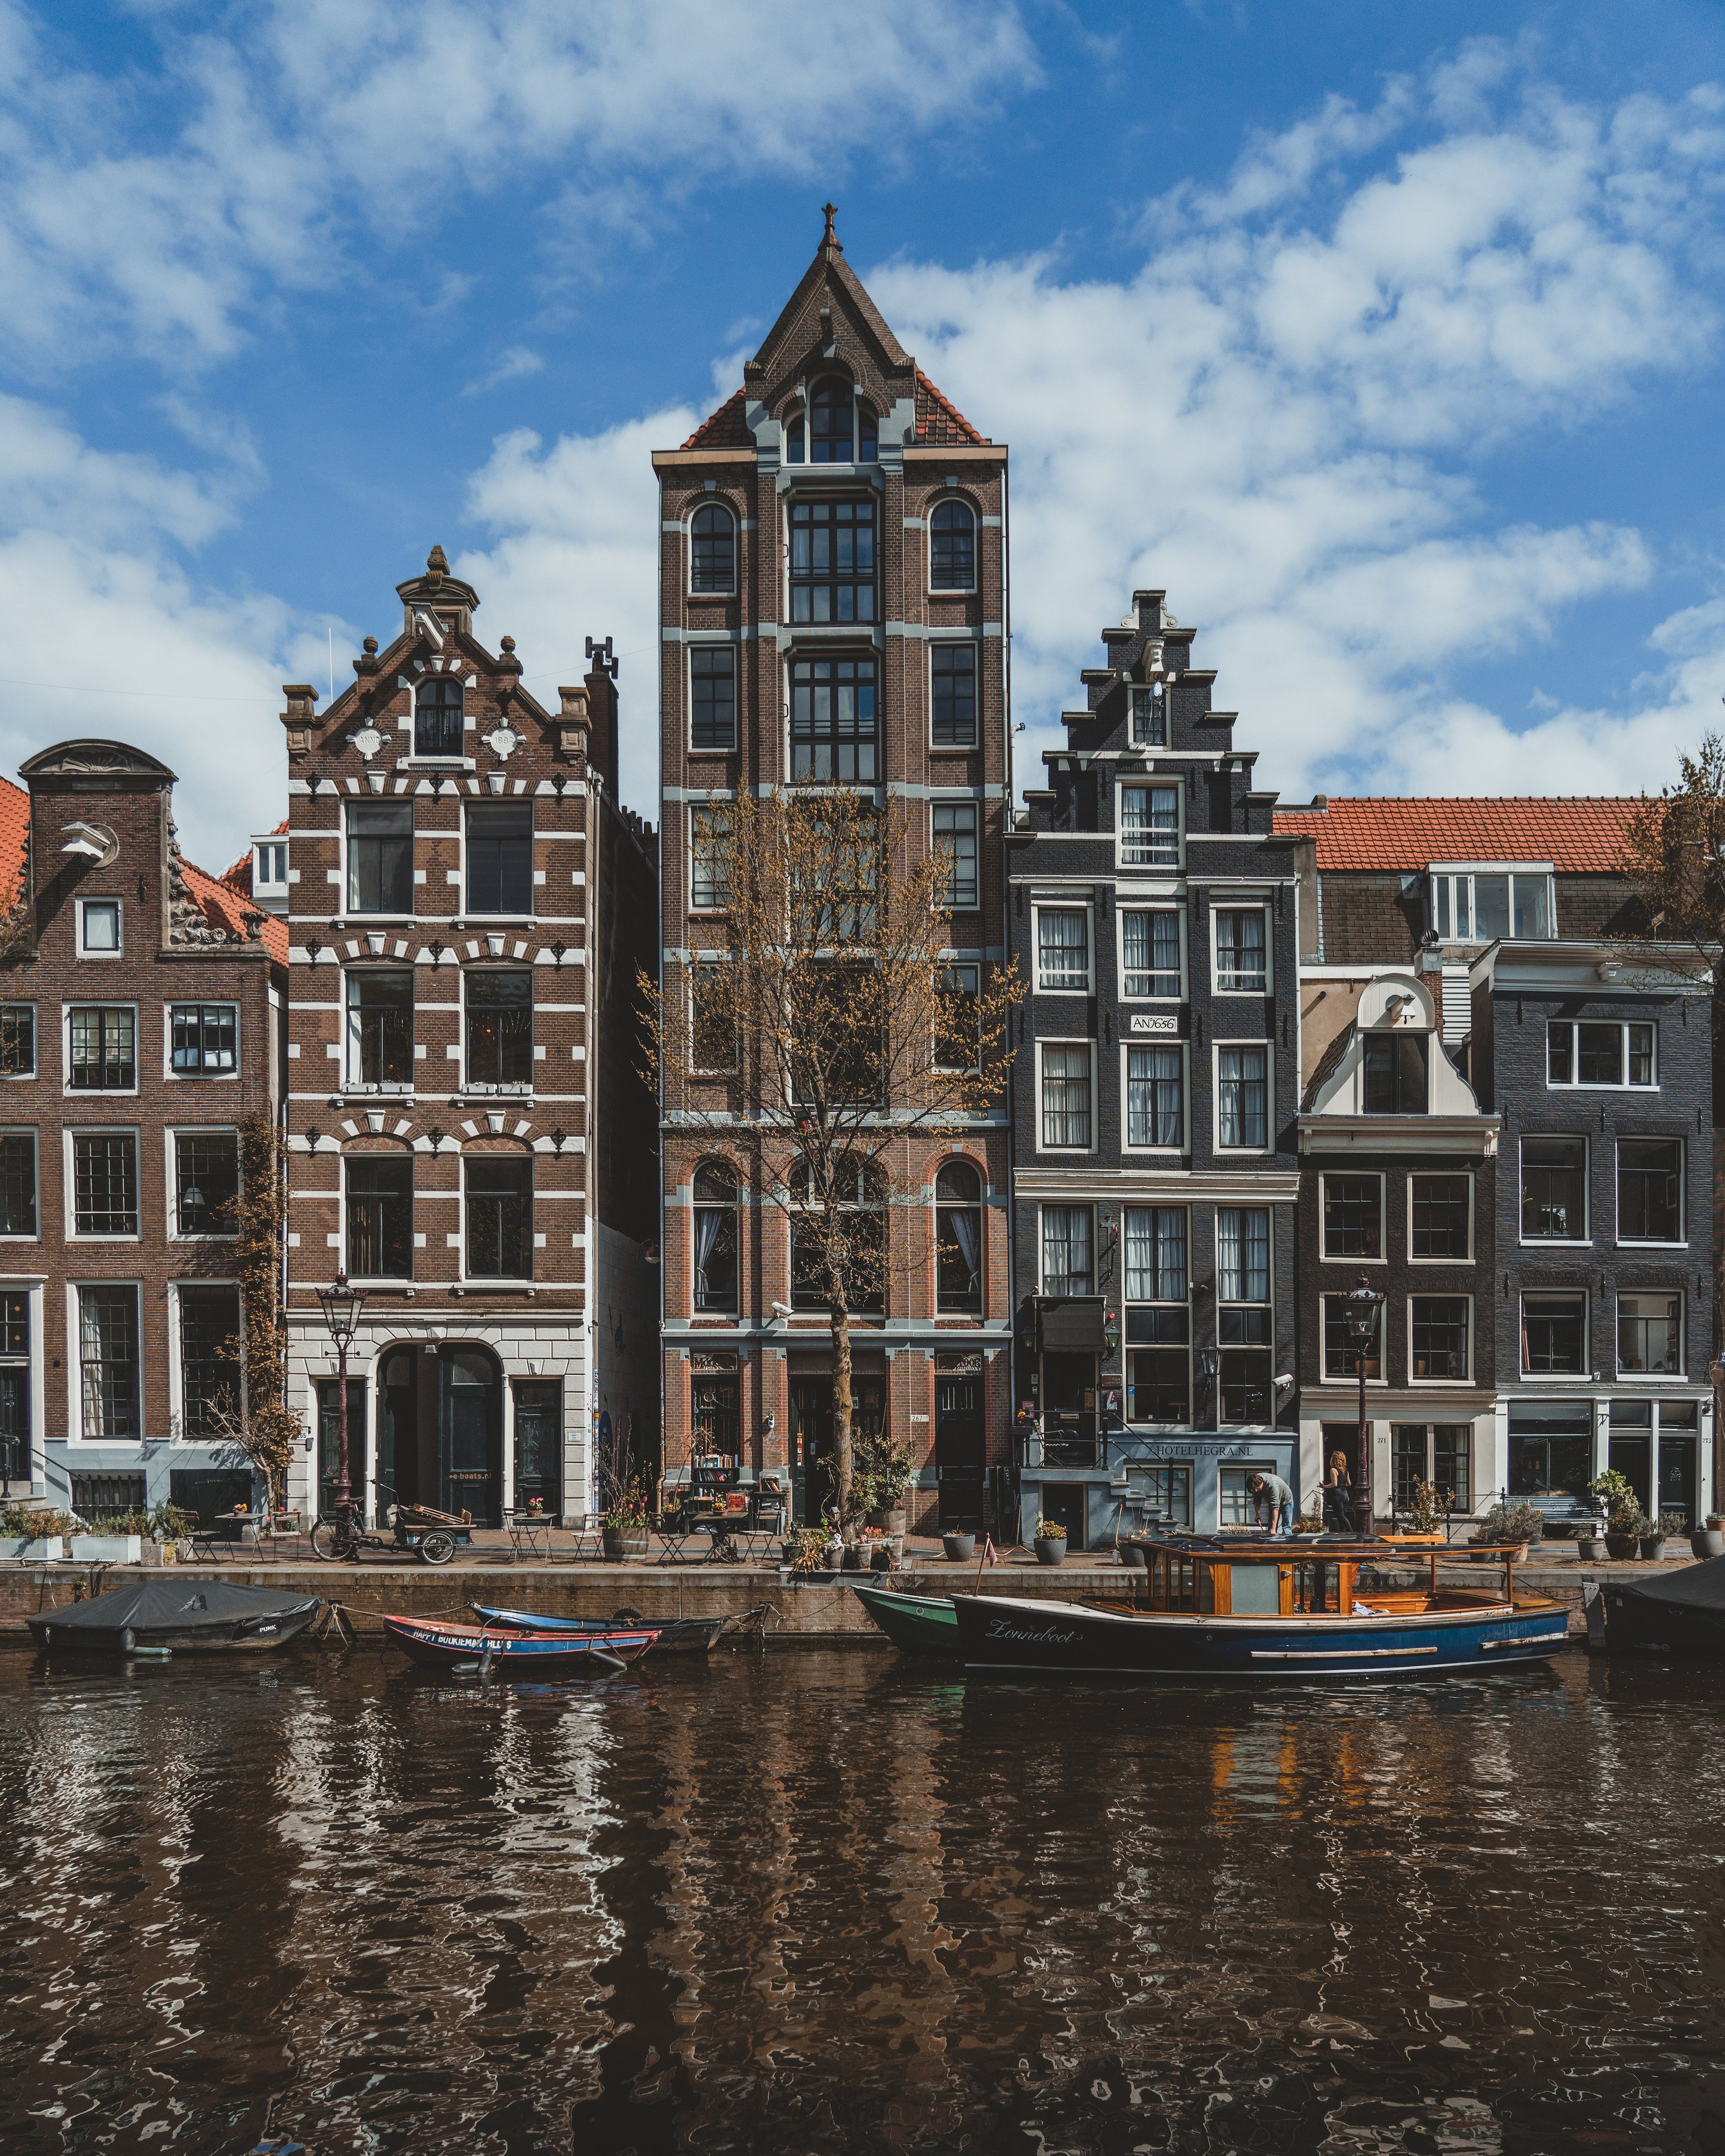
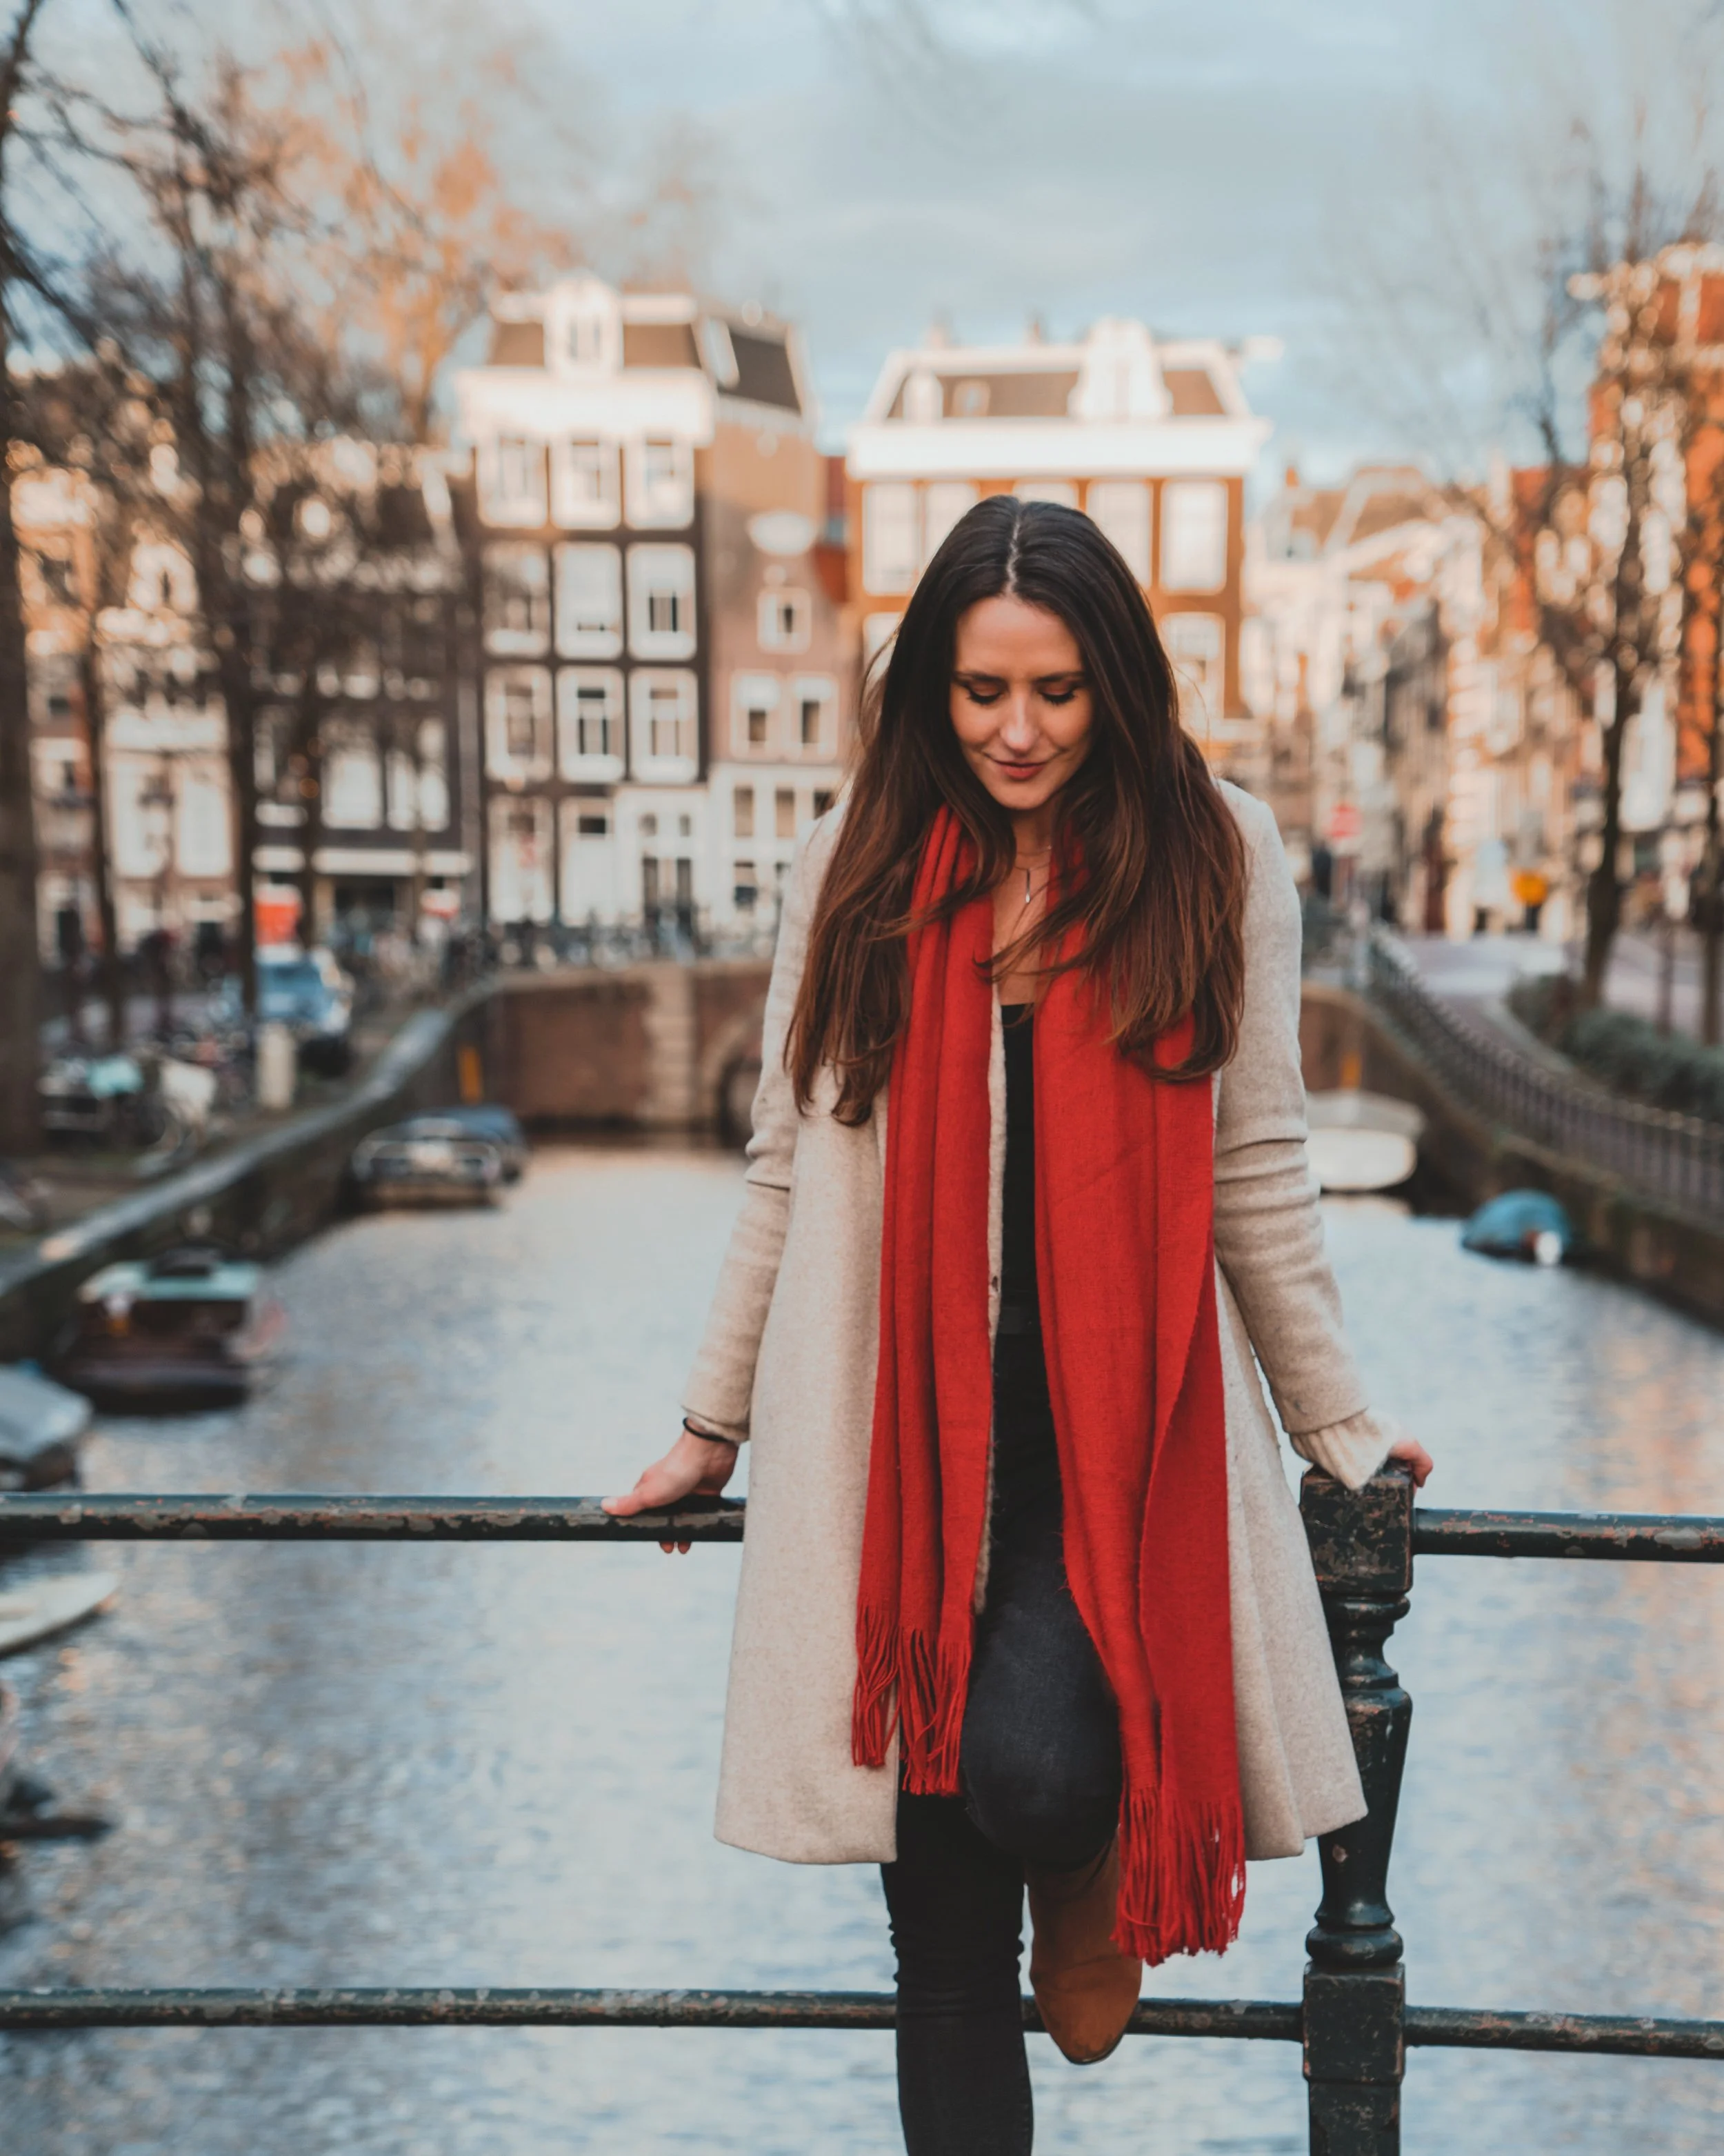
And since that all probably sounds like a lot of work- allow me to remind you why it’s worth it with a few more photos:


I hope this information is helpful and gets you on the right track! If you do decide to apply, I wish you the best of luck!